
Hello crafters! Today I have an art journal page to share with a fun gel printing and dry embossing technique.
Please note: this post has affiliate links, for which I receive a small percentage of sales generated by the link, at no extra cost to you.

I made a page in my Small Creative Journal, but you can also turn the design into a card. I had a gel printing session last week, printing mainly with dry embossed papers and today I used some of those printed papers. I particularly had fun dry embossing and then coloring one of the designs.

This is the paper I started with. It was gel printed on Gelli Arts 5x7 Gel Printing Plate using a paper embossed in Simon Says Stamp Peony Trio embossing folder. The folder comes from the new Shine On release. The smaller flowers were printed with a paper embossed in Simon Says Stamp Star Lattice folder.

I made four different prints using this dry embossed paper, as well as some other embossing folders.

I planned to color directly on to the print, but then I looked at the embossing folder and thought it would be fun to dry emboss the design first. Line it up in the folder and emboss. This brings the design forward and adds interest.

I colored with flowers with Distress Watercolor Pencils, picking the color up with a paint brush from the tip of the pencils.

Next. I splattered with Antique Linen and Scorched Timber pencils. Dipp the pencil in water and flick a paint brush against it.

I also splattered the page with Winsor & Newton Permanent White gouache.

I added just a little bit of stamping with the alphabet stamp from Tim Holtz School Desk.


The third sentiment comes from Tim Holtz Tiny Text. I also added Simon Says Stamp Cottontail sequins.

The gel printing is to some extent unpredictable, which adds interest to the flowers.

The title was die cut with Tim Holtz Sizzix Vault World Travel from another piece of gel printed paper.

Leave some of the paper showing, for highlights.

Each flower looks different because of the printing.

The top flower was the faintest and the dry embossing helped to bring it out from the background.

I rounded the outer corners and adhered the page into my Small Creative Journal. You can find the tutorial for the page to the right here on the Simon Says Stamp store blog.

Happy crafting!
Anna-Karin
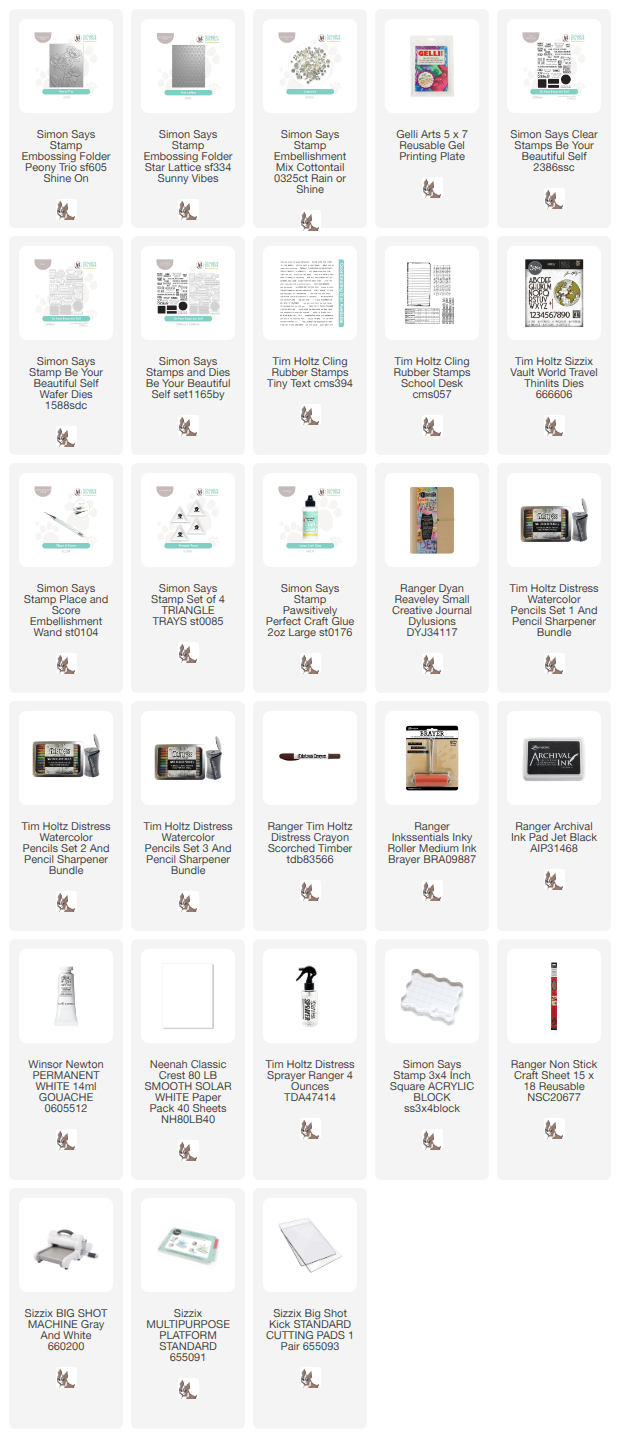
Supplies:
* Please note: the links are affiliate links, for which I receive a small percentage of sales generated by the link, at no extra cost to you.
* Please note: the links are affiliate links, for which I receive a small percentage of sales generated by the link, at no extra cost to you.

LOVE, happy to find you again...
ReplyDeleteThank you so much Ellie! And so nice to hear from you!!!
Delete