Wednesday, June 30, 2021

Embossed Grid Background

Hi stampers! Today I have a tutorial to share with a fun embossed background. 

Please note: this post has affiliate links, for which I receive a small percentage of sales generated by the link, at no extra cost to you.
Layers of ink - Embossed Grid Background Tutorial by Anna-Karin Evaldsson. With Simon Says Stamp Solid Grid Background.

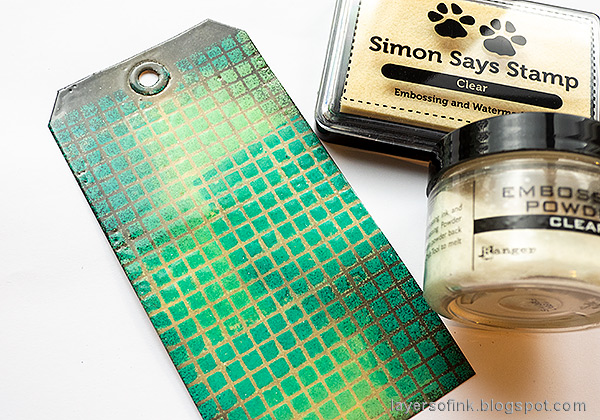
I really like the textured, yet completely shiny, background here. It creates almost the look of mosaic tiles, with grout in between. I didn't even want to cover too much of it up, so the tag is only embellished with a few pieces of ephemera.

Layers of ink - Embossed Grid Background Tutorial by Anna-Karin Evaldsson. With Simon Says Stamp Solid Grid Background.

Start by inking the Simon Says Stamp Solid Grid Background stamp with two shades of Distress Oxide Ink. Emboss it with clear embossing powder. Be very careful when using a heat tool and never touch the melted powder until it has cooled down completely.

Layers of ink - Embossed Grid Background Tutorial by Anna-Karin Evaldsson. With Simon Says Stamp Solid Grid Background.

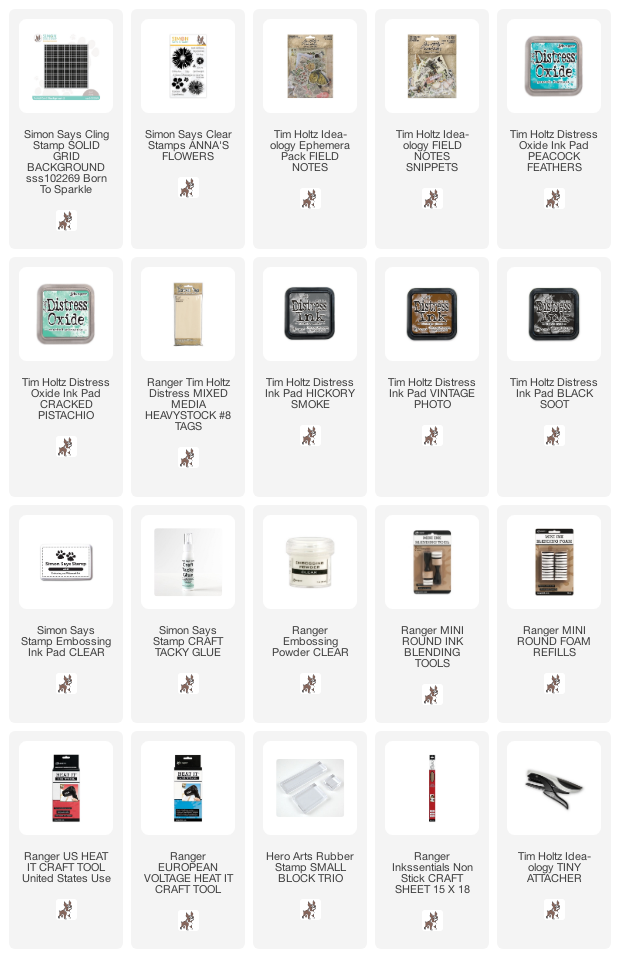
Ink the tag with Hickory Smoke and Black Soot. The embossing will resist the ink and look like grout. 

Layers of ink - Embossed Grid Background Tutorial by Anna-Karin Evaldsson. With Simon Says Stamp Solid Grid Background.

Cover the tag with clear embossing ink and emboss it with about two to three layers of clear powder. Again, be very careful and do not touch the melted powder until it has cooled down completely.

Layers of ink - Embossed Grid Background Tutorial by Anna-Karin Evaldsson. With Simon Says Stamp Solid Grid Background.

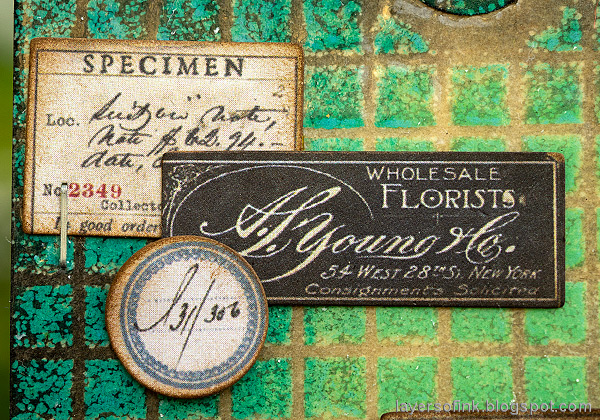
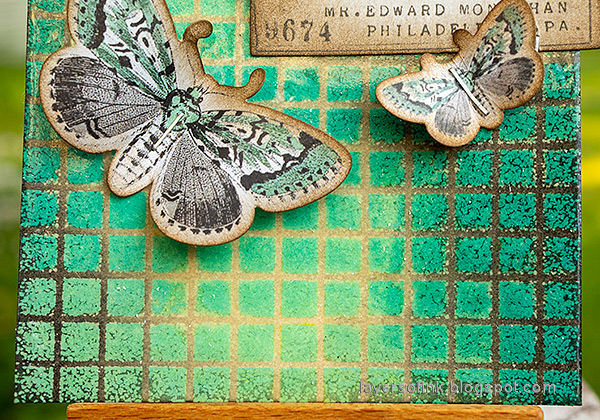
The effect with the multicolored tiles, the texture, grout and then the clear embossing gives a very interesting looking background. It is hard to see on the photo, but the background is textured to the touch too, since the stamped squares have one additional layer of embossing powder and therefore stand out slightly.

Layers of ink - Embossed Grid Background Tutorial by Anna-Karin Evaldsson. With Simon Says Stamp Solid Grid Background.

I used ephemera from Tim Holtz Field Notes and Field Notes Snippets. Ink the edges.

Layers of ink - Embossed Grid Background Tutorial by Anna-Karin Evaldsson. With Simon Says Stamp Solid Grid Background.

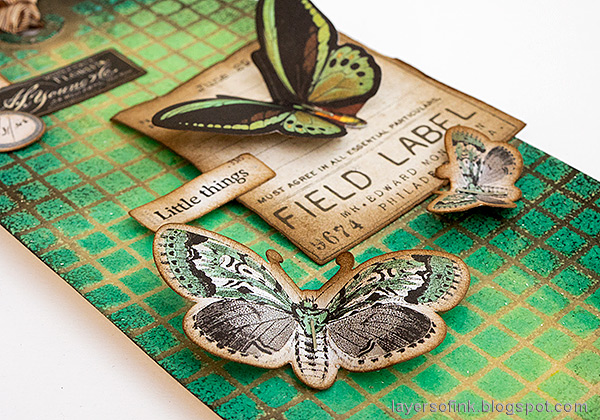
'Little things' was stamped with one of the sentiment stamps from Anna's Flowers on one of the labels. 

Layers of ink - Embossed Grid Background Tutorial by Anna-Karin Evaldsson. With Simon Says Stamp Solid Grid Background.

I added only a little grey ink to the center of the tag, which makes the grout look lighter there, almost like it is shining.

Layers of ink - Embossed Grid Background Tutorial by Anna-Karin Evaldsson. With Simon Says Stamp Solid Grid Background.

Fold the wings up and staple the butterflies in the center.

Layers of ink - Embossed Grid Background Tutorial by Anna-Karin Evaldsson. With Simon Says Stamp Solid Grid Background.

You can try this technique with different background stamps. It will work best with stamps that have at least some solid areas, since that will give a more textured look.


Thank you so much for taking the time to stop by here today! 

Happy crafting!

Anna-Karin

Supplies:

* Please note: the links are affiliate links, for which I receive a small percentage of sales generated by the link, at no extra cost to you.

Tuesday, June 29, 2021

Rainbow Artist Trading Cards

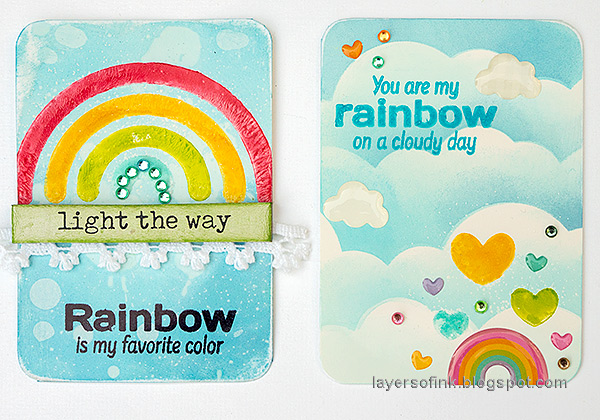
Hi friends! Today I have two cheerful rainbow-themed Artist Trading Cards to share with you, and fun inking techniques on gloss cardstock.

Please note: this post has affiliate links, for which I receive a small percentage of sales generated by the link, at no extra cost to you.

Layers of ink - Rainbow Artist Trading Cards Tutorial by Anna-Karin Evaldsson.

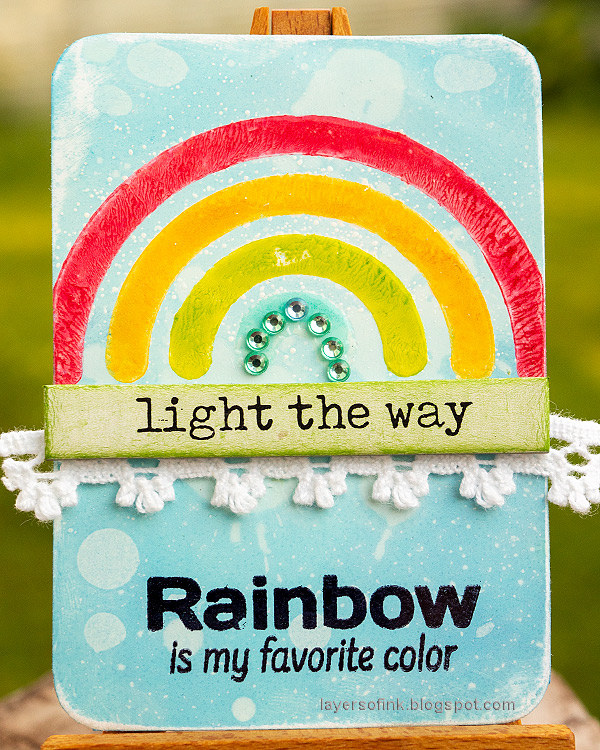
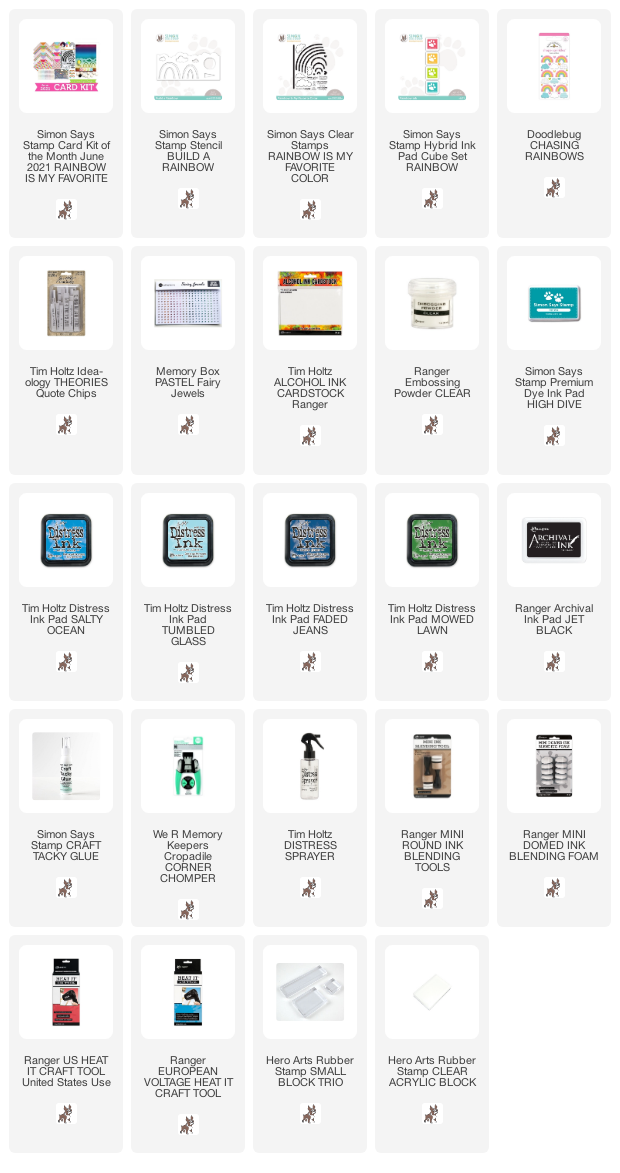
I used the Simon Says Stamp Rainbow Is My Favorite Color June card kit for these cards, but if the kit is sold out, you can get the products separately. I also added some bits and pieces from my desk. This is the first ATC, with a stamped and clear embossed rainbow. 

Layers of ink - Rainbow Artist Trading Cards Tutorial by Anna-Karin Evaldsson.

The second ATC features an inked cloud background with some happy hearts, stickers and diamonds. You can turn these into cards too, either by making them larger or by adhering the ATC to a card base.

Layers of ink - Rainbow Artist Trading Cards Tutorial by Anna-Karin Evaldsson.

I cut 3.5 x 2.5 cards from gloss cardstock and rounded the corners. Then I stamped the four rainbow stamps with the Hybrid inks included in the kit. Emboss with clear embossing powder. I added about three layers of powder. Be careful not to burn yourself and never touch the melted powder until it has cooled down completely.

Layers of ink - Rainbow Artist Trading Cards Tutorial by Anna-Karin Evaldsson.

Do the same on the second card, but with the heart stamps from the Rainbow Is My Favorite Color set. The rainbow card was inked with three shades of blue Distress Ink, using a domed ink-blending tool. It was then splattered with water. The second card was inked with the same three colors, using the versatile Build A Rainbow stencil included in the kit. 

Layers of ink - Rainbow Artist Trading Cards Tutorial by Anna-Karin Evaldsson.

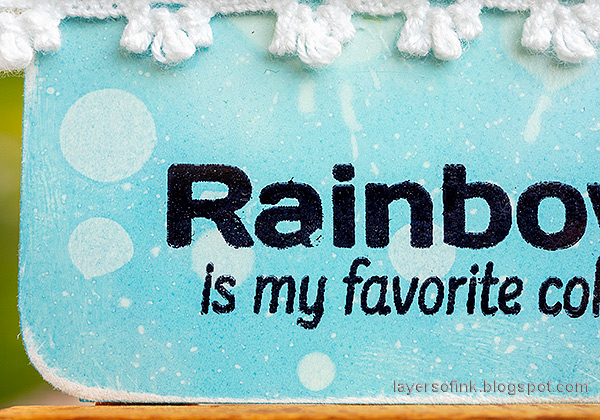
I also sanded the edges lightly to reveal the white core. Water splatters stand out very well on gloss cardstock when it has been inked with dye inks.

Layers of ink - Rainbow Artist Trading Cards Tutorial by Anna-Karin Evaldsson.

The rainbow is very glossy and stands out, which is hard to see on the photo. Because of the gloss surface, the hybrid inks gave something of a texture. I didn't plan that, but I like texture, so I was happy with the look. The Theories Quote Chip was inked with green Distress Ink.

Layers of ink - Rainbow Artist Trading Cards Tutorial by Anna-Karin Evaldsson.

This sentiment was stamped with Simon Says Stamp High Dive ink. I really like the white epoxy cloud stickers from Doodlebug. I love to ink these types of clouds. You can see another example on the Rainbows Art Journal page that I made with the same card kit. 

Layers of ink - Rainbow Artist Trading Cards Tutorial by Anna-Karin Evaldsson.

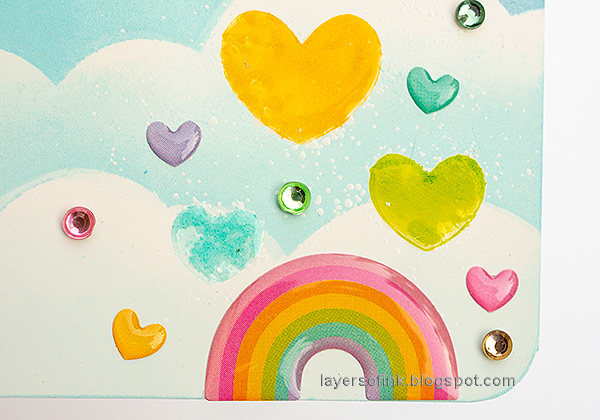
And more fun Chasing Rainbows epoxy stickers, combined with stamped hearts and Open Studio Fairy Jewels. I didn't worry about stray powder when stamping since I wanted that extra texture.

Layers of ink - Rainbow Artist Trading Cards Tutorial by Anna-Karin Evaldsson.

I enjoy switching between different formats and sizes and working on the small size of an ATC is always fun. You can find more inspiration and a larger project using the Simon Says Stamp Rainbow Is My Favorite Color June card kit here.


Thank you so much for taking the time to stop by here today! 
Happy crafting!

Anna-Karin

Supplies:

* Please note: the links are affiliate links, for which I receive a small percentage of sales generated by the link, at no extra cost to you.

Monday, June 28, 2021

Wander Red and Blue Tag

Hello friends! I hope you are well and had a good weekend. I have a tag tutorial to share today, but with a quick background technique that would work for any project.


We have a 'Red, Blue and/or White' theme at the Simon Says Stamp Monday Challenge this week. Don't miss the last project by our June guest designer Nikki Acton.

Please note: this post has affiliate links, for which I receive a small percentage of sales generated by the link, at no extra cost to you.


Layers of ink - Red and Blue Tag Tutorial by Anna-Karin Evaldsson. With Simon Says Stamp Halftone Background.

I made a tag with a dotted halftone background and some fun embellishments, mainly bits and pieces found on my desk. 

Layers of ink - Red and Blue Tag Tutorial by Anna-Karin Evaldsson. With Simon Says Stamp Halftone Background.

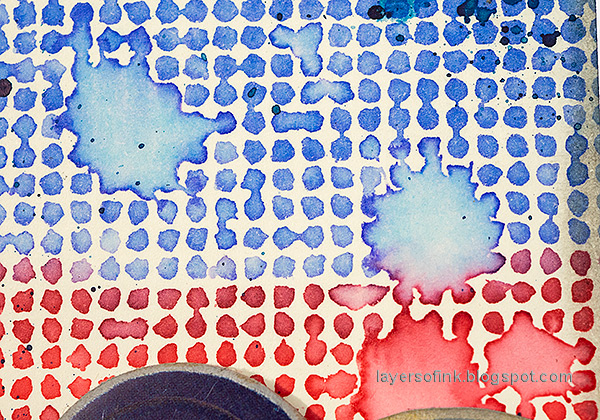
Ink the Simon Says Stamp Halftone Background stamp with Blueprint Sketch at the top where the dots are larger and with Candied Apple towards the bottom, where the dots are smaller. Mist with water and stamp on a heavystock background. Splatter some water on the tag to create cool droplets. 

Layers of ink - Red and Blue Tag Tutorial by Anna-Karin Evaldsson. With Simon Says Stamp Halftone Background.

When the background is dry, dip a Night Scribble Stick in water and flick a paint brush against it to create splatters.

Layers of ink - Red and Blue Tag Tutorial by Anna-Karin Evaldsson. With Simon Says Stamp Halftone Background. Add idea-ology embellishments.

I stamped a sentiment from the Simon Says Stamp Forest Scenery set on a Field Notes Ephemera label and folded it over the edge of the tag. It was stapled to the background.

Layers of ink - Red and Blue Tag Tutorial by Anna-Karin Evaldsson. With Simon Says Stamp Halftone Background.

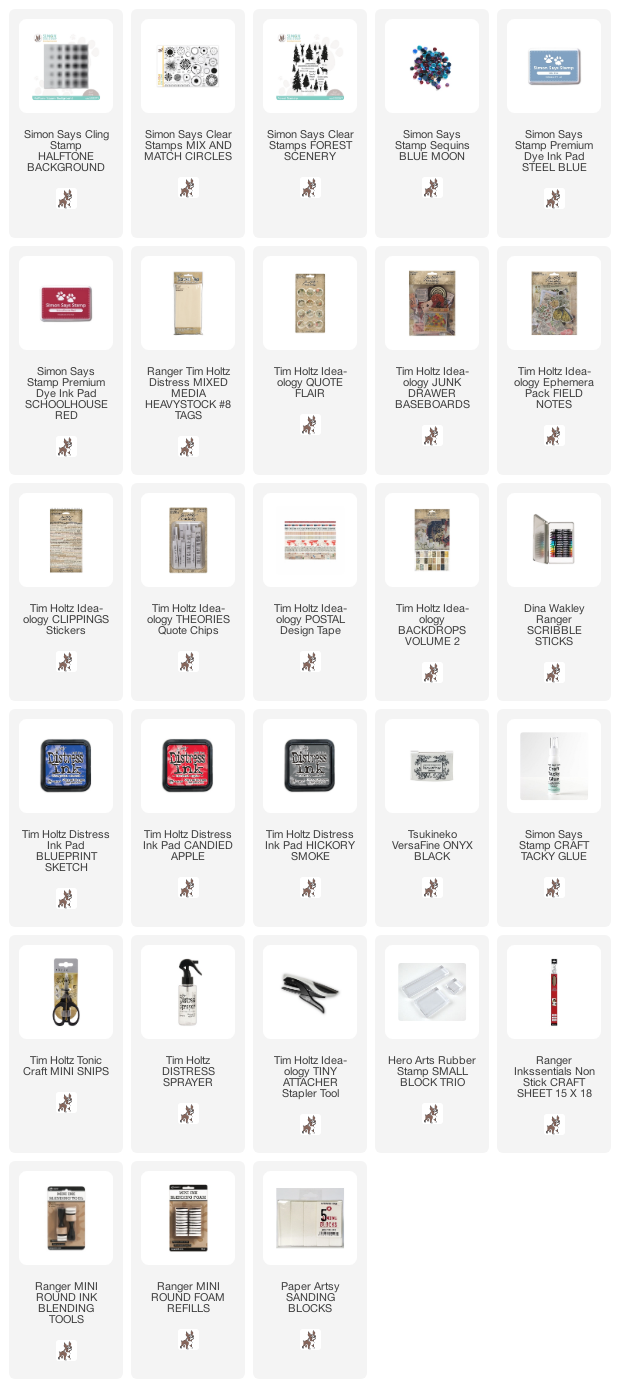
The labyrinth was stamped with Simon Says Stamp Steel Blue ink on a piece of Tim Holtz Backdrops paper and the circle in the center with Schoolhouse Red. The stamps come from the Mix and Match Circles set. I sanded the edges of a Tim Holtz Theories Quote Chip and a Junk Drawer baseboard piece and inked them with grey ink. 


Layers of ink - Red and Blue Tag Tutorial by Anna-Karin Evaldsson. With Simon Says Stamp Halftone Background.

The remaining sentiments come from Tim's Clippings Stickers Book.

Layers of ink - Red and Blue Tag Tutorial by Anna-Karin Evaldsson. With Simon Says Stamp Halftone Background.

The large water splatters give a really nice blended effect. They are my favorite part of this project.

Layers of ink - Red and Blue Tag Tutorial by Anna-Karin Evaldsson. With Simon Says Stamp Halftone Background.

I also used some Postal Design Tape, a Quote Flair Button and Blue Moon sequins.


I hope you will join us this week in our Red, Blue and/or White challenge. You have a chance to win a $25 gift voucher to do some fun shopping at Simon Says Stamp. You have until Monday 8am Ohio time. 1pm UK time, 2 pm CET to join in.


Do you use Instagram? If so please add #sssmchallenge so we can see your entries there too.


Thank you so much for taking the time to stop by here today! 

Happy crafting!

Anna-Karin

Supplies:

* Please note: the links are affiliate links, for which I receive a small percentage of sales generated by the link, at no extra cost to you.

Monday, June 21, 2021

Clear Floral Card

Hello friends! Today I have a clear card to share with you, with an embossed background and vellum flowers.


Our theme at the Simon Says Stamp Monday Challenge Blog this week is We Can See Clearly. Fun! You can use any kind of clear or transpluscent element. Don't miss the gorgeous project by our June guest designer Nikki Acton created for you.

Please note: this post has affiliate links, for which I receive a small percentage of sales generated by the link, at no extra cost to you.
Layers of ink - Embossed Acetate Card Tutorial by Anna-Karin Evaldsson. With Simon Says Stamp Vine Canopy and Anna's Flowers.

It has been a while since I made a clear card, which is something I enjoy a lot. I also really like the look of embossed acetate or Clearly For Art Modeling Film and here I used the beautiful Simon Says Stamp Vine Canopy embossing folder.

Layers of ink - Embossed Acetate Card Tutorial by Anna-Karin Evaldsson. With Simon Says Stamp Vine Canopy and Anna's Flowers.

Make a card base from acetate or Clearly For Art Modeling Film. You can also use plastic packaging. Emboss in the Vine Canopy folder or in a different embossing folder.

Layers of ink - Embossed Acetate Card Tutorial by Anna-Karin Evaldsson. With Simon Says Stamp Vine Canopy and Anna's Flowers.

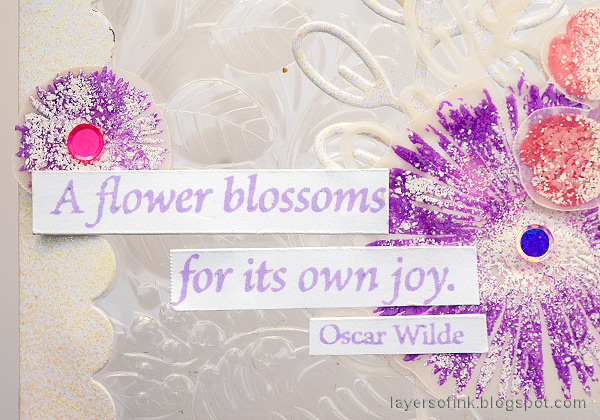
I did a fun technique for the flowers. Ink flowers from Anna's Flowers with Distress Oxide ink. Stamp on vellum. Sprinkle a little white embossing powder on the flowers and cover the rest with clear powder. Always be very careful when using a heat tool and never touch the melted powder until is has cooled down completely.

Layers of ink - Embossed Acetate Card Tutorial by Anna-Karin Evaldsson. With Simon Says Stamp Vine Canopy and Anna's Flowers.

The flowers get a nice mottled look, but are also shiny because of the embossing powder.

Layers of ink - Embossed Acetate Card Tutorial by Anna-Karin Evaldsson. With Simon Says Stamp Vine Canopy and Anna's Flowers.

I die cut two branches with the Simple Stem die from vellum and from glittery white paper.

Layers of ink - Embossed Acetate Card Tutorial by Anna-Karin Evaldsson. With Simon Says Stamp Vine Canopy and Anna's Flowers.

The sentiment was stamped with Lavender ink.

Layers of ink - Embossed Acetate Card Tutorial by Anna-Karin Evaldsson. With Simon Says Stamp Vine Canopy and Anna's Flowers.

Here's another look at the flowers. You can also do the technique on white paper.

Layers of ink - Embossed Acetate Card Tutorial by Anna-Karin Evaldsson. With Simon Says Stamp Vine Canopy and Anna's Flowers.

I cut a border from glittery white paper with the Slimline Borders and Edges set, to cover up the unembossed area at the spine of the card.

Layers of ink - Embossed Acetate Card Tutorial by Anna-Karin Evaldsson. With Simon Says Stamp Vine Canopy and Anna's Flowers.

The translucent flowers look nice if you hold the card up to the light, since it almost looks like the vellum shines. For more inspiration on the Vine Canopy embossing folder, check out my Watercoloring a dry embossed background and Silver Embossed Tropical Card.

I hope you will join us this week in our We Can See Clearly challenge. You have a chance to win a $25 gift voucher to do some fun shopping at Simon Says Stamp. You have until Monday 8am Ohio time. 1pm UK time, 2 pm CET to join in.


Do you use Instagram? If so please add #sssmchallenge so we can see your entries there too.


Thank you so much for taking the time to stop by here today! 

Happy crafting!

Anna-Karin

Supplies:

* Please note: the links are affiliate links, for which I receive a small percentage of sales generated by the link, at no extra cost to you.