Hello stampers! It is so beautiful outdoors with all the shades of autumn and I was inspired to create an autumn-themed card, using watercolor stamping and an easy background technique.

My card is a square card, a little larger than 6x6, folded at the top. I was inspired by the last autumn flowers and by the beautiful flower husks that you can find in nature now and created a card using only yellows, oranges and some browns. I used the Simon Says Stamp Laugh in Flowers set and Circle Pattern Background stamp, from the STAMPtember release.
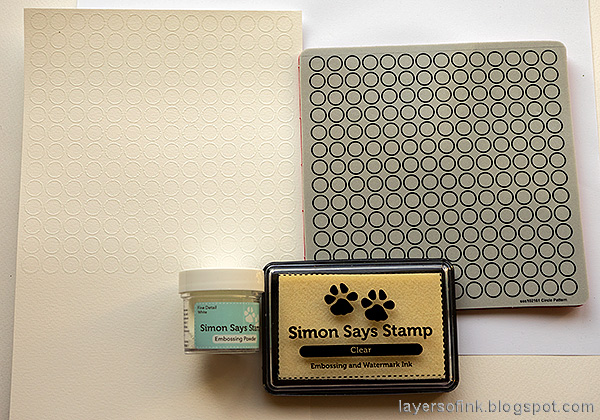
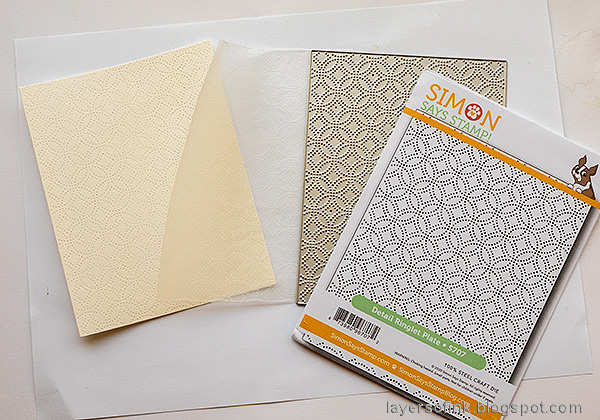
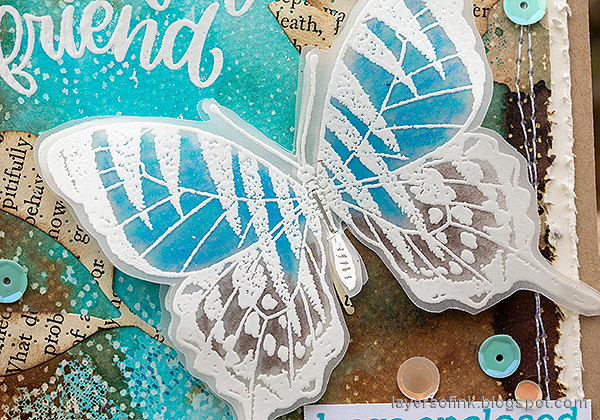
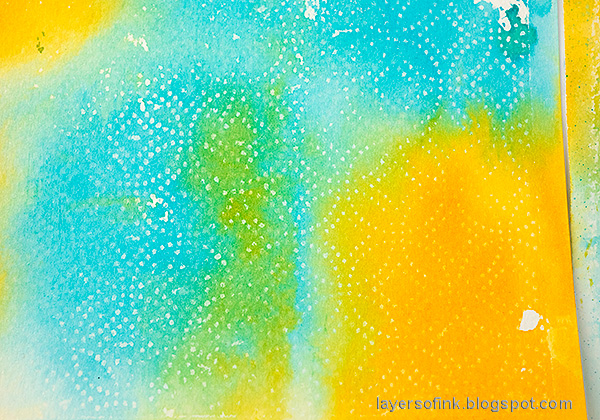
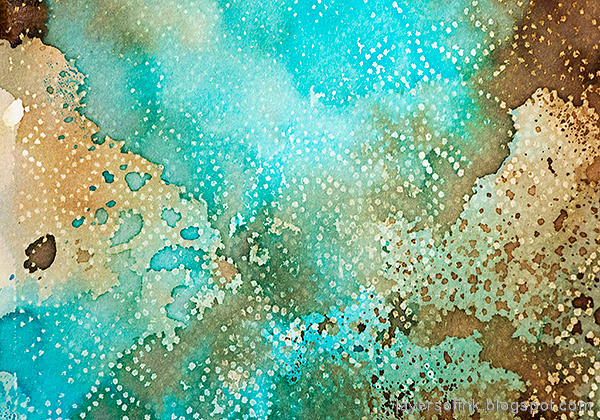
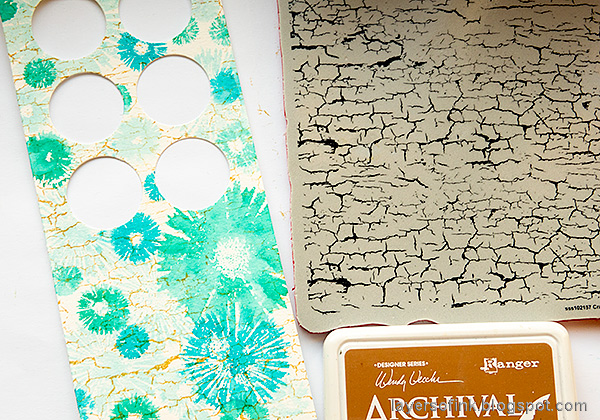
Start by white embossing the Circle Pattern Background on watercolor paper. I love circle and dot background stamps and this was designed to be a versatile stamp, which can be used for many themes and techniques.
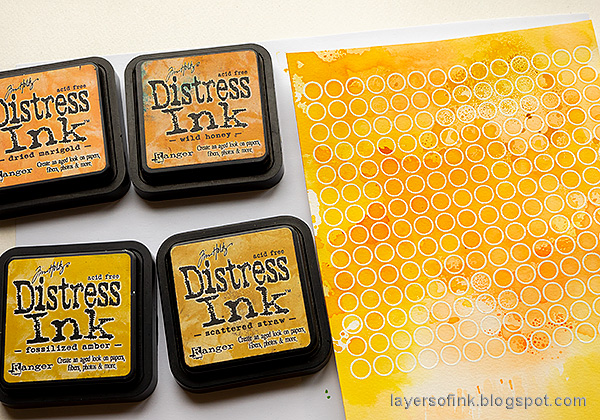
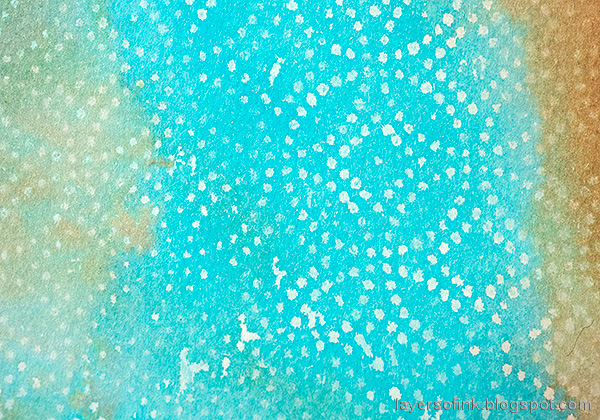
Smear Distress Inks on a non-stick craft sheet and mist with water. Press the paper into the ink. Let dry and repeat if you want stronger colors or more texture.

When dry, I watercolored some of the dots in the background, to make them stand out, while still keeping a tone-on-tone effect. Smear the inks on the non-stick craft sheet, mist once with water and pick up with a paint brush.

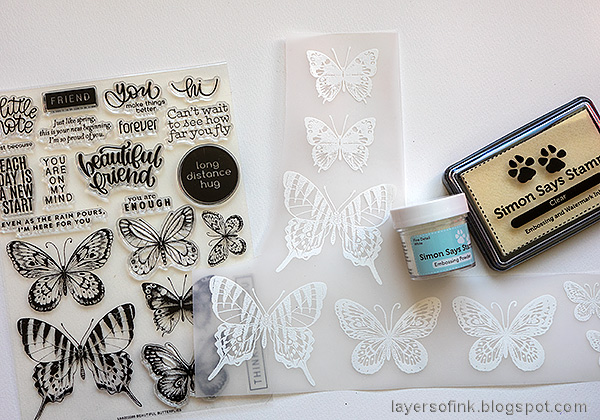
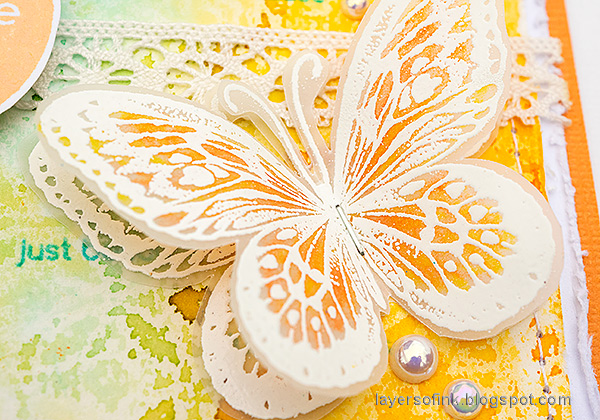
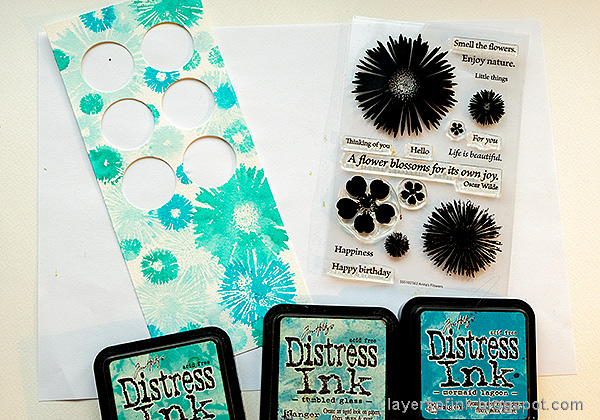
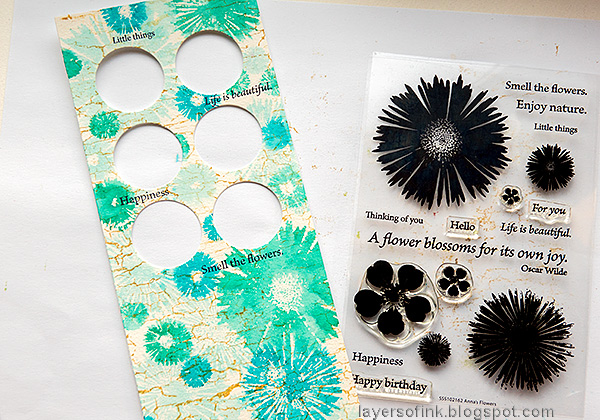
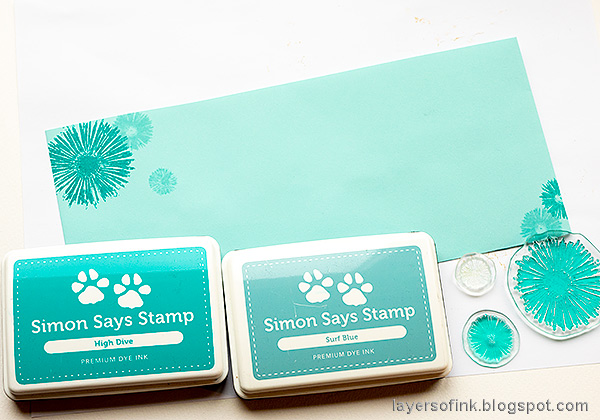
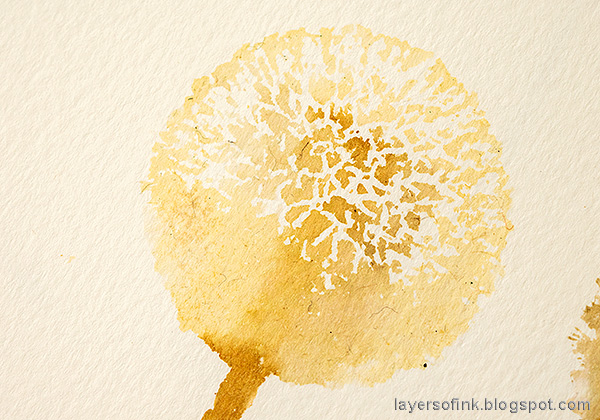
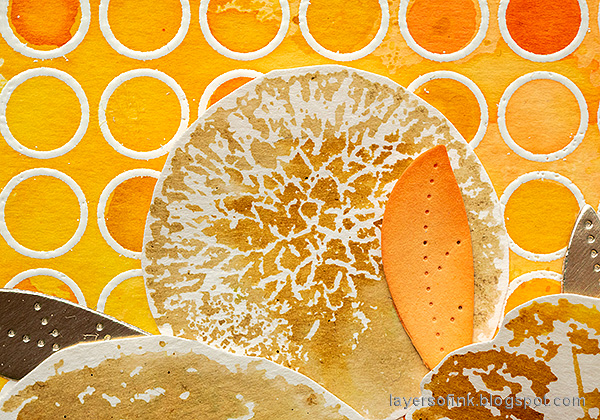
Next, I inked up the tree floral stamp from Laugh in Flowers with various shades of Distress Ink, using two or three shades on each flower. Mist about three times with water and stamp on watercolor paper.

I was having so much fun stamping with yellow and brown shades that I stamped a whole lot of flowers. I love watercolor stamping and the fact that you can still see the fine details, such as the thin stems between the flowers on the Queen Anne's Lace.

This flower was stamped with Antique Linen and Vintage Photo.

Here I used Fossilized Amber combined with various browns. Vintage photo gives a warmer and slightly lighter brown than Ground Espresso. You can see the two combined on the flower to the right.

On these, I think I used Antique Linen, Frayed Burlap and a little Vintage Photo and Ground Espresso.
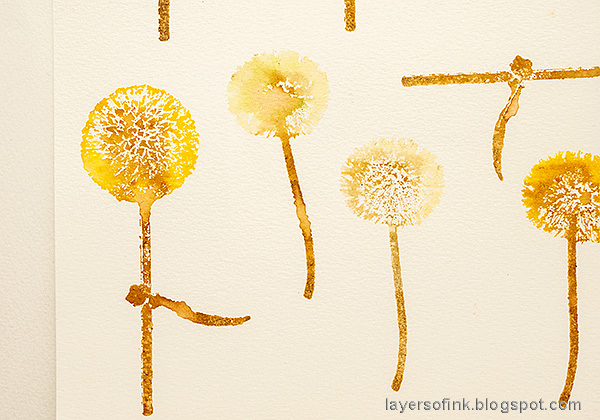
When you mist with more water, you will see fewer details, but using too little water makes the watercolor effect less visible. If you look at the two dandelions in the middle, I used a bit too little water on the one to the right and a little too much on the one to the left. But it of course depends on the look that you want. Sometimes I am after a very watery look, but today, I wanted to keep some details.
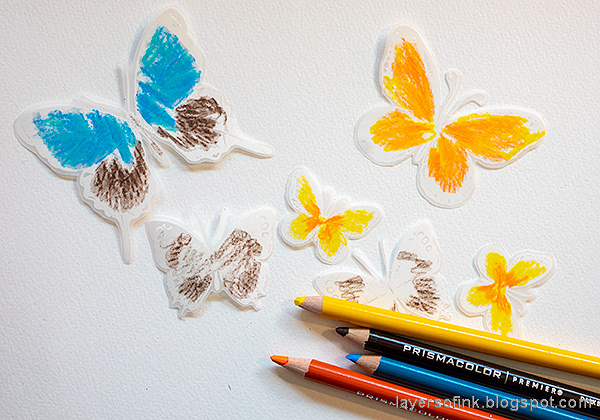
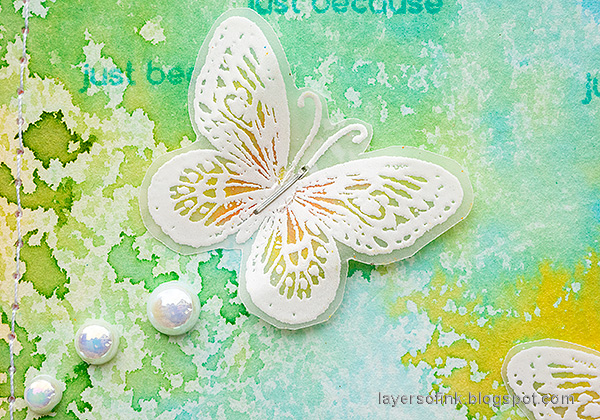
Cut out the flowers you want to use and layer them on the background.
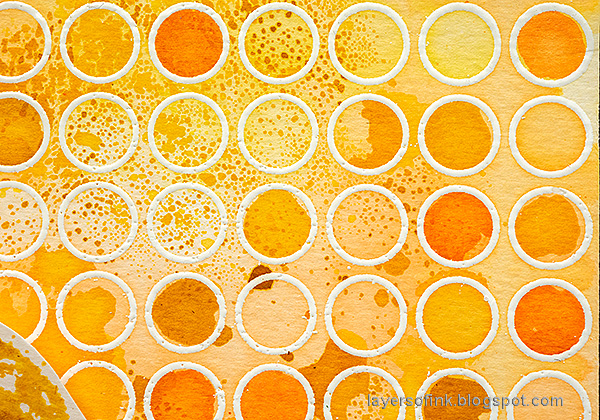
Adding color to just some of the dots makes for an interesting background. You can also use contrasting colors.

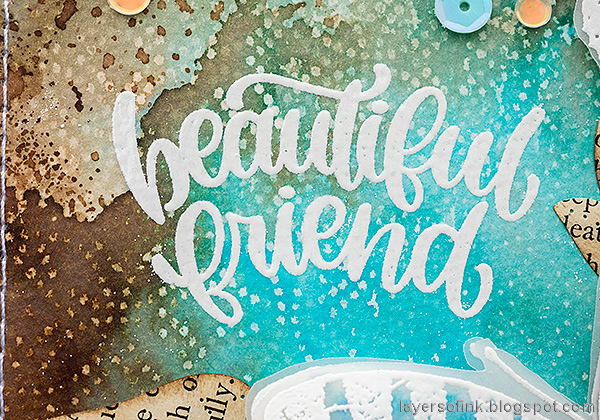
The sentiment also comes from the Laugh in Flowers set. For more inspiration with this stamp set, check out my Cling Wrap Watercolor Floral Tutorial.

At the bottom of the card, I added two pieces of Mummy Cloth, which had been dyed with Distress Ink, and three fibers that I found on my desk.

I die cut the leaves with the SSS Tender Leaves die, from watercolor paper and from gold paper. The watercolor ones were colored with Distress Inks.

You can see the shine from the gold leaves better here.

Thank you so much for taking the time to visit my blog today!
Happy crafting!
Anna-Karin
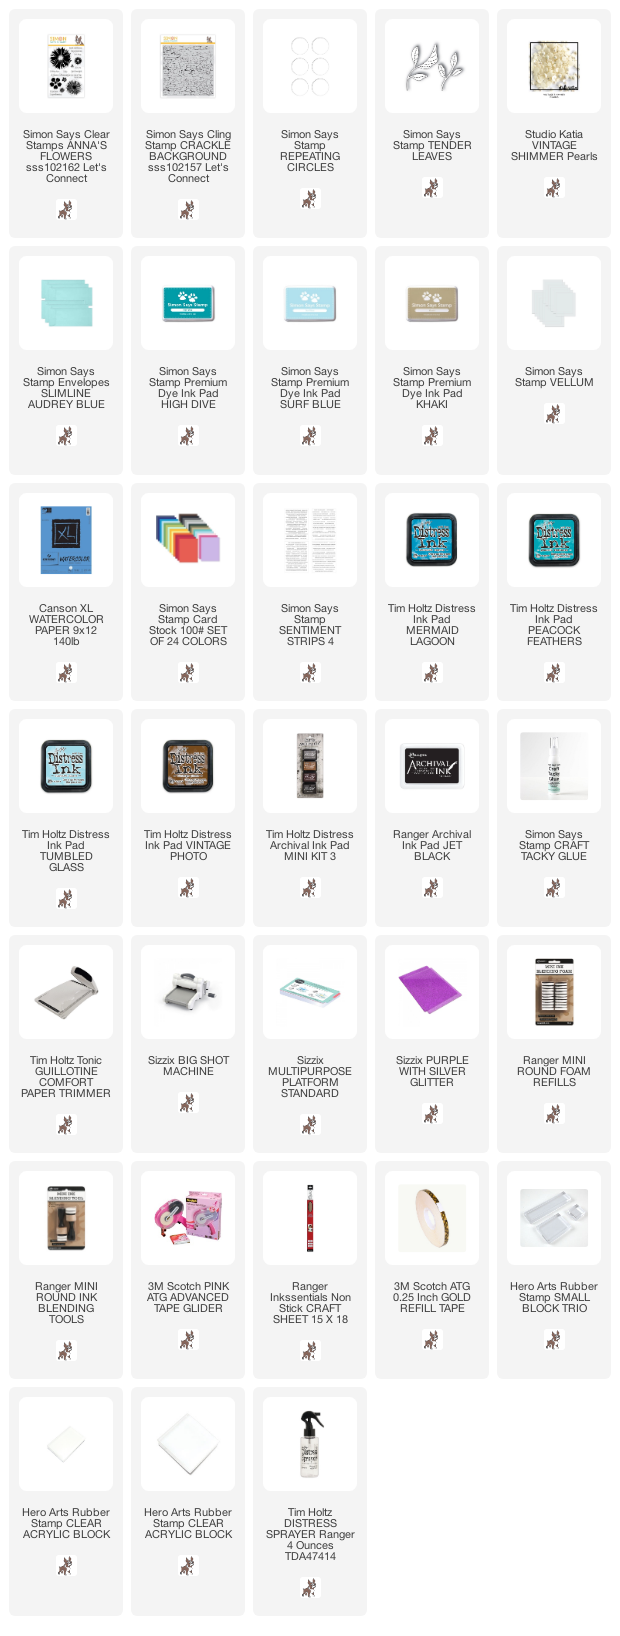
Supplies:
* Please note: the links are affiliate links, for which I receive a small percentage of sales generated by the link, at no extra cost to you.
* Please note: the links are affiliate links, for which I receive a small percentage of sales generated by the link, at no extra cost to you.