Hello friends! The weekend is almost here and today, I have a quick and easy mini book tutorial to share with you, which was made with Sizzix dies by Tim Holtz.

I made this little ticket book for my youngest son, and it is full of interesting images and words for him to learn. The book was kept quite plain and simple on purpose, so that the focus would be on the various images and concepts. It is also full of interesting textures. You can make the book for any theme, and add photos, text, embellishments etc. I used Tim Holtz Stacked Label set for the pages, but I think the shape also looks like a ticket, so I decided that in this case, it is a ticket and not a label. There is an idea-ology adornment globe on the cover.

I have a folder full of pieces of scrap papers that I colored while doing various techniques. I love to dig into that folder when making projects, and it is especially very handy for quick projects. If you want to start from scratch, color watercolor paper with watercolors, Distress Ink, Infusions, or any other media. Those were the three that I used here. Die cut using one of the labels from Tim's Stacked Label set. You can easily make a book using any of the five sizes of tickets in the set, ranging from 5" x 3 1/2" - 2 3/8" x 1 3/4". The one I used is 3 x 2.2 in.

Since I used a pretty small ticket, it was perfect for the small embossing folders that are included in the Side Order sets. I embossed the pages in folders from the following sets: Birthday, Springtime, Travel, and Valentine. This step gives instant interest and texture to the pages.

I used only Side Order sets - the ones linked above in addition to the Autumn set - to decorated the pages, die cutting various images that I knew Leo would like, from cardstock. Arrange them on top of the ticket pages, until you have decided what goes where.

Glue the parts of the die cuts together. Aren't they cute? I love all those tiny little details.

For the cover, I die cut a word using the Springtime set, and added some label letter stickers and a metallic globe embellishment.

I wanted to keep the pages simple, but you can of course add more details. Each image was accompanied by a word written in stickers. The words are all in Swedish - I will add little dots above some of the 'a's and 'o's later - this a for example, is meant to be an 'ä'.

Punch holes through the pages with a Crop-a-Dile and bind with rings. Here's a little die cut globe. The pages are also great for little photos.

Seasonal images can be used all year around.

A suitcase, with cute little labels.

Some leaves, since Leo loves to pick up leaves.

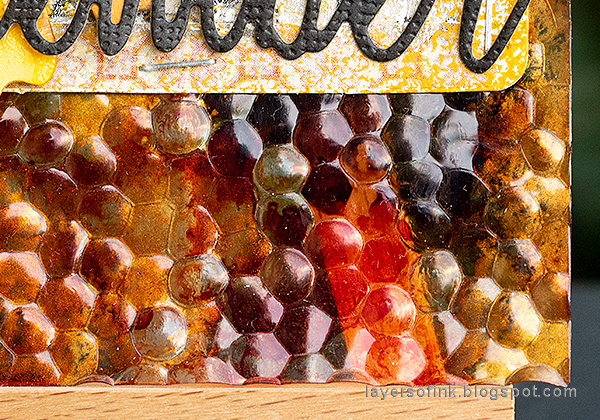
This background is one of my favorites. It was done with Paper Arty's Infusions, for more inspiration, check out my Geometric Banner or Guestbook tutorial.

And a favorite air plane.

There are lots of oak trees in the neighbourhood and I always walk around with acorns in my pockets that the kids found (and stones, etc.).

A cute pumpkin.

And a balloon from the party Birthday set.

This is a cute little book, that can easily be made larger, or smaller. You can also add more pages, and if you use larger rings, you can add a lot more pages. For an even sturdier book, die cut the covers from a thicker surface.
Thank you so much for stopping by today! I hope you will have a lovely weekend!
Happy crafting!
Anna-Karin
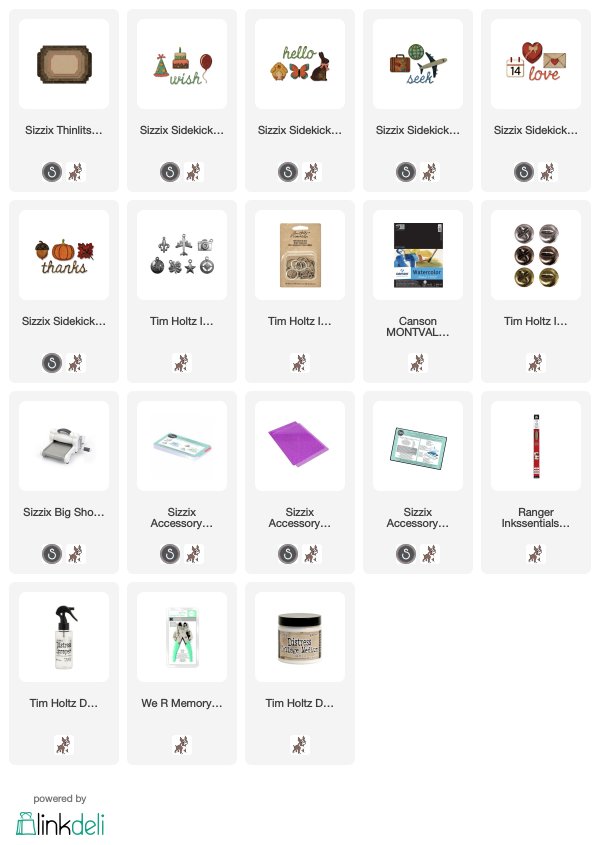
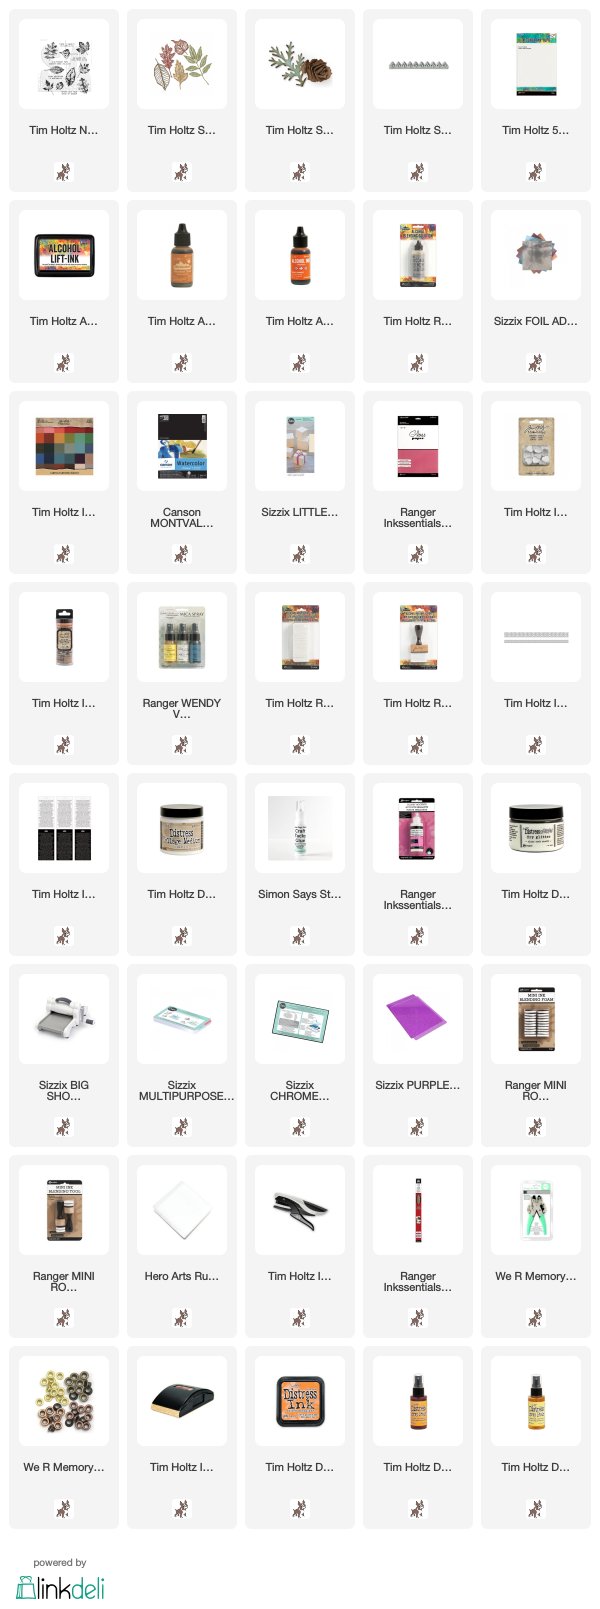
Supplies:
* Please note: the links are affiliate links, for which I receive a small percentage of sales generated by the link, at no extra cost to you.