Hello stampers! We are in the middle of a birthday period now, with my eldest having celebrated his birthday this weekend.
Please note: this post has affiliate links, for which I receive a small percentage of sales generated by the link, at no extra cost to you.
We have a Not a Card theme this week at the Simon Says Stamp Monday Challenge Blog. I hope you will join us! Don't miss the stunning project project by our February guest designer Cassie Lynch.
I started with the
stencil with the windows and the moon/sun. The windows were inked with Mustard Seed and the moon/sun with Mustard Seed and a little Ripe Persimmon. I used Tim's new
Tiny Blending Tool for the inking. The stencil was adhered with
Simon Says Stamp Very Very Low Tack Tape. Leave the stencil in place and apply
Sparkle Texture Paste over it with a palette knife. This step gives a sparkly look, but most importantly, will also protect the yellow areas from the subsequent inking.
Continue with one of the house stencils. The grid pattern makes it easy to line the stencils up. Again, I used the Very Very Low Tack Tape to keep in in place. Ink with Salvaged Patina.
Next, continue with Frayed Burlap. As you can see the Sparkle Paste resists the ink.
Next, I used Uncharted Mariner.
For the last houses, I used Ground Espresso. Aren't the Tiny Blending Tools cute?
I wasn't sure what color to use for the sky. I imagined this to be very early in the morning and didn't want a too dark sky. Use the stencil to mask out the top buildings. Then create a frame with
Very Very Low Tack tape to protect the background. Ink with Lost Shadow.
Remove the tape.
I added a few dots with a white gel pen, but decided to leave the houses as they were, without adding too many details.
I stamped a frame around the village with words and sentiments. They come from
Tim Holtz Tiny Text and I placed them out and moved them around before deciding where to stamp each sentiment. The corners around the stamped edges were drawn with a
brown Tombow pen.
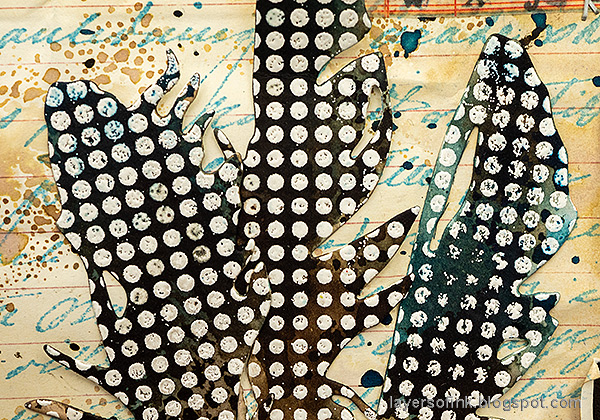
I really like how the ledger grid pattern is visible through the inking, and particularly so on the darker houses. The print ink must create a resist effect.
I also added a few Clippings Stickers to the background.
More
Worn Text stamping. I stamped and wrote some of the street numbers that I have lived at through the years.
Don't worry if the alignment of the stencils isn't perfect. My alignment was slightly off once, but that created a nice highlight at some of the houses.
I hope you will join us this week in our Not a Card challenge. You have a chance to win a $25 gift voucher to do some fun shopping at Simon Says Stamp. You have until Monday 8am Ohio time. 1pm UK time, 2 pm CET to join in.
Do you use Instagram? If so please add #sssmchallenge so we can see your entries there too.
Thank you so much for stopping by here today!
Happy crafting!
Anna-Karin
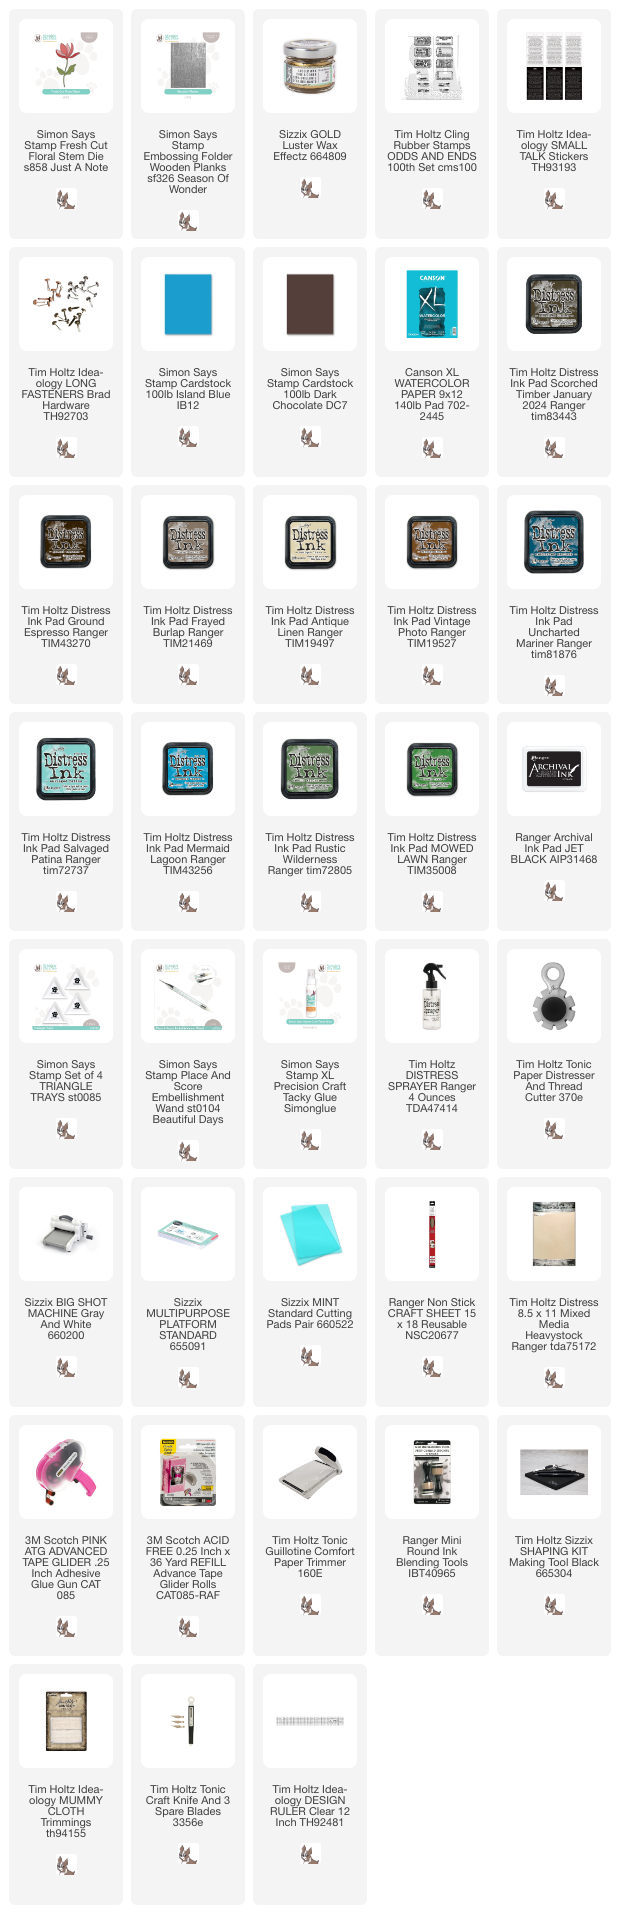
Supplies:
* Please note: the links are affiliate links, for which I receive a small percentage of sales generated by the link, at no extra cost to you.