
Hi friends! Today I have a card to share with a fun wood plank background.
Please note: this post has affiliate links, for which I receive a small percentage of sales generated by the link, at no extra cost to you.


Start by applying shades of brown Distress Ink to a non-stick craft sheet, mist with water and press watercolor paper into the ink. Emboss in Simon Says Stamp Wooden Planks folder.

When the ink is dry, add more ink with an ink blending tool. This step will increase the woodgrain texture.


Glue the planks to old book paper. Cut the top planks with a pair of scissors before gluing, to give the image of broken planks. Apply Sizzix Luster Wax Gold here and there.

Die cut Simon Says Stamp Fresh Cut Floral Stem from Ranger heavystock paper.

Apply Distress Ink to a non-stick craft sheet and mist with water. Press the flowers into the ink. Let dry and repeat until you are happy with how they look. Make the smaller petals darker.

I wanted it to look like someone had nailed the sentiment to the planks. The sentiment comes from Tim Holtz Odds & Ends and was stamped on scrap inky paper. Adhere with Tim's brads.

Shape the flowers with a shaping kit before assembling, for extra dimension.

Glue the two flowers to the background.


The Luster Wax adds a nice shine to the wood planks.

Thank you so much for stopping by here today!
Anna-Karin
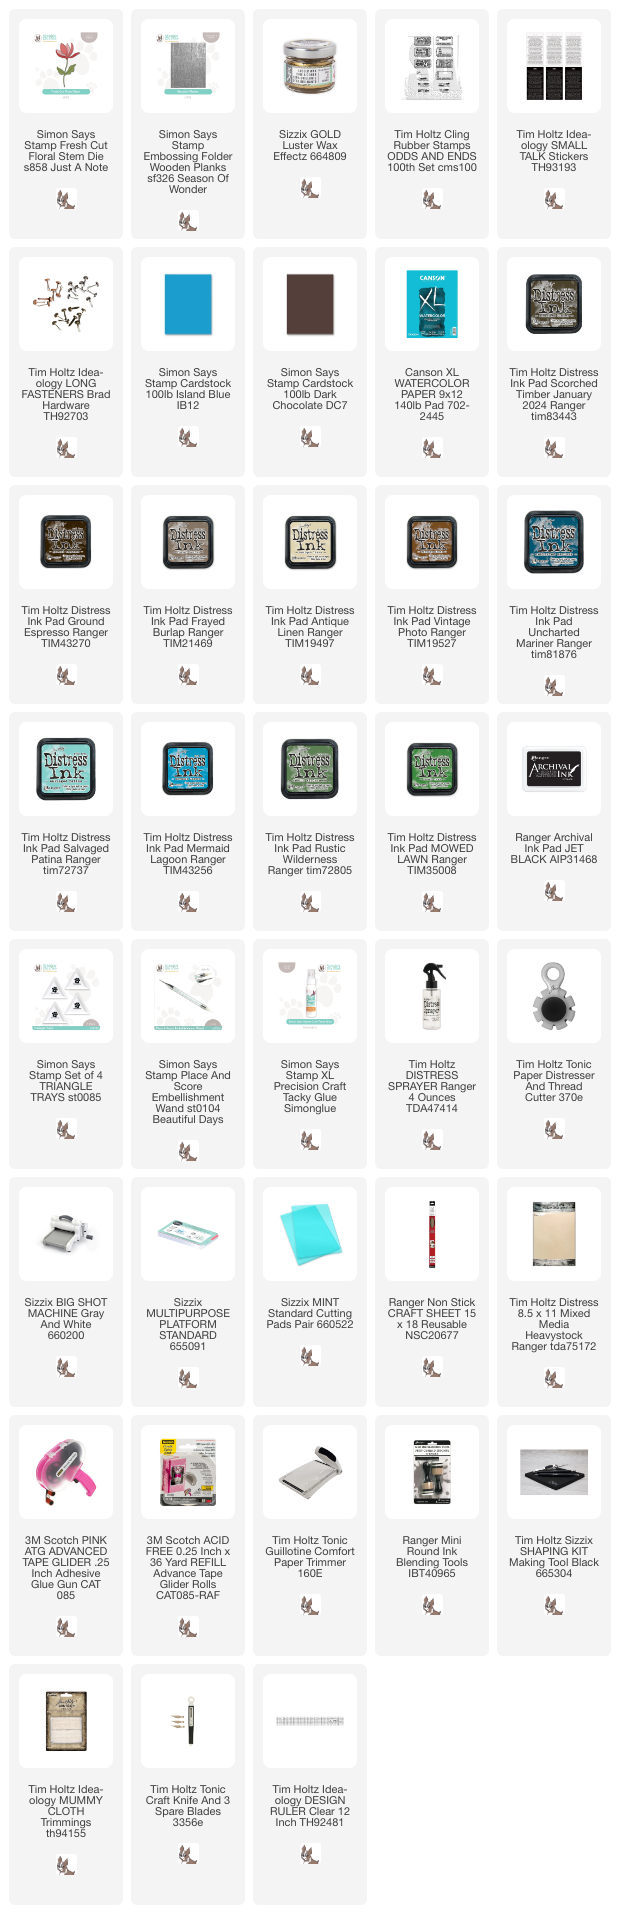
Supplies:
* Please note: the links are affiliate links, for which I receive a small percentage of sales generated by the link, at no extra cost to you.
* Please note: the links are affiliate links, for which I receive a small percentage of sales generated by the link, at no extra cost to you.
No comments:
Post a Comment
Thank you so much for leaving a comment! Happy Crafting!