
Hi friends! The sun is shining, but it is cold and I was in the mood for butterflies. Today I am sharing two butterfly Artist Trading Cards. You can easily turn them into cards, if you rather want that.
Please note: this post has affiliate links, for which I receive a small percentage of sales generated by the link, at no extra cost to you.

I enjoy switching between differently sized project and it is fun to work on the smaller surface of an ATC (2.5 x 3.5 in). On a small size, small stamps will also appear larger, which is fun if you have a small stamp that deserves to shine. The butterflies were colored with colored pencils. I like to color on a tinted and textured, but still neutral, surface.

Start by making the backgrounds, by smearing Distress Inks on a non-stick craft sheet, mist with water and press watercolor paper into the ink. Let dry and repeat until you are happy. I used Antique Linen, Frayed Burlap and a little Pumice Stone. Cut ATCs from the paper. Stamp with butterflies from Simon Says Stamp Beautiful Butterflies.

Color the butterflies with colored pencils. I used Prismacolors. You can use a white pencil to blend the colors.

Add a shadow with grey pencils. Bring back some of the details with a black pen and add highlights with a white paint pen.

Stamp the cards with Simon Says Stamp Crackle Background and Potting Soil Archival Ink.

I also splattered a little Scorched Timber Distress Ink on the cards, avoiding the text and the butterflies. The sentiments come from Tim Holtz Tiny Text.

Add a trail of diamonds after the butterflies.

Coloring butterflies is fun and you can try out various color combos.

Round the corners with a Corner Chomper and ink with Scorched Timber.

The second card has a blue/turquoise/orange color combo.

Stamp one of the butterflies so that it extends off the edge, for a finished look.

A white paint pen sticks better to the colored pencil areas than a white gel pen.


Thank you so much for stopping by here today!
Anna-Karin
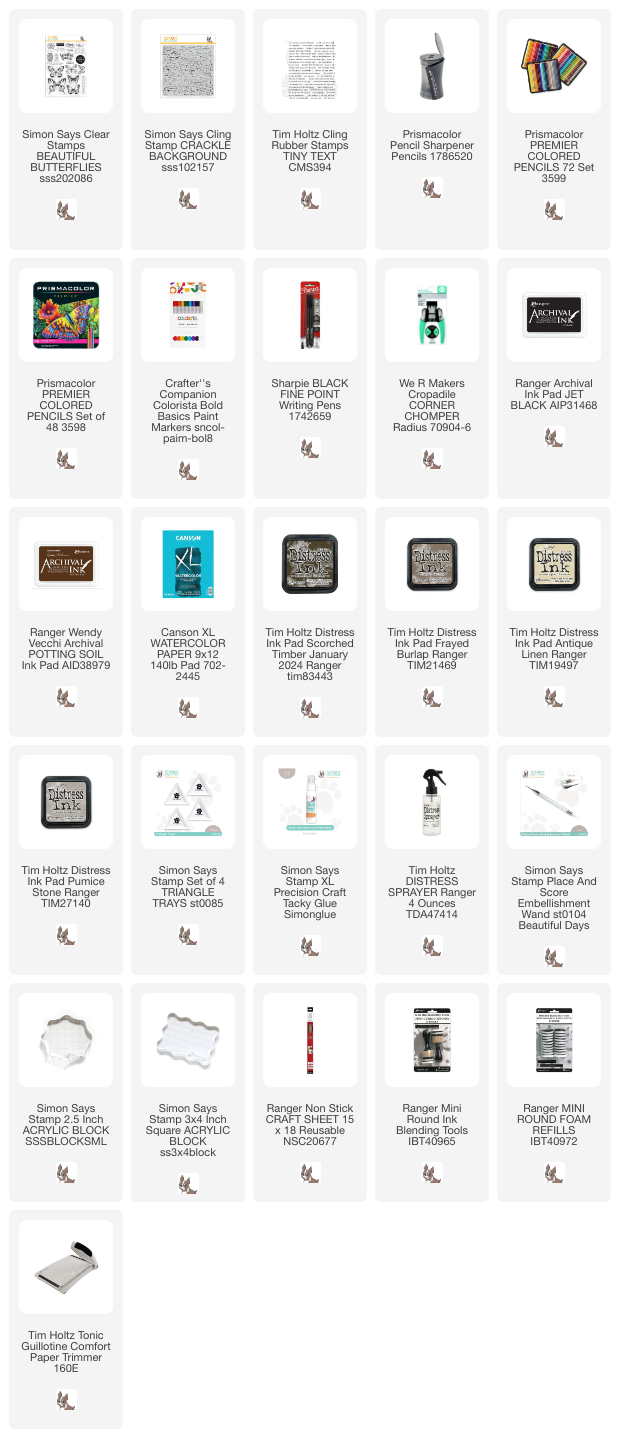
Supplies:
* Please note: the links are affiliate links, for which I receive a small percentage of sales generated by the link, at no extra cost to you.
* Please note: the links are affiliate links, for which I receive a small percentage of sales generated by the link, at no extra cost to you.
No comments:
Post a Comment
Thank you so much for leaving a comment! Happy Crafting!