
Hello stampers! Today I have a fun card with dimensional colorful and glittery flowers to share with you.
Please note: this post has affiliate links, for which I receive a small percentage of sales generated by the link, at no extra cost to you.

These layered flowers are fun to make and you can combine any patterns or colors. They are pretty dimensional, but if you want them flatter, just omit the foam tape. The background is dry embossed and inked. The flowers were colored with Distress Watercolor Pencils, but you can also use ink or paint.

I thought it would be fun to make layered flowers with the Simon Says Stamp Bold Scandinavian Floral set. Die cut them from Ranger Heavystock paper.

Watercolor the flowers with Distress Watercolor Pencils. I aimed for an uneven look.

When dry, stamp them with two background stamps: Simon Says Stamp Crackle Background and Not Quite a Dot background. I used coordinating colors.

Crumble the flowers up.


Assemble the flowers. I added Simon Says Stamp Pawsitively Perfect Foam tape in between some of the layers.

I used heavystock paper for the background and dragged an Antique Linen pad over the background in both directions. Next. I did the same with Frayed Burlap, but only here and there. It makes for almost a linen look.

Emboss in Simon Says Stamp Criss Cross Floral.

Ink with Frayed Burlap and Scorched Timber.

Leaves were die cut from old book paper using Simon Says Stamp Tattered Leaves. Ink by pressing Antique Linen against the leaves.

The title was die cut using Simon Says Stamp Scripty Hello and colored with Distress Watercolor pencils in an ombre pattern. Die cut a mat from turquoise cardstock and add Stickles around the edges of the yellow die cut.

The dry embossed background gives texture, while still being fairly neutral.

I adhered one of the flowers with a double layer of foam tape.

If you want a less glittery look, just omit the glitter. You can also ink the edges for a distressed look.


Thank you so much for stopping by here today!
Anna-Karin
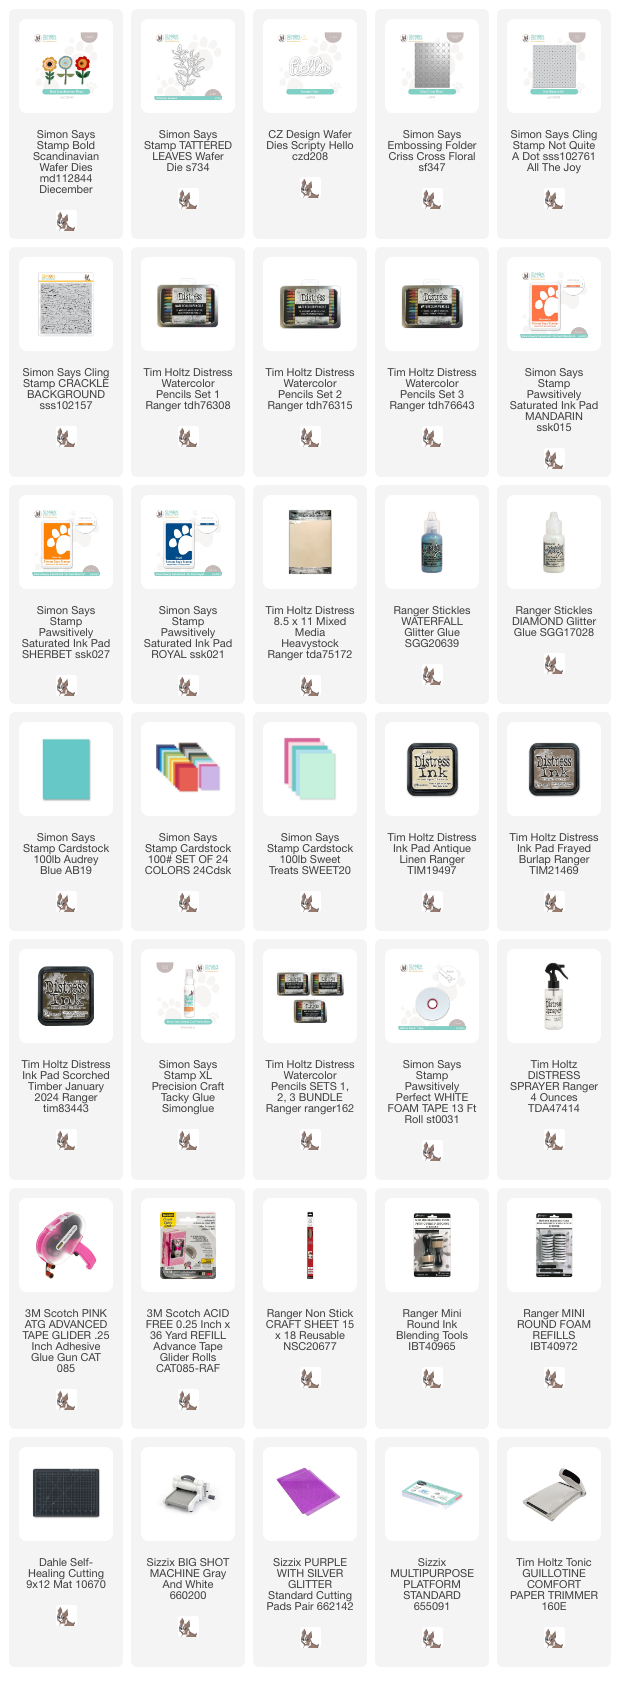
Supplies:
* Please note: the links are affiliate links, for which I receive a small percentage of sales generated by the link, at no extra cost to you.
* Please note: the links are affiliate links, for which I receive a small percentage of sales generated by the link, at no extra cost to you.
No comments:
Post a Comment
Thank you so much for leaving a comment! Happy Crafting!