Thursday, August 31, 2023

Coneflowers Art Journal Page

Hi friends! I have an art journal tutorial to share today, but it can also easily be turned into a card instead. 

Please note: this post has affiliate links, for which I receive a small percentage of sales generated by the link, at no extra cost to you.

Layers of ink - Coneflowers Art Journal Page Tutorial by Anna-Karin Evaldsson.

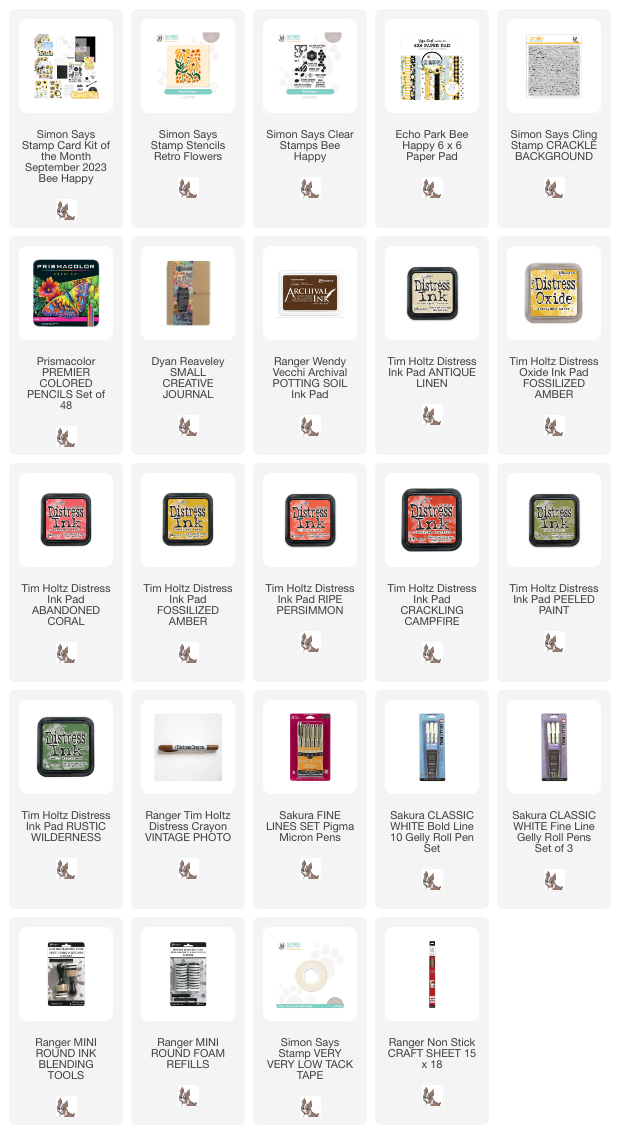
I used the Simon Says Stamp Bee Happy Card Kit for this art journal page, working in my Small Creative Journal. Apart from the ink and the crackle stamp, everything else comes from the kit. If the kit has sold out, you can get the products separately. You can also do the same technique with other stencils.

Layers of ink - Coneflowers Art Journal Page Tutorial by Anna-Karin Evaldsson. Ink with Antique Linen

Ink the page with Antique Linen.

Layers of ink - Coneflowers Art Journal Page Tutorial by Anna-Karin Evaldsson. Ink through stencil.

Ink through the first Retro Flowers layering stencil using Distress Inks and an ink-blending tool.

Layers of ink - Coneflowers Art Journal Page Tutorial by Anna-Karin Evaldsson. Add green ink.

Ink the stems with green ink.

Layers of ink - Coneflowers Art Journal Page Tutorial by Anna-Karin Evaldsson.

Apply Vintage Photo Distress Crayon through the fourth stencil. I didn't use the third stencil.

Layers of ink - Coneflowers Art Journal Page Tutorial by Anna-Karin Evaldsson. Stamp with honeycomb.

Stamp the honeycomb from Simon Says Stamp Bee Happy with oxide ink.

Layers of ink - Coneflowers Art Journal Page Tutorial by Anna-Karin Evaldsson.

Stamp sentiments and bees with Potting Soil ink.

Layers of ink - Coneflowers Art Journal Page Tutorial by Anna-Karin Evaldsson. Stamp with Crackle Background.

Add texture with Simon Says Stamp Crackle Background and Potting Soil ink. I had stamped the main sentiment on a piece of patterned paper from the kit too, but decided to keep the stamping that was done on the page, even though it wasn't perfect. I had planned to cover it up with the sentiment stamped on the paper strip.

Layers of ink - Coneflowers Art Journal Page Tutorial by Anna-Karin Evaldsson.

Add highlights and details with a black and a white pen, ink around the edges with brown ink and add soil with the brown crayon.

Layers of ink - Coneflowers Art Journal Page Tutorial by Anna-Karin Evaldsson. Add details with a white and black pen.

You can skip the pen marks on the flowers if you want to.

Layers of ink - Coneflowers Art Journal Page Tutorial by Anna-Karin Evaldsson.

This Retro Flower Layering Stencil is great and I love the look of these coneflowers.

Layers of ink - Coneflowers Art Journal Page Tutorial by Anna-Karin Evaldsson.

I added just a bit of the white gel pen on the wings of the bees and colored their bodies with pencils.

Layers of ink - Coneflowers Art Journal Page Tutorial by Anna-Karin Evaldsson.

The crackles add just a bit of texture.

Layers of ink - Coneflowers Art Journal Page Tutorial by Anna-Karin Evaldsson.

Even though I missed up the stamping of this sentiment, it fitted better on the page than the cover-up stamping that I did on a paper strip. I also like the texture in the honeycombs.

Layers of ink - Coneflowers Art Journal Page Tutorial by Anna-Karin Evaldsson.

Wise words.


Thank you so much for stopping by here today! See you soon again.

Happy crafting!

Anna-Karin

Supplies:

* Please note: the links are affiliate links, for which I receive a small percentage of sales generated by the link, at no extra cost to you.


Tuesday, August 29, 2023

Bookmarks and Tall Card

 Hi friends! Today I have two bookmarks and one tall card to share.

Please note: this post has affiliate links, for which I receive a small percentage of sales generated by the link, at no extra cost to you.

Layers of ink - Bookmarks and Tall Card Tutorial by Anna-Karin Evaldsson.

I was so sad to hear about Rachel Grieg from Darkroom Door passing away. Rachel was so kind, positive and creative, among many other things. She was very inspirational and I really miss her emails and updates on social media. I was on the Darkroom Door for a many years and have loved creating with Rachel's gorgeous stamps. I made this project earlier this month with one of Rachel's stamps. 

Layers of ink - Bookmarks and Tall Card Tutorial by Anna-Karin Evaldsson. White emboss the background.

Start by cutting three strips of heavystock paper. White emboss the Darkroom Door You Matter stamp on each strip. 

Layers of ink - Bookmarks and Tall Card Tutorial by Anna-Karin Evaldsson. Ink with Distress Ink.

Smear Distress Inks on a non-stick craft sheet and mist with water. I used a different color combo for each strip. Press the paper into the ink. The embossing will resist the ink.

Layers of ink - Bookmarks and Tall Card Tutorial by Anna-Karin Evaldsson.  Add more distress ink.

When dry, repeat until you are happy with the look.

Layers of ink - Bookmarks and Tall Card Tutorial by Anna-Karin Evaldsson.

I turned two of the strips into bookmark, using my Crop-a-dile and Angle Corner Chomper.

Layers of ink - Bookmarks and Tall Card Tutorial by Anna-Karin Evaldsson. Dye the ribbons.

The ribbon was dyed with Distress Ink so that it would coordinate with the colors of the bookmarks and card. Apply ink, mist with water and crinkle.

Layers of ink - Bookmarks and Tall Card Tutorial by Anna-Karin Evaldsson.

Here are the two bookmarks. They make great gifts too, but I am going to use them in my art journals and notebooks. 

Layers of ink - Bookmarks and Tall Card Tutorial by Anna-Karin Evaldsson.

Don't worry if your stamping and embossing isn't perfect, it adds to the distressed look.

Layers of ink - Bookmarks and Tall Card Tutorial by Anna-Karin Evaldsson.

The sentiments on this stamp are wonderful and can also be used on their own.

Layers of ink - Bookmarks and Tall Card Tutorial by Anna-Karin Evaldsson.

I have been dying a lot of ribbon lately. 

Layers of ink - Bookmarks and Tall Card Tutorial by Anna-Karin Evaldsson.

The card is tall and skinny. I distressed the edges of the stamped panel and mounted it on a piece of Backdrops paper, teal paper and then on folded kraft paper.

Layers of ink - Bookmarks and Tall Card Tutorial by Anna-Karin Evaldsson.


Thank you so much for stopping by here today! See you soon again.

Happy crafting!

Anna-Karin

Supplies:

* Please note: the links are affiliate links, for which I receive a small percentage of sales generated by the link, at no extra cost to you.


Monday, August 28, 2023

Shimmery Moonlight Tag

Hello friends! I hope you had a nice weekend and got some crafty time.

Please note: this post has affiliate links, for which I receive a small percentage of sales generated by the link, at no extra cost to you.


We have a Sparkle and Shine theme at the Simon Says Stamp Monday Challenge Blog this week. Glitter, shimmery sprays and papers, embossing powders and anything that sparkles and shines. Fun! Don't miss the last stunning project by our August guest designer Carrie Swift aka Redfire Studios.


Layers of ink - Shimmery Moonlight Tag Tutorial by Anna-Karin Evaldsson.

I made a tag with lots of sparkle and shine, using Simon Says Stamp glitter paper and Ranger Distress Mica Stains. The seasons are starting to turn and it was time for a Halloween/autumn project, inspired by harvest moons. I used some new Halloween products by Tim Holtz.

Layers of ink - Shimmery Moonlight Tag Tutorial by Anna-Karin Evaldsson. Ink with Distress Ink.

Die cut the moon from Tim Holtz Sizzix Moonlight set from heavystock paper. Ink with orange shades of Distress Ink, making the solid piece darker than the detailed one.

Layers of ink - Shimmery Moonlight Tag Tutorial by Anna-Karin Evaldsson. Stamp with Simon Says Stamp Crackle Background.

For a bit of texture, stamp with Simon Says Stamp Crackle Background and Watering Can ink.

Layers of ink - Shimmery Moonlight Tag Tutorial by Anna-Karin Evaldsson. Emboss in Sizzix Cracked folder.

Emboss a tag in the new Tim Holtz Sizzix Cracked 3-D folder.

Layers of ink - Shimmery Moonlight Tag Tutorial by Anna-Karin Evaldsson. Mist with Tim Holtz Distress Mica Stain.

Mist heavily with Distress Mica Stains. I used Phantom Mist and Ominous Twilight.

Layers of ink - Shimmery Moonlight Tag Tutorial by Anna-Karin Evaldsson. Die cut bats from Simon Says Stamp glitter cardstock.

The bats were die cut with the Moonlight set from Simon Says Stamp glitter paper. I love the instant effect of glitter with any of the mess and use glitter paper a lot.

Layers of ink - Shimmery Moonlight Tag Tutorial by Anna-Karin Evaldsson. Shimmer

I added a little black ink along the edges of the tag.

Layers of ink - Shimmery Moonlight Tag Tutorial by Anna-Karin Evaldsson. Mist the ribbon with Mica Stains.

The faux silk ribbon was also misted with Phantom Mist and Ominous Twilight giving it a shimmery look and coordinating with the tag.

Layers of ink - Shimmery Moonlight Tag Tutorial by Anna-Karin Evaldsson. Add a sticker sentiment.

The sentiments come from Tim Holtz Halloween 2023 sticker book.

Layers of ink - Shimmery Moonlight Tag Tutorial by Anna-Karin Evaldsson.

I shaped the wings of the bats so that they flutter across the tag.

Moon was die cut with Tim Holtz Sizzix Emporium.

The title was die cut with Tim Holtz Sizzix Emporium Alphanumerical, from Halloween Backdrops paper.

Layers of ink - Shimmery Moonlight Tag Tutorial by Anna-Karin Evaldsson.

Here you can see the dimension of the bats.

Layers of ink - Shimmery Moonlight Tag Tutorial by Anna-Karin Evaldsson.


I hope you will join us this week in our Sparkle and Shine challenge. You have a chance to win a $25 gift voucher to do some fun shopping at Simon Says Stamp. You have until Monday 8am Ohio time. 1pm UK time, 2 pm CET to join in.

We also have our annual Kid's Vacation Challenge, with an Anything Goes theme. It is open for kids ages 2-16 years old. You can read more here.


Do you use Instagram? If so please add #sssmchallenge so we can see your entries there too.


Thank you so much for stopping by here today! 

Happy crafting!

Anna-Karin

Supplies:

* Please note: the links are affiliate links, for which I receive a small percentage of sales generated by the link, at no extra cost to you.


Monday, August 21, 2023

Coffee Card Tutorial

Hello friends! It is Monday and we have a new Simon Says Stamp Monday Challenge Blog theme for you.

Please note: this post has affiliate links, for which I receive a small percentage of sales generated by the link, at no extra cost to you.


This week our theme is Delicious Drinks. I hope you will join us in the challenge. During August, Carrie Swift aka Redfire Studios is our guest designer.

Layers of ink - Coffee Card Tutorial by Anna-Karin Evaldsson.

I made a coffee-themed card this week, with splatters and stamped images colored with pencils. The stamps are from Tim Holtz Mini Blueprints 9 set. I lined the images up with the help of the stamped dots in the background, so that there would just be one line of dots in between the images.

Layers of ink - Coffee Card Tutorial by Anna-Karin Evaldsson. Stamp with Tim Holtz Mini Blueprints 9.

Stamp the images from Mini Blueprints 9 on Backdrop paper with black ink.

Layers of ink - Coffee Card Tutorial by Anna-Karin Evaldsson. Color with colored pencils.

Color with colored pencils. I used Prismacolors and used the white pencil to blend the colors slightly.

Layers of ink - Coffee Card Tutorial by Anna-Karin Evaldsson. Ink with Distress Ink.

Smear Distress Ink on a non-stick craft sheet, mist with water and pick up with a paint brush. Tap the paint brush to create splatters.

Layers of ink - Coffee Card Tutorial by Anna-Karin Evaldsson. Stamp with Simon Says Stamp Halftone.

Stamp Simon Says Stamp Halftone Background with brown ink on kraft paper.

Layers of ink - Coffee Card Tutorial by Anna-Karin Evaldsson.

I inked the edges of the panels with Vintage Photo.

Layers of ink - Coffee Card Tutorial by Anna-Karin Evaldsson.

I also added a few pink pearls.

Layers of ink - Coffee Card Tutorial by Anna-Karin Evaldsson. Coffee cup.

I almost only drink coffee in this format, with my favorite cups.

Layers of ink - Coffee Card Tutorial by Anna-Karin Evaldsson. Coffee beans.

My favorite image is the one with the coffee beans.

Layers of ink - Coffee Card Tutorial by Anna-Karin Evaldsson.

The sentiment was stamped with Tim Holtz Tiny Text and cut into a strip. I placed a piece of lace trim underneath. 

I hope you will join us this week in our Delicious Drinks challenge. You have a chance to win a $25 gift voucher to do some fun shopping at Simon Says Stamp. You have until Monday 8am Ohio time. 1pm UK time, 2 pm CET to join in.

We also have our annual Kid's Vacation Challenge, with an Anything Goes theme. It is open for kids ages 2-16 years old. You can read more here.


Do you use Instagram? If so please add #sssmchallenge so we can see your entries there too.


Thank you so much for stopping by here today! 

Happy crafting!

Anna-Karin

Supplies:

* Please note: the links are affiliate links, for which I receive a small percentage of sales generated by the link, at no extra cost to you.