Hi stampers! It is Monday and this week school starts again. I hope summer will still last a little longer.
Please note: this post has affiliate links, for which I receive a small percentage of sales generated by the link, at no extra cost to you.
This week at the Simon Says Stamp Monday Challenge Blog we have a Use your Favorite Technique theme. I have way too many favorite techniques to pick just one or two, but ended up using a bunch of favorites such as resist and texture created by layers of Distress Ink and Distress Oxide Ink.
Don't miss the project by our August guest designer Carrie Swift aka Redfire Studios.
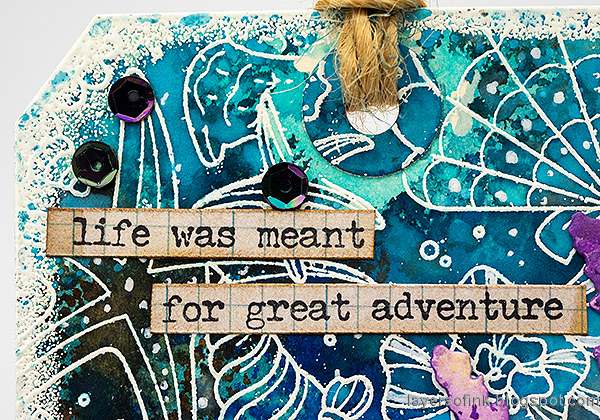
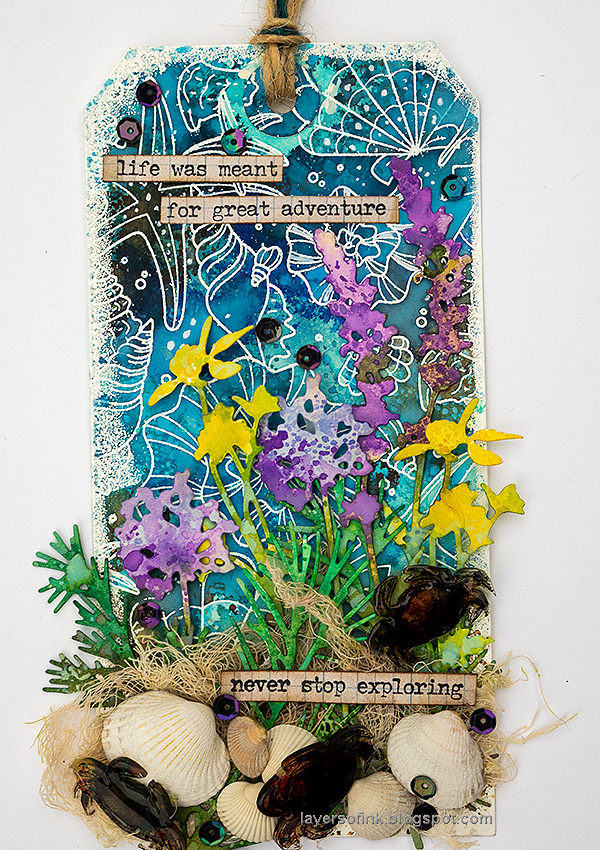
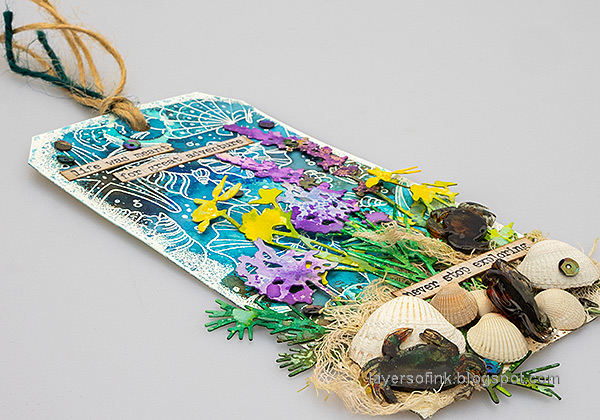
We have had a week and a half in a cabin at the sea and it was the inspiration for this tag. We had some calm days, but also quite a few very stormy days, with a wild sea and trees falling. The background is inspired by the storm, while the plants are inspired by the calm weather and the beautiful moor we walked through to the sea. These flowers as well as pine trees could be found at the sea. There are also some shells that I picked on the beach.
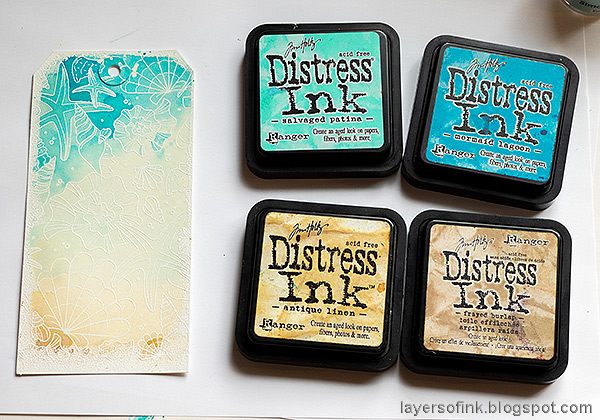
Smear Distress Inks on a non-stick craft sheet, mist with water and press the paper into the ink.
When dry, repeat until you are happy with the look.
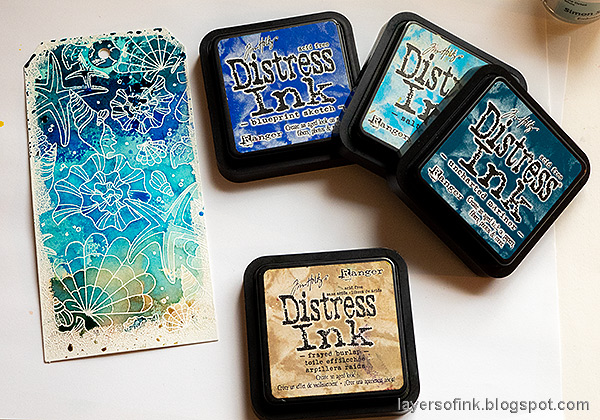
Continue adding more Distress Ink in the same way, but this time, don't press the tag into the ink, just touch the ink with the tag, to get a splattered look.
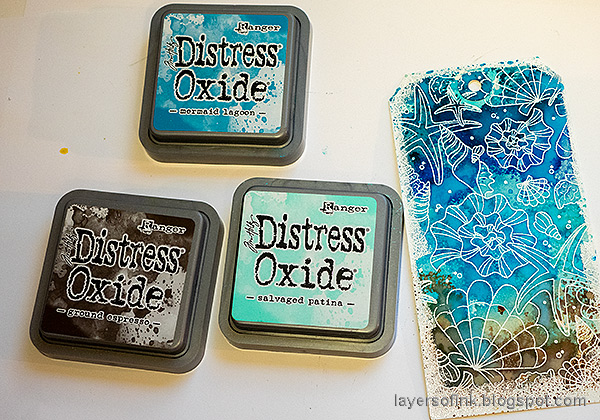
Finally, add a last layer of Distress Oxide Ink, again just touching the paper to the ink.
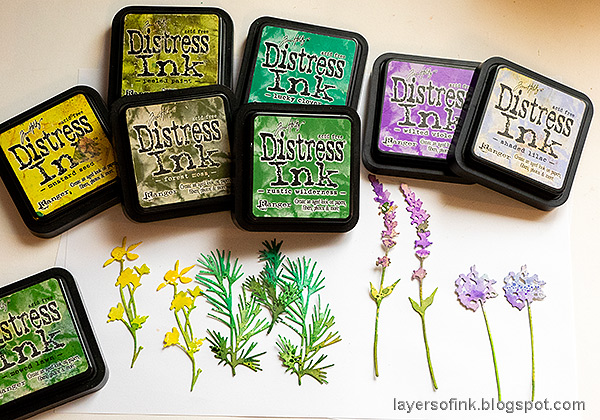
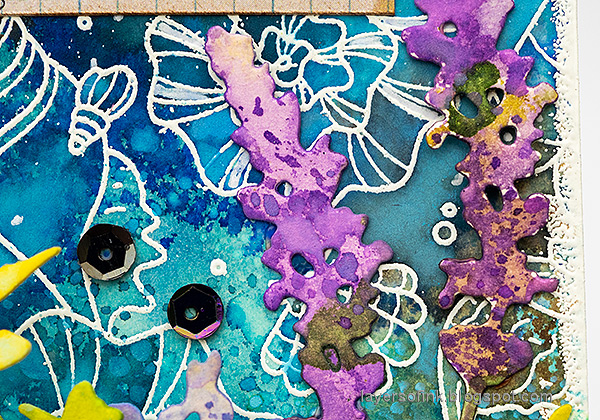
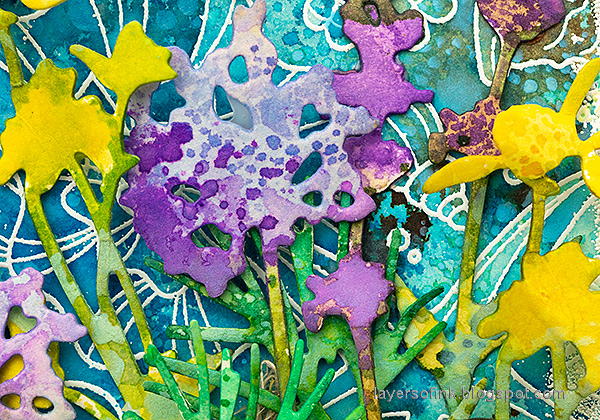
Smear Distress Inks on a non-stick craft sheet and color the flowers in the same way as the background.
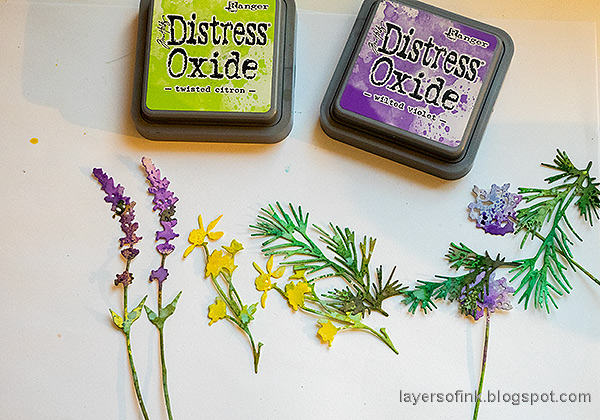
Finish with a last layer of Distress Oxide Ink.
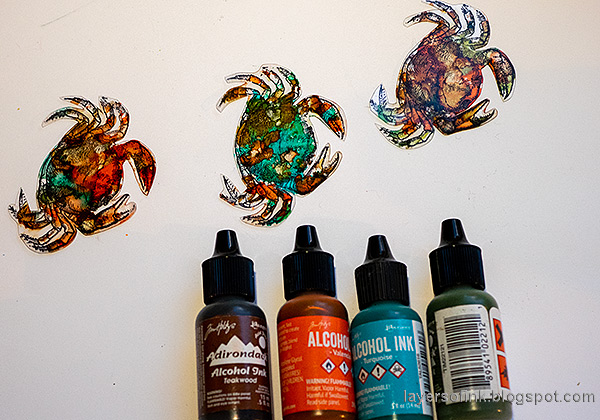
Color on the back with alcohol ink.
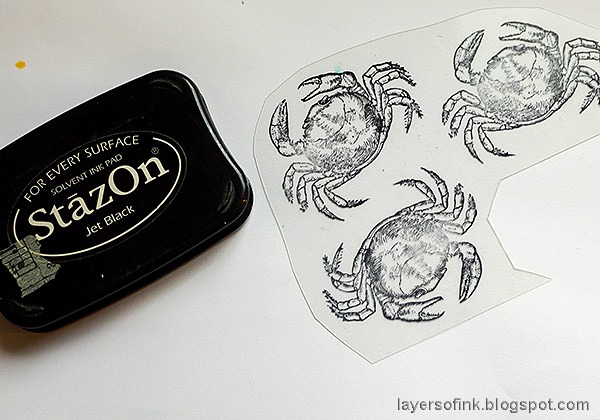
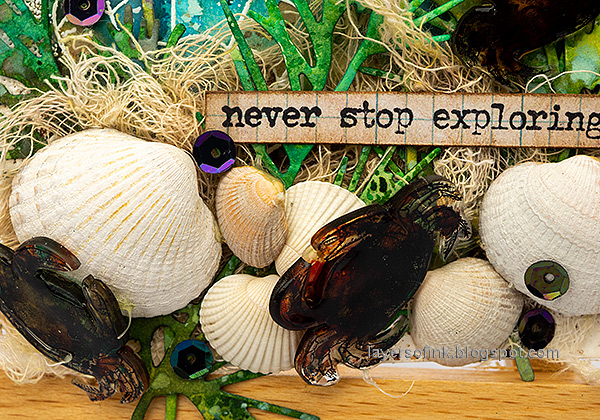
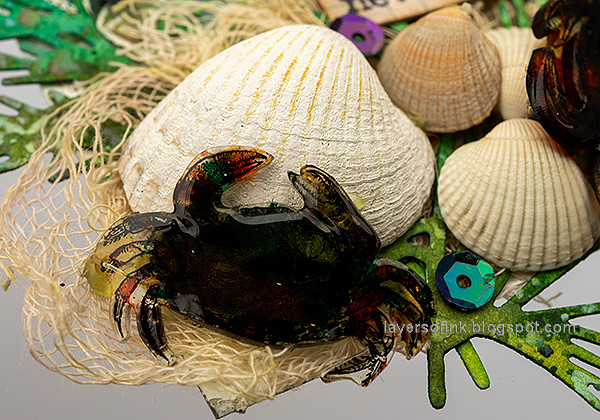
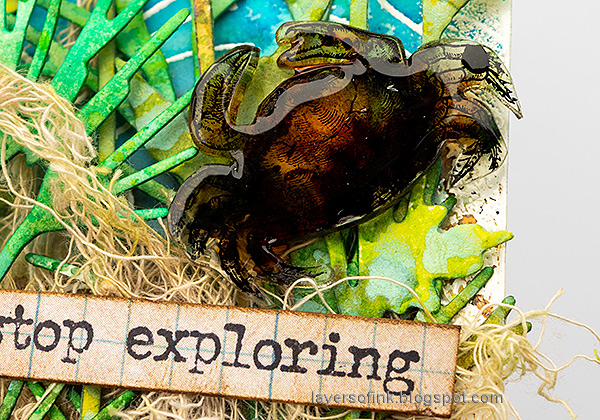
Shrink the crabs and add a layer of Glossy Accents on top. Let dry (it takes a while).
The
sentiments was stamped on a
Tim Holtz Journal Card and cut into strips (another favorite of mine). I also added some sequins, which is also something I enjoy doing as a finishing touch to projects.
These flowers are meant to be heather, the most common plant on the moor.
And some clover flowers.
I dyed cheese cloth with Frayed Burlap Ink. The shells were picked on the beach and made a good home for the three crabs.
The crabs are pretty dark, since the colors intensify as you shrink them and since they aren't placed on a white surface.
The Glossy Accents give a really nice look to shrink plastic.
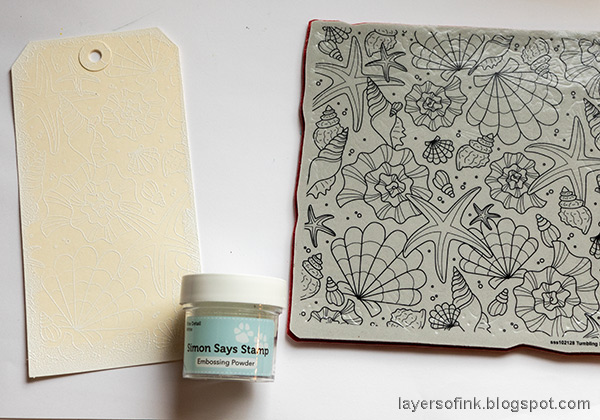
The embossing resists the ink and gives great texture. I also added dots with a white gel pen.
The shells and crabs are pretty dimensional, if you want to make a flatter project, stamp shells instead.
I remember well when I bought my first Distress Ink, which was Walnut Stain, many years ago in Johannesburg. Now there are so many more wonderful colors, and Oxide inks too.
I hope you enjoyed this tutorial!
I hope you will join us this week in our Use Your Favorite Technique challenge. You have a chance to win a $25 gift voucher to do some fun shopping at Simon Says Stamp. You have until Monday 8am Ohio time. 1pm UK time, 2 pm CET to join in.
We also have our annual Kid's Vacation Challenge, with an
Anything Goes theme. It is open for kids ages 2-16 years old.
You can read more here.
Do you use Instagram? If so please add #sssmchallenge so we can see your entries there too.
Thank you so much for stopping by here today!
Happy crafting!
Anna-Karin
Supplies:
* Please note: the links are affiliate links, for which I receive a small percentage of sales generated by the link, at no extra cost to you.









No comments:
Post a Comment
Thank you so much for leaving a comment! Happy Crafting!