Showing posts with label Mini Book. Show all posts

Friday, July 31, 2026

Bicycle Notebook

Hello crafters! I really enjoy making notebooks / sketchbooks and other types of mini books, Today, I have a notebook to share made from a gel printed sheet of paper.

Please note: this post has affiliate links, for which I receive a small percentage of sales generated by the link, at no extra cost to you.

Layers of ink - Bicycle Notebook gel printing tutorial by Anna-Karin Evaldsson.

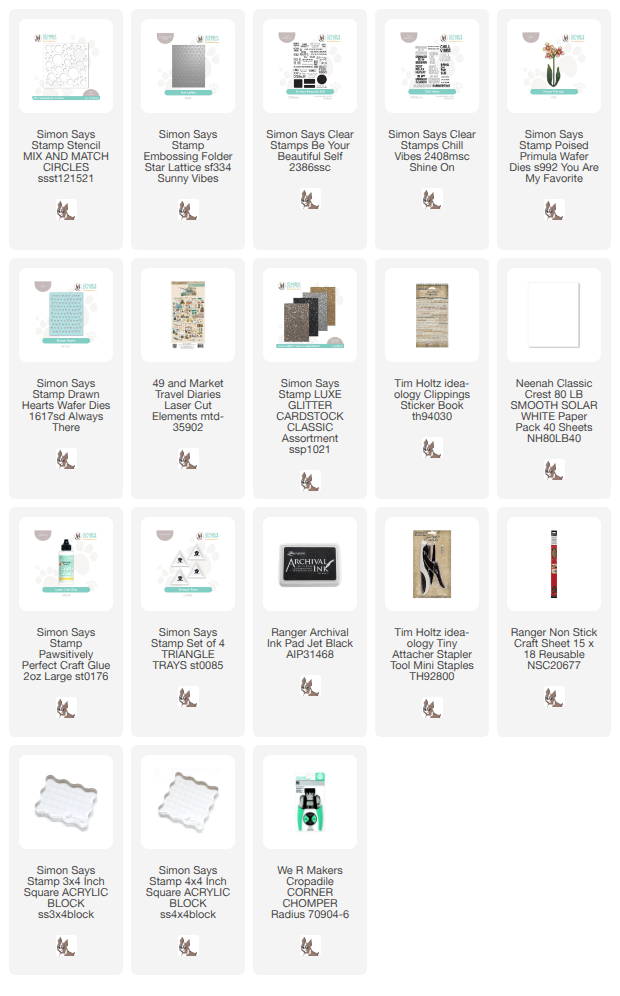
I stitched around the edges and along the spine. The notebook has a travel theme and I added 49 and Market Travel Diaries laser cut images and stamped sentiments from Simon Says Stamp Be Your Beautiful Self which fitted the theme. 

The best thing with making your own notebooks/sketchbooks is that you can use your favorite paper for the inside. Here I used a thin dotted notebook paper.


This is the paper that I started out with, from a recent gel printing session. The printing was done with Simon Says Stamp Mix and Match Circles stencil and Star Lattice embossing folder. 

Stamp with Simon Says Stamp Be Your Beautiful Self.


Stitch around the edges.

Stitch around the edges of the cover. Cut papers for the inside, fold and score. Round the corners. Stitch along the spine with a sewing machine. 


I added a few hearts die cut with Simon Says Stamp Drawn Hearts from Luxe Glitter sheets.
 

The ticket was folded and stapled to the cover. I added a Tim Holtz Clippings Stickers to the ticket. The paper planes come from 49 and Market Travel Diaries Laser Cuts. 


I used more Clippings Stickers and also elements from the Travel Diaries Laser Cut set. 

Add Travel Diaries ephemera by 49 and Market.

I love bicycles and the whole book was inspired by this bicycle from Travel Diaries. 'Live Your Story' from Simon Says Stamp Be Your Beautiful Self was the perfect length for the cover.


I added tiny flowers to the basket. They are the inside part of flowers from Simon Says Stamp Poised Primula.


The back cover was left plain. The original print didn't cover the entire page, but that was okay since I placed that part on the back cover.

Layers of ink - Bicycle Notebook gel printing tutorial by Anna-Karin Evaldsson.

I hope you enjoyed this tutorial and that it inspired you to make your own notebooks. They are also great as gifts. 


Happy crafting!

Anna-Karin

Supplies:

* Please note: the links are affiliate links, for which I receive a small percentage of sales generated by the link, at no extra cost to you.



Monday, July 20, 2026

Creative Overlay Shaker Notebook Tutorial

Hello crafters! Today, I am happy to have a notebook / sketchbook tutorial on the Simon Says Stamp Store blog. Here is a sneak peek of my project:

Layers of ink- Creative Overlay Shaker Notebook Tutorial by Anna-Karin Evaldsson.

I had fun using Simon Says Stamp Creative Overlay Transparencies, combined with a great dry embossing technique. It is a shaker too!

Have you ever had a dry embossed background what you were really happy with, but you wanted to add some stamping on top? Stamping on top of a dry embossed background only works with very few embossing folders. With Simon Says Stamp Creative Overlay Transparencies, you can easily add the look of stamped elements on top of dry embossing, while also creating a space for shaker elements. 

Head over the the Simon Says Stamp store blog to see the tutorial and all the details. 


Happy crafting!

Anna-Karin

.

Monday, April 6, 2026

File Folder Book Tutorial

Hi friends! I hope you are well and had a good Easter. We have had rainy and stormy weather almost the entire Easter, but apart from that, it has been good.

Please note: this post has affiliate links, for which I receive a small percentage of sales generated by the link, at no extra cost to you.


This week we have a Not A Card theme at the Simon Says Stamp Monday Challenge Blog. I hope you will join us! Since it is the first Monday of a new month, the team is showcasing products by a specific company / designer and this week it is Tim Holtz. You can find Tim's large range of products here. 

We also have a new guest designer. During April Thom Santilla will be joining us. Don't miss checking out his fantastic project on his Instagram account.

Layers of ink - File Folder Tutorial by Anna-Karin Evaldsson.

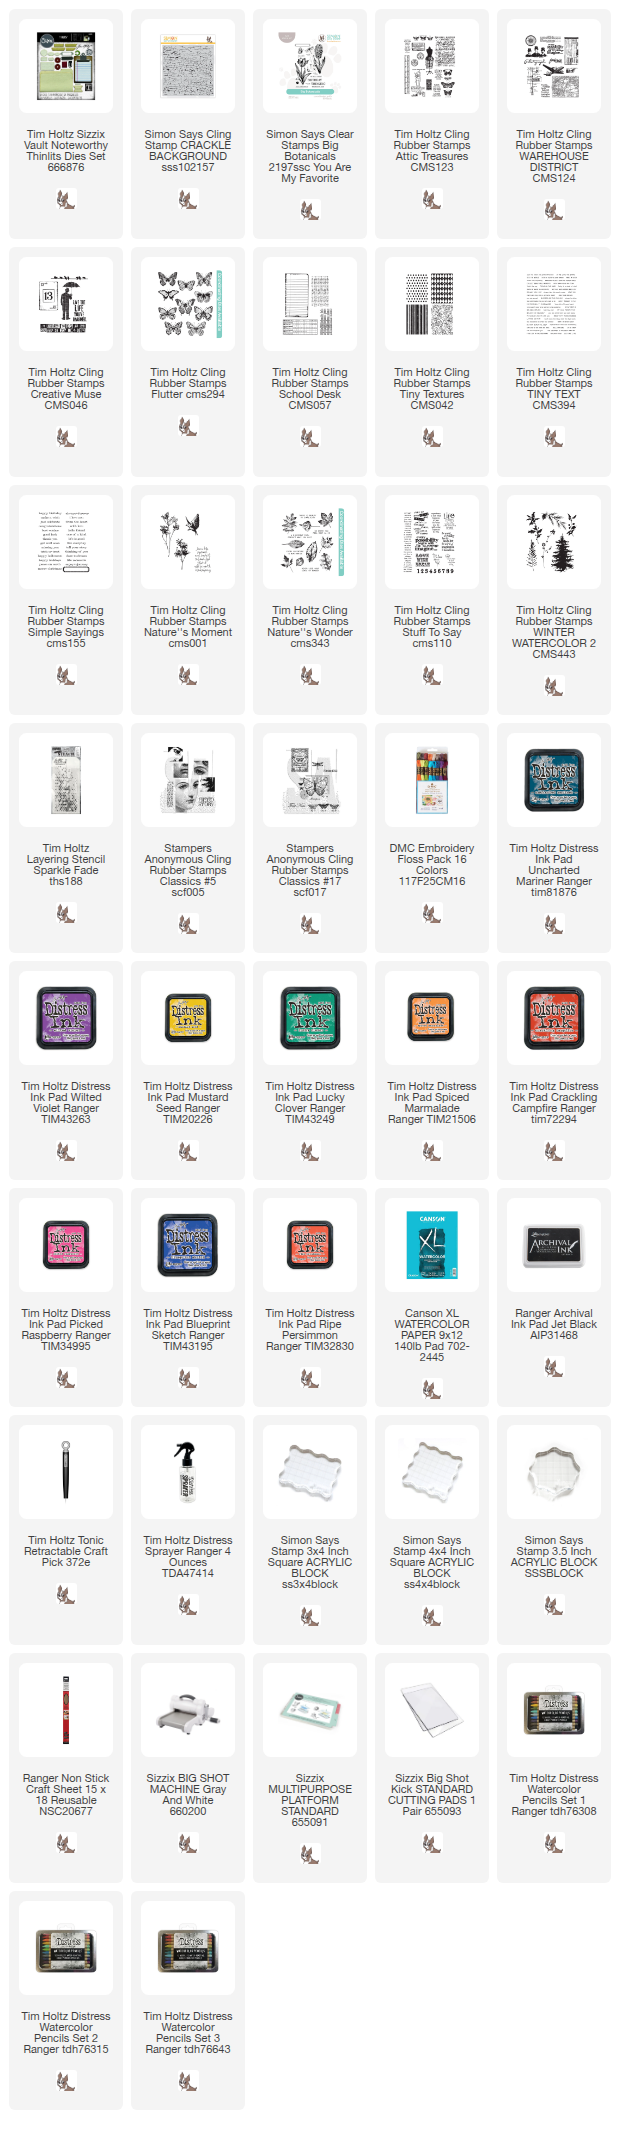
I made a mini book this week, using file folders as my base, die cut from bright papers and stamped with sentiments, images and texture stamps. There are photos in the pocket. I used Tim Holtz Vault Noteworthy to die cut the folders and a whole lot of Tim's stamps from the stamping.

Die cut Tim Holtz file folders.

Start by die cutting file folders with Tim's Vault Noteworthy from inky papers.     

Color with Distress Watercolor pencils.

Color the inside with Distress Watercolor Pencils.

Stamp with Tim Holtz stamps.

Stamp with various Tim Holtz sentiment stamps.


Add smaller sentiments on the back of each folder.

Add more stamping.

Stamp with butterflies and flowers. Mist the stamp with water after inking. I stamped with Distress Ink.

Stamp with Simon Says Stamp Crackle Background.

Stamp dots with Distress Ink, using a stamp from Tim's Tiny Textures. Mist with water before stamping. Stamp more texture with Simon Says Stamp Crackle Background and Tim Holtz School Desk alphabet.

Bind each folder.

Pierce three holes and thread with embroidery floss. 


Stitch the sides with a sewing machine.

Layers of ink - File Folder Tutorial by Anna-Karin Evaldsson.

Tie all the threads together at the spine and string glass beads to make the spine prettier.

Layers of ink - File Folder Book.

 I matted small photos on cream cardstock and tucked into the pockets. The sentiment is from Tim's Warehouse District and the butterfly is from Flutter.

Layers of ink - File Folder Tutorial by Anna-Karin Evaldsson.

You can also make a separate cover, but I wanted one of the file folders to be the front of the mini book.


I used some of my favorite sentiments in this book, such as from Nature's Wonder and Creative Muse.


These butterflies are from Tim's Attic Treasures set.

Stamp with Tim Holtz Tiny Text.

I stamped words from Tim's Tiny Text on the flaps.


Using a mix of colors and bright, inky background makes for a cheerful look.


I used a mix of childhood photos to fill the pockets.


The flower was stamped with Tim's Nature's Moments.


More butterflies and a dragonfly. 


This dragonfly is from Simon Says Stamp Big Botanicals. There is also some Distress Spritz in the background, misted through Tim's Sparkle Fade stencil.


Look for sentiments and words that will fit right only the folders, such as 'photographs'.


The butterfly was stamped with Wilted Violet Distress Ink.


The back of the little book, stamped with flowers from Tim's Winter Watercolor 2.

Join us this week in our Not a Card challenge! You have a chance to win a $25 gift voucher to do some fun shopping at Simon Says Stamp. You have until Monday 8am Ohio time. 1pm UK time, 2 pm CET to join in.


Do you use Instagram? If so please add #sssmchallenge so we can see your entries there too.


Thank you so much for visiting today! 

Happy crafting!

Anna-Karin

Supplies:

* Please note: the links are affiliate links, for which I receive a small percentage of sales generated by the link, at no extra cost to you.


Friday, November 28, 2025

Christmas Notebook

Hello crafters! Today I have a notebook to share, which I made with a Christmas theme. You can also turn the design into a card.

Please note: this post has affiliate links, for which I receive a small percentage of sales generated by the link, at no extra cost to you.

Layers of ink - Christmas Notebook by Anna-Karin Evaldsson.

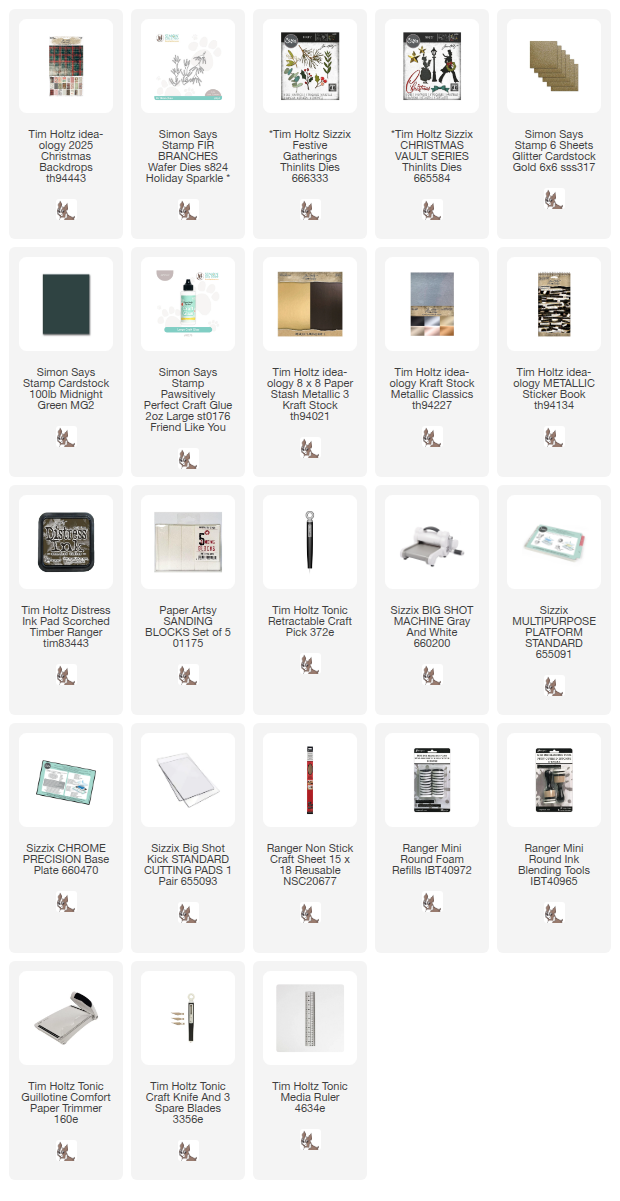
I really like the worn and distressed plaid papers in Tim Holtz idea-ology Christmas Backdrops pack. Here I decided to turn it into a notebook cover, so that most of that lovely patterned paper would show. I embellished the book with die cut pieces and a sticker.

Make the cover from Tim Holtz Christmas backdrops.

There are so many pretty papers in the Christmas Backdrops and most would work well for a notebook cover. I folded the paper using a bonefolder and did the same to all the inserts. 

stitch the spine.

It was stitched with three strands of embroidery floss along the spine. Always pierce holes before stitching in paper.


Tie the floss on the inside. 

Die cut with Tim Holtz Christmas dies.

Die cut the title, lamp posts and holly using Tim Holtz Vault Christmas 2021 and Festive Gatherings. I die cut them from silver, black and gold kraft stock paper, as left-over inky paper.

Die cut with Simon Says Stamp Fir Branches.

Die cut Simon Says Stamp Fir Branches from Simon Says Stamp Midnight Green cardstock. 


Layer them on the cover. Off-set the gold word slightly.

Add glitter behind the lamp post.

The lamp post was sanded and inked. I added Simon Says Stamp gold glitter paper to the back.


Since the backdrops papers are double-sided, you get a lovely crackle pattern on the inside covers.

The back of the notebook.

The back cover looks like this.


I die cut the berries from the same inky pink paper as the title. I only had very little paper left, but luckily, the berries were small enough.

Layers of ink - Christmas Notebook.

Use the notebook to write down Christmas memories, or recipes, or traditions. You can also give it away as a gift.

Layers of ink - Christmas Notebook by Anna-Karin Evaldsson.


I hope this project inspired you to make some notebooks.


Thank you so much for visiting today! 

Happy crafting!

Anna-Karin

Supplies:

* Please note: the links are affiliate links, for which I receive a small percentage of sales generated by the link, at no extra cost to you.