Hi friends! I hope you are well and that you had a good weekend. We had lovely sunny weather and I went on one of my favorite walks, where I also saw this year's first
coltsfoot flowers. It is usually the second spring flower to make its appearance here, with the snowdrop being the first one. The flower is called
Tussilago in Swedish, which is also its scientific name. I always thought it was such a pretty word.
This week at the
Simon Says Stamp Monday Challenge Blog we have a
Play With Paint theme. So take out your paints and start crafting. Don't miss the lovely project by our
March guest designer Lisa Rabellino.
I made a layout this week, and it is about a pretty special story to me.
This is a story about one of my very first memories, and about an event that I have thought about so often through the years. I am glad that it is now down on paper. When I was between two and three years old, my favorite book was about a boy called Tom who walked around playing his drum and all kinds of animals started to follow him. In a bout of anger, I tore apart pages in the book. I was always very careful with my things, so this was an out of the ordinary event. One of my very first memories is from the moments after having torn the book, and of how sad I was about it. I decided never ever to hurt another book, and I think I kept that promise quite well through the years.
My parents pieced the book together and I can remember reading it with tape on the pages, but somewhere along the line it fell apart, or was thrown away. In either case, it disappeared, and I have been looking for it every since. I was convinced the title of the book was
Tom Tommeli Tom, and my parents thought so to. Then a couple of weeks ago, I was inspired to try googling some key words instead, like 'boy' and 'drum' and suddenly there it was, staring at me from my computer screen. The long lost book. In fact, it was not at all called Tom Tommeli Tom, but this phrase was just a part of the rhyme inside the book (but actually Tum Tummeli Tom). The English title is
The boy with the drum.
I immediately looked in an online second hand store and found my very edition of the book, which was yellow (the most common edition being blue). I ordered it right away and was so happy to finally have it in my hands. I can remember every single illustration, after all these years. Now, Leo loves the book, and the first time I read it to him, he started saying 'Tom Tommeli Tom', so it has come full circle. And will never be lost again.
I started out with a
watercolor paper which had been coated with gesso. I always have a couple of these ready to be used.
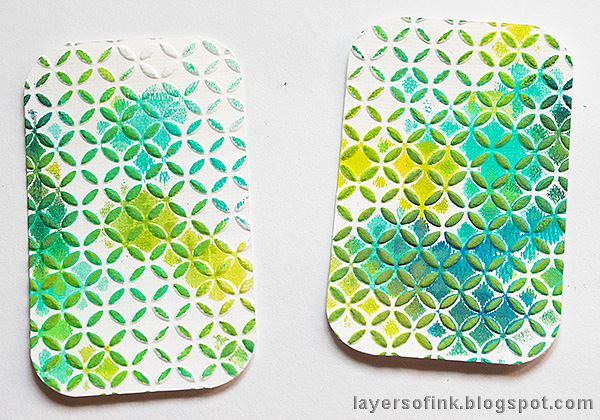
Texture paste was applied through
Tim Holtz Gradient Dot stencil. You need to let it dry, before continuing the pattern, but it is easy to line up, so that you get a seamless look. Just place the first dots, on top of the last dots from the previous application.
When the paste was dry, I painted the background first with watered down
Elephant paint, and then immediately started to drop in two shades of yellow. Mist now and then to help the paints blend and run. This is one of my favorite effects with acrylic paint.
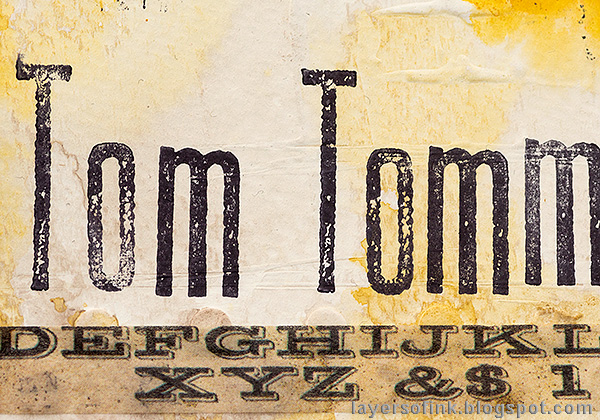
Next, I stamped a title with Tim's
Tall Text stamps, and added some alphabet stamping in
Hickory Smoke and Jet Black.
Mix a little white paint into texture paste, and apply through an
alphabet stencil. Although the paste is opaque white, it has a slight grey/translucent tint, and if you mix a little white paint into it first, you get a brighter look.
A piece of watercolor paper was die cut with the alphabet die from Tim's
Mixed Media 3 set and colored with grey Distress Inks.
This textured, but yet flowing look, is easy to achieve with acrylic paint. All you need is a bit of patience to let the watery paint dry. The edges of the paper were distressed.
I went with an alphabet theme, and also used some Design Tape here and there.
The
Tall Text are handy, and since they are so narrow, even a longer title doesn't take up too much space.
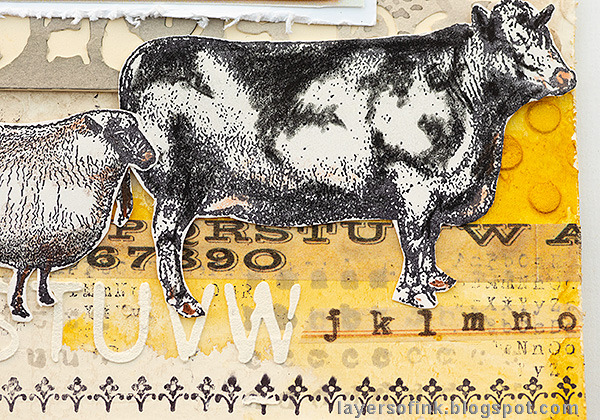
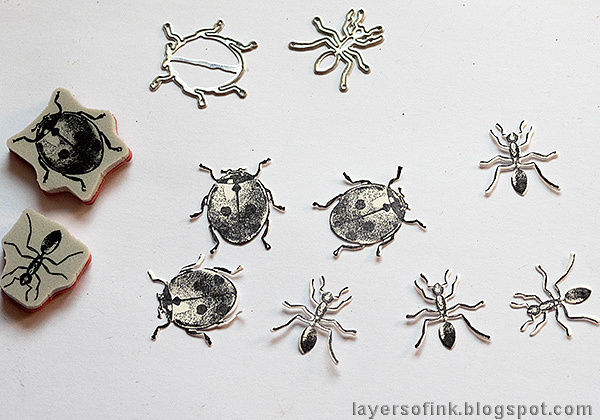
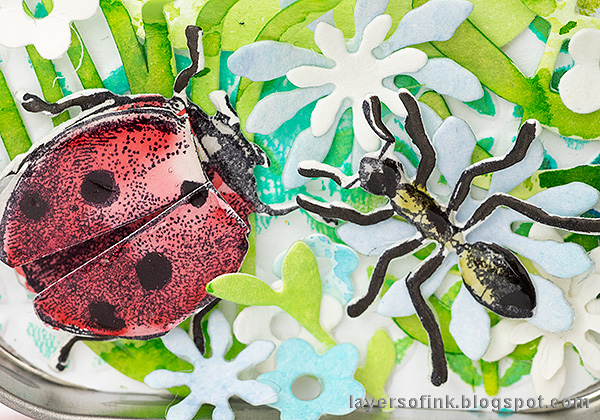
The book has lovely colored pencil illustrations by Eloise Wilkin, and Tim's
On The Farm stamps were perfect for this layout, since all the animals feature in the book (except for the sheep). I colored them with
Prismacolor pencils.
This cow is probably not meant to be a black and white cow, but the one in the book is, so I used a black pencil to get that same effect. The border at the bottom is stamped with one of the
Ornate Trims stamps.
I placed a piece of cream paper under the die cut paper and attached the panel with brads. The journaling is typed on notecards and placed in the pocket.
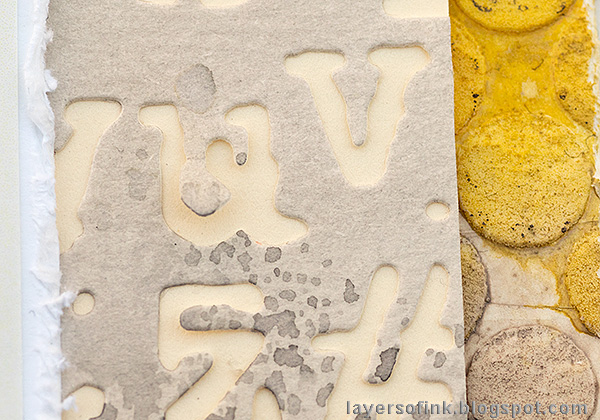
Here's a close-up of the cool texture effect with the
Gradient Dots, paint and partial stamping.
I hope you will join us this week in our Play with paint challenge. As always, you have a chance to win a $50 gift voucher to do some fun shopping at Simon Says Stamp. You have until next Monday 8am Ohio time. 1pm UK time, 2 pm CET to join in.
Do you use Instagram? If so please add #sssmchallenge so we can see your entries there too.
Thank you so much for taking the time to visit my blog! Enjoy your day!
Happy crafting!
Anna-Karin
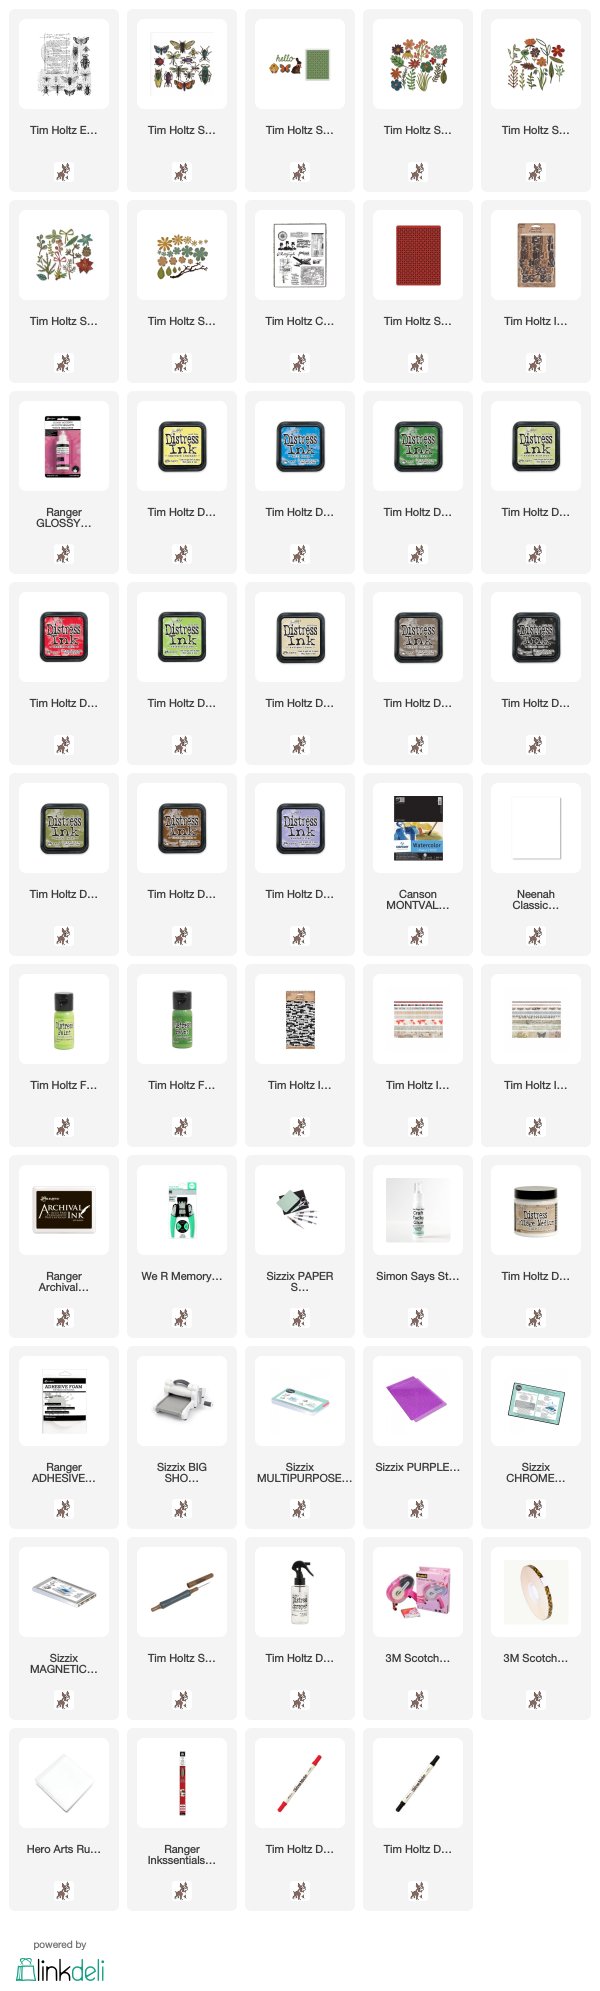
Supplies:
* Please note: the links are affiliate links, for which I receive a small percentage of sales generated by the link, at no extra cost to you.