Hello crafters! During February, the Eileen Hull Inspiration Team has been sharing projects with hearts, flowers or dragons. Today, I have a wrapped journal tutorial to share with you.
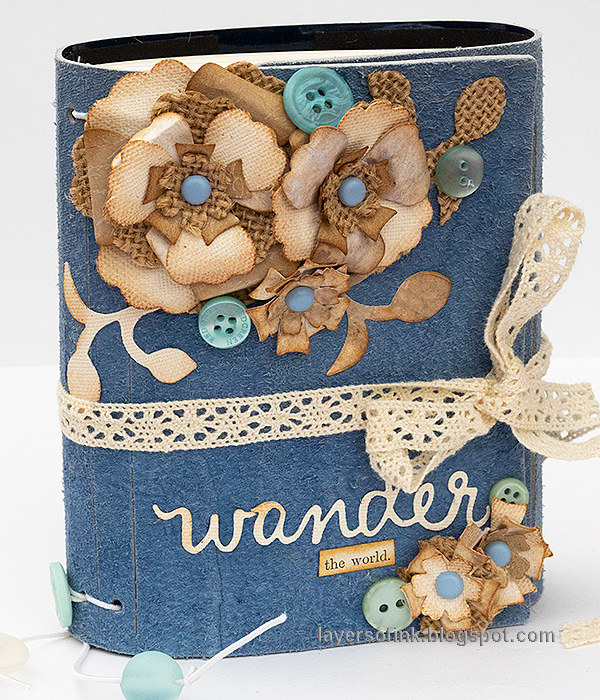
I just love to make wrapped journals. They have such a great size, are fun and chunky and also easy to make. Today's journal is made from patent leather - I thought it was faux leather, but Eileen let me know that it is patent leather. And I used it inside out. :) But I liked the texture of the inside much better than the glossy patent texture. I wanted to stick with neutral colors in combination with the blue, and used various textures to create my layered flowers - burlap, canvas, kraft paper and patterned paper. Mixing various surfaces in one dimensional flower is a favorite technique of mine, and it is also a great way to use up scraps.
I might use this book for flower sketches.
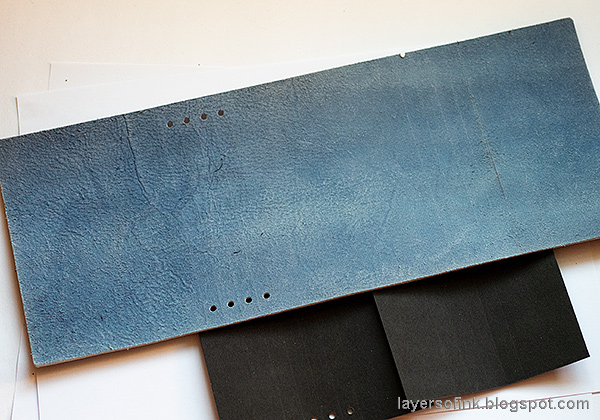
Start by die cutting the cover using the Wrapped Journal die. You need the extended cutting pads, but the die fits perfectly in an ordinary Big Shot or Vagabond. I also die cut two pieces of black Sizzix Paper Leather, to use as extra support along the spine, and where the scorelines are on the second fold. Glue the black pieces to the journal and place under a heavy book.

The flowers were die cut with the Pansy Flower die, from burlap, canvas, kraft paper and various patterned papers.

I also die cut some smaller flowers an leaves, using the Caddy Bag die.

Stamp the kraft pieces with a script stamp and white pigment ink. I used the Darkroom Door French Script Texture stamp, but any script stamp will work, such as their French Script.

Ink the edges. Give the flowers shape using the Sizzix Paper Sculpting Tool Kit. I used both the ball tools and the pair of tweezers (to roll back the petals).
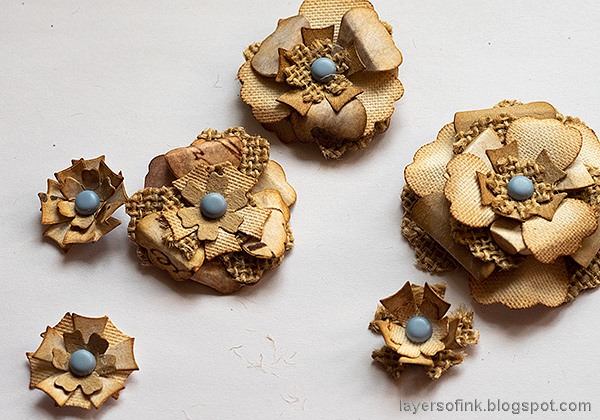
Layer flowers together and place a brad in the center.

A great thing with making your own journal, is that you can fill it with you favorite paper. For this journal, I used watercolor paper. You need four signatures of about six sheets of papers in each, about 7.1 x 4.8 in (19.5 x 12 cm). Fold and score. I stitched down the center with my sewing machine, but you can also use staples, or even leave the paper lose.

To bind the journal, use a piece of elastic string, going back and forth.
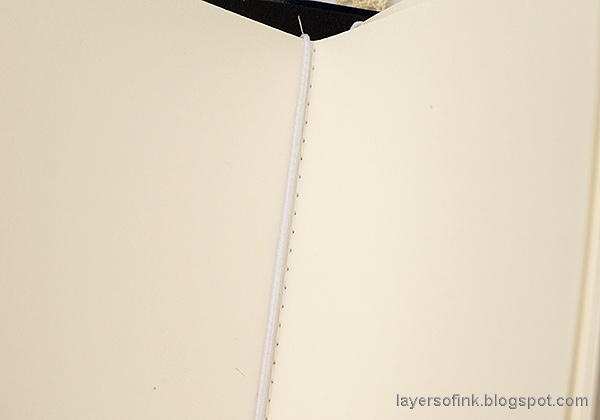
Just tuck the signatures under the strings and you are done.
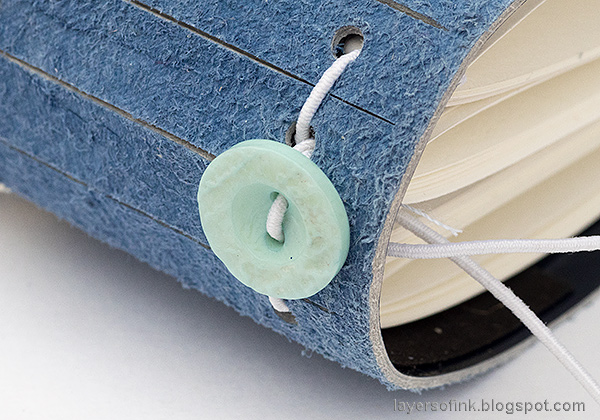
I tied a button to the back for an extra details, before making a knot on the inside.

For an extra touch, tie two beads to the strings. I used to do quite a bit of jewelry, so I have a lot of beads at home, sometimes just a couple of each kind, and they are perfect for this.

Glue the flowers to the cover. I had quite a few left-over flowers for a future project.

Here you can see the cool texture of the background. This patent leather was sent to me (thank you Eileen!). For another leather journal, check out my Wrapped Leather Journal.
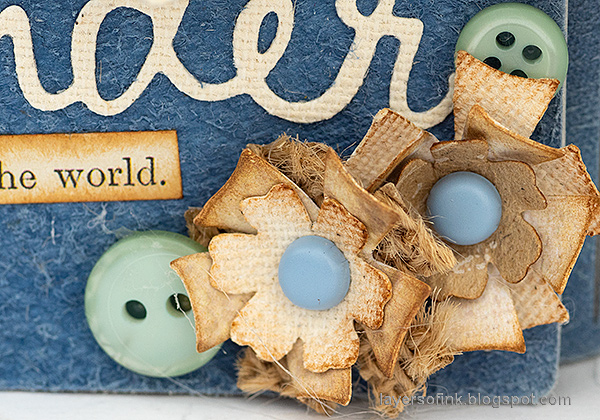
And two small flowers.

As a title, I used one of the dies from the Journaling Words set, die cut from canvas, and a piece of a Tim Holtz Clipping Stickers.

I tied the journal with a a piece of lace. For alternative ways of closing it, check my Leather Wrapped Journal and my In The Forest journal.
Thank you so much for stopping by here today!
Happy crafting!
Anna-Karin
Supplies:
* Please note: the links are affiliate links, for which I receive a small percentage of sales generated by the link, at no extra cost to you.
* Please note: the links are affiliate links, for which I receive a small percentage of sales generated by the link, at no extra cost to you.

Thanks for doing this tutorial; it is a beautiful Journal!
ReplyDeleteThank you Gerrina!
DeleteBeautiful! Flowers & color of journal so vintage chicky look. TFS! Lovely!
ReplyDeleteThank you Roxanne!!
DeleteBeautiful creation Anna-Karin! Love the flowers- this material is actually patent leather I found up in Maine. :-)
ReplyDeleteThank you Eileen!! And for letting me know about the patent leather! I had to google it, I had no idea glossy coated leather was called patent leather. It was the glossy side that made me think it had to be some kind of faux leather. Funny! And I used it inside out - but the texture inside had such a nice feel to it. :)
DeleteWow. Looks great!!
ReplyDeleteThank you Dora!
DeleteComprise getting some sort of assize treatise can certainly in fact authenticate as being a intricate errand. When i bigg the way folks proliferate this kind of drive when compared with soft we all getting some sort of organise to find out significant question thesis record parades. Your individual penetrates absolutely are a corporeal places upwards along with! Civil engineering lectures
ReplyDelete