
Hello friends! I hope your weekend was good! Spring is gone, and the snow is falling heavily outside my window, but it is what can be expected at the beginning of March. This weekend, we went to an indoor play area, did some ice-skating, and made pretend pancakes and oven-baked fish from snow.

It is a new month and as always, the Simon Says Stamp Monday Challenge team showcases a specific designer/company on the first Monday of a new month. This week, the turn has come to the fantastic Tim Holtz, who has brought us so many wonderful products. There are an impressive 3415 Tim Holtz products in the SSS shop, you can find them all here. You don't have to use Tim's products to join in the challenge, but it is always fun if you do.
Our theme is Whatever The Weather, and don't miss the first project by our March guest designer Lisa Rabellino. She posts gorgeous projects on her blog and we are happy to have her as a guest this month.

I was inspired by one of Tim's older sentiment stamps, to create an art journal page about dancing in the rain - or, in my case today, the snow. The page started out as a page in my large Dylusions journal where I have used up left-over paint and paste. I added quite a bit of stamping, some die cuts, and bits of pieces from my desk.

This was the background I started out with. I don't like to throw away left-over paste and paint, so I often use them on pages in my art journals. This also gives a ready-to-go background for new projects. The paints are Distress Paints, and I also used the large and the small version of Tim's Bubble stencil.

Stamp the background with various stamps.

Stamp the girl from Winged Things 1 on watercolor paper and on acetate or modeling film. She was stamped with Archival Jet Black ink on the paper, and Stazon Jet Black on the acetate.

Watercolor the girl with Distress Inks and cut off her wings. Color the acetate wings on the back with a little Teakwood alcohol ink.

I stamped the sentiment from Good Thoughts on a piece of acetate too, and colored it on the back in the same way. To make them stand out better from the background, I gave them a layer of white paint on the back, but not covering the entire piece, since I wanted the background to still show through here and there.

Die cut branches from watercolor paper with the Branches die.
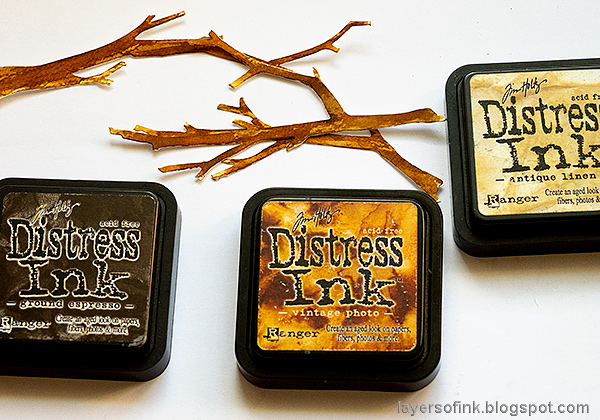
Watercolor them with Distress Inks.

Stamp the branches with the alphabet background stamp from Going Somewhere.

I added the raindrops with a marker.

The page needed a bit more pink, and I die cut the brick pattern from Tim's Mixed Media 4 set, and glued it in three places.
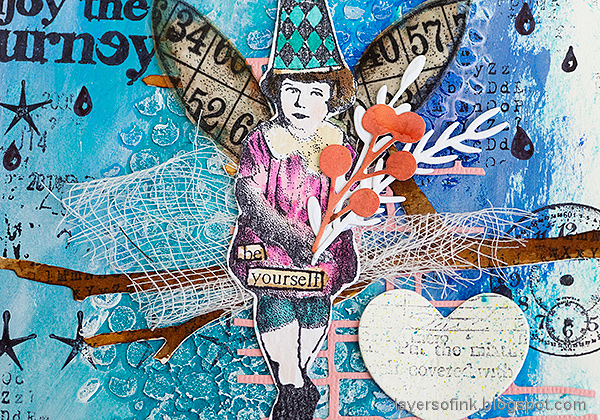
Glue the girl to one of the branches, adding a bit of cheese cloth behind her. I found some Funky Floral die cuts in a scrap box and gave her them to hold. They are from Funky Festive, Funky Floral 1 and Funky Floral 2. The heart was in the same box, and was die cut with the SSS Windows To My Heart die.

Here's a closer look at the sentiment, with the alcohol ink distressing, and the layer of white paint.
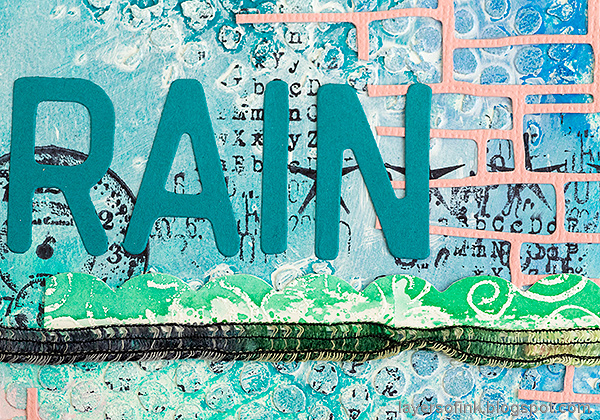
The title was die cut with the Letterboard die, and I added a scrap scalloped piece and a ribbon underneath it.
I hope you will join us this week in our Whatever The Weather challenge. As always, you have a chance to win a $50 gift voucher to do some fun shopping at Simon Says Stamp. You have until next Monday 8am Ohio time. 1pm UK time, 2 pm CET to join in.


Do you use Instagram? If so please add #sssmchallenge so we can see your entries there too.


Thank you so much for taking the time to visit my blog today!
Happy crafting!
Anna-Karin
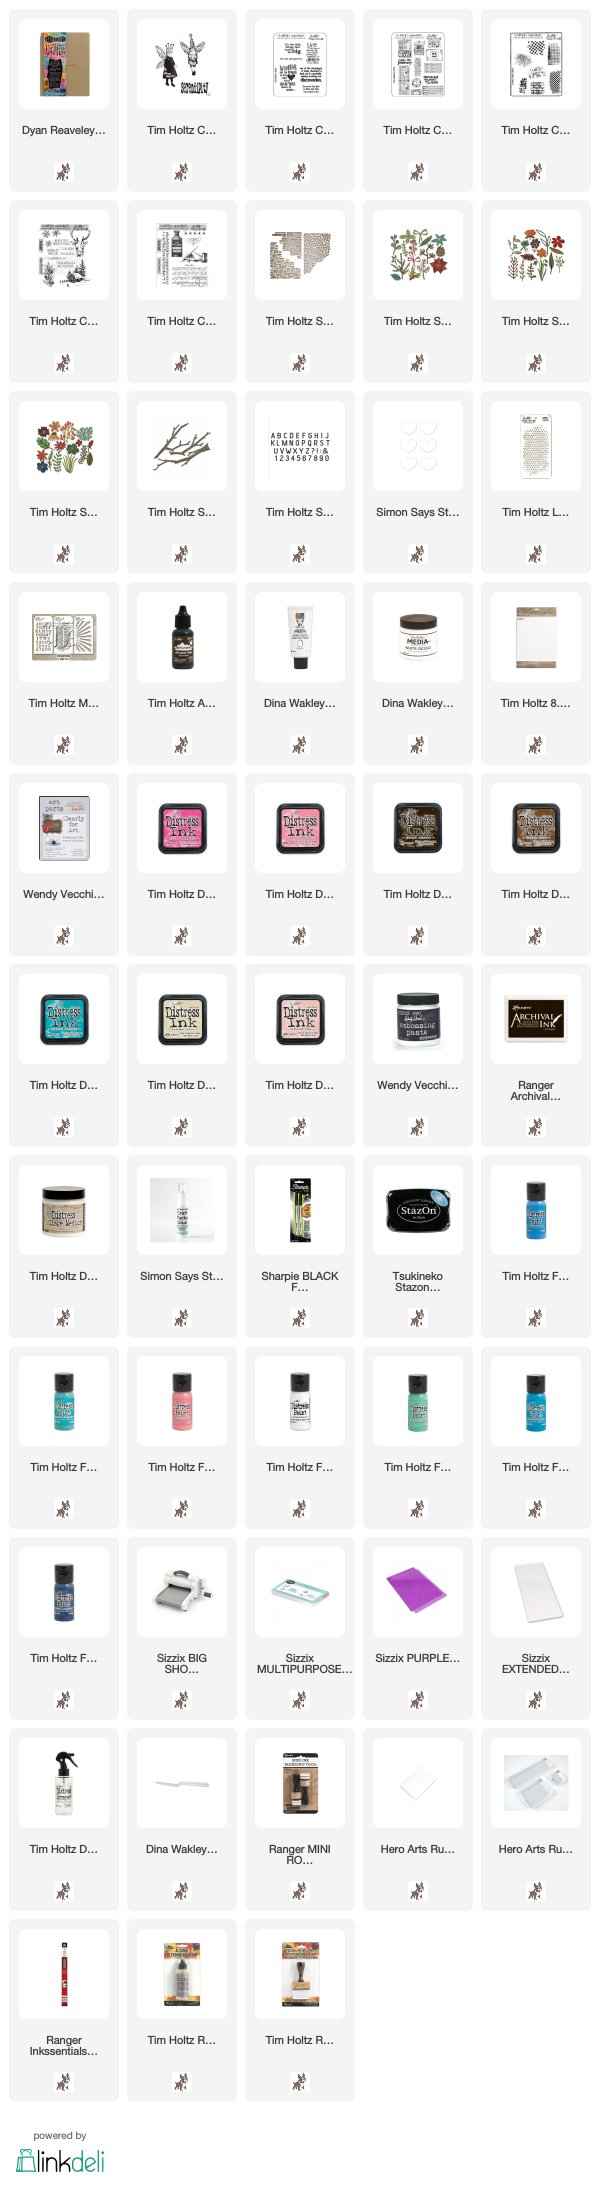
Supplies:
* Please note: the links are affiliate links, for which I receive a small percentage of sales generated by the link, at no extra cost to you.
* Please note: the links are affiliate links, for which I receive a small percentage of sales generated by the link, at no extra cost to you.
Fabulous page Anna-Karin :-) the background is gorgeous, love the colours and textures and the little girl sitting on a branch is very cute :-)
ReplyDeleteHope you have a great week!
luv
Lols x x x
Beautiful layout. Great showing how it is made. Snow. Indeed march can give a variety of weather.
ReplyDeleteLove this layout...so many layers and interest! Thank you for sharing
ReplyDeleteAnna-Karin, this is a delight! I love the colors you chose, and the branches and fairy girl you have sitting on one. That rain sentiment is one of my favorites. Sounds like the snow "cooking" was fun. It brought back a childhood memory of finding a patch of clean, fresh snow, and dripping some maple syrup on it to freeze it into candy. hugs, Maura
ReplyDeleteLove love love all the fabulous embellishments and the texture on the background, Anna-Karin. Such a beautiful layout! :)
ReplyDeleteWhat a great project! I love how you created the tree for your cutie and how it looks like something I could stumble across in a magical forest somewhere.
ReplyDeletefabulous, I love that cutie sitting on the branch and how you always add so much beautiful detail and texture on your projects hugs kath xxx
ReplyDeleteWhat a gorgeous page, Anna-Karin! So colorful and fun, love that you put the little girl in the tree so she can hang out. Hugs, Sandra
ReplyDeleteFabulous page Anna-Karin! I adore the old stamp you used and how you arranged the branches to create a support for the little girl! Barbara
ReplyDelete