Hello friends! I have a card with stitching to share with you today. There was a time when I used a lot of embroidery floss on my cards, but I haven't done it as much lately.


Start by inking a heavystock paper with Distress Ink, mist with water and also add some water drops.

When dry, die cut the Stitched Circle and try to center it on the paper. If it isn't in the center, you can also cut down the paper a bit.

Stamp the background with the Simon Says Stamp Old Letter Background stamp and Dark Chocolate ink. If you want more subtle text, use Khaki ink instead.

Start with the beige DMC floss. I used a whole strand and every second hole in the design. You will get a different look depending on how much you angle the threads.

Continue the same way, but the other way around.

Next, take the blue floss and repeat the process, but in the die cut holes that are still empty.

Finally, repeat the blue thread again, but the other way around.

I cut away a circle in the center with a Simon Says Stamp Stitched Circles die.

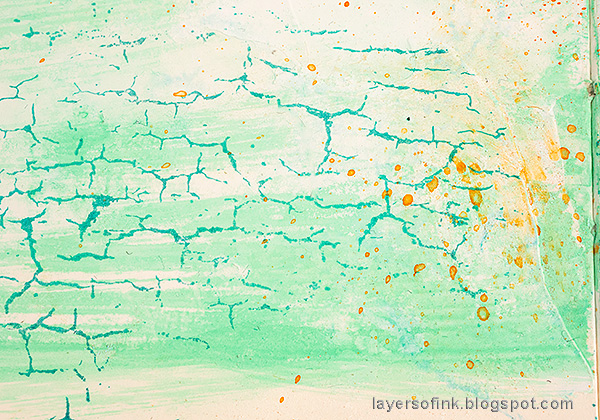
As a back drop, I used a piece of watercolor paper which had been inked with Tumbled Glass and Broken China. Apply the inks to a non-stick craft sheet, mist with water and press the paper into the ink. This was a second paper pressed into the ink after another paper had already soaked up most of the ink. That's how I got that light, mottled look.

Mark the middle of the card with a pencil dot. Stamp the sun from Simon Says Stamp Mix and Match Circles with Mermaid Lagoon ink.

White emboss a heart from Mix and Match Circles.

Distress the edges of the panels and stitch to the background with a sewing machine.

The sentiment comes from Simon Says Stamp Beautiful Butterflies and was stamped with Dark Chocolate ink.

Experiment to see what designs you can create, by using different colors, thinner threads, and different patterns.

Thank you so much for taking the time to stop by here today!
Happy crafting!
Anna-Karin
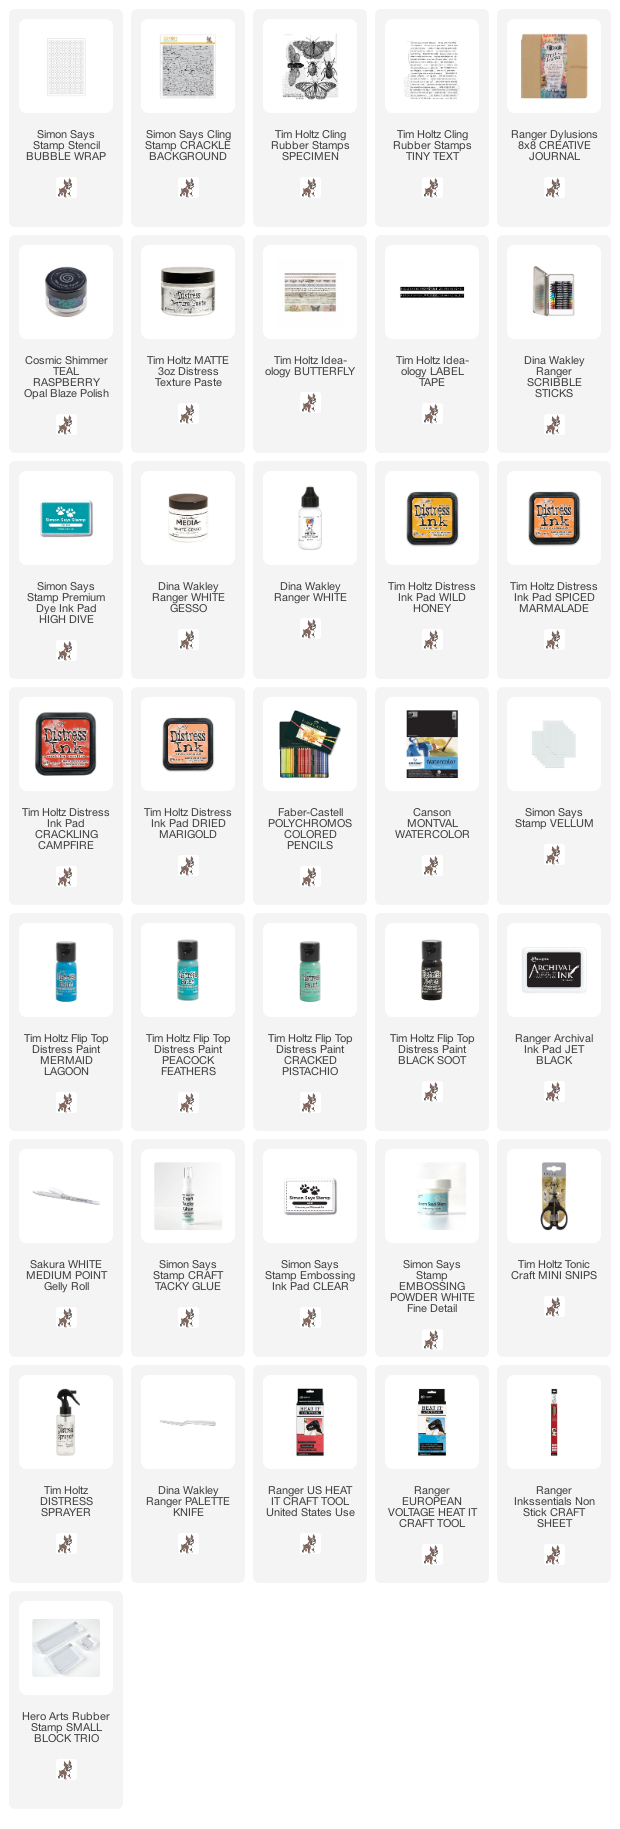
Supplies:
* Please note: the links are affiliate links, for which I receive a small percentage of sales generated by the link, at no extra cost to you.
* Please note: the links are affiliate links, for which I receive a small percentage of sales generated by the link, at no extra cost to you.