Monday, September 18, 2023

Layered Numbers Background

Hi stampers! I hope you are enjoying STAMPtember® and all the inspiration at Simon Says Stamp.

Please note: this post has affiliate links, for which I receive a small percentage of sales generated by the link, at no extra cost to you.


This week we have a Favorite Color theme at the Simon Says Stamp Monday Challenge Blog. It is impossible for me to pick a favorite color, but I went with turquoise which is one of my favorites (in addition to almost all other colors). Don't miss the project by our September guest designer Deborah Emmons.


Layers of ink - Layered Numbers Card Background Tutorial by Anna-Karin Evaldsson.

I made a birthday card this week using different shades of turquoise and teal combined with black and brown. The card was made with a mix of new and older Simon Says Stamp stencils and stamps. The numbers were made with the new STAMPtember® Layered Numbers stencil set.

Layers of ink - Layered Numbers Card Background Tutorial by Anna-Karin Evaldsson. Stamp with Simon Says Stamp Ledger Paper.

I wanted a ledger paper look to the background and inked a piece of heavystock cardstock with Antique Linen. It was stamped with Simon Says Stamp Ledger Paper Background using Archival Shadow Grey ink.

Layers of ink - Layered Numbers Card Background Tutorial by Anna-Karin Evaldsson. Ink through Simon Says Stamp Layered Numbers.

Start with the first of the three Layered Numbers stencil and ink with Salvaged Patina.

Layers of ink - Layered Numbers Card Background Tutorial by Anna-Karin Evaldsson. Add more ink with Distress Ink.

Continue with the second stencil, using Peacock Feathers.

Layers of ink - Layered Numbers Card Background Tutorial by Anna-Karin Evaldsson.

Next, the third and last stencil, with Mermaid Lagoon. If you want a clean look to your card, you can stop here.

Layers of ink - Layered Numbers Card Background Tutorial by Anna-Karin Evaldsson.

Ink with Frayed Burlap and Ground Espresso.

Layers of ink - Layered Numbers Card Background Tutorial by Anna-Karin Evaldsson. Stamp with Simon Says Stamp School Desk.

Stamp here and there with the alphabet stamp from Tim Holtz School Desk.

Layers of ink - Layered Numbers Card Background Tutorial by Anna-Karin Evaldsson. Splatter with Distress Ink.

Splatter with brown ink. Smear ink on a non-stick craft sheet, mist with water and pick up with a paint brush.

Layers of ink - Layered Numbers Card Background Tutorial by Anna-Karin Evaldsson.

I stamped the background with a whole lot of larger and smaller birthday stamps, using various inks.

Layers of ink - Layered Numbers Card Background Tutorial by Anna-Karin Evaldsson. Stamp with birthday sentiments.

'Happy, happy' was stamped with Mermaid Lagoon Distress Oxide Ink.

Layers of ink - Layered Numbers Card Background Tutorial by Anna-Karin Evaldsson.

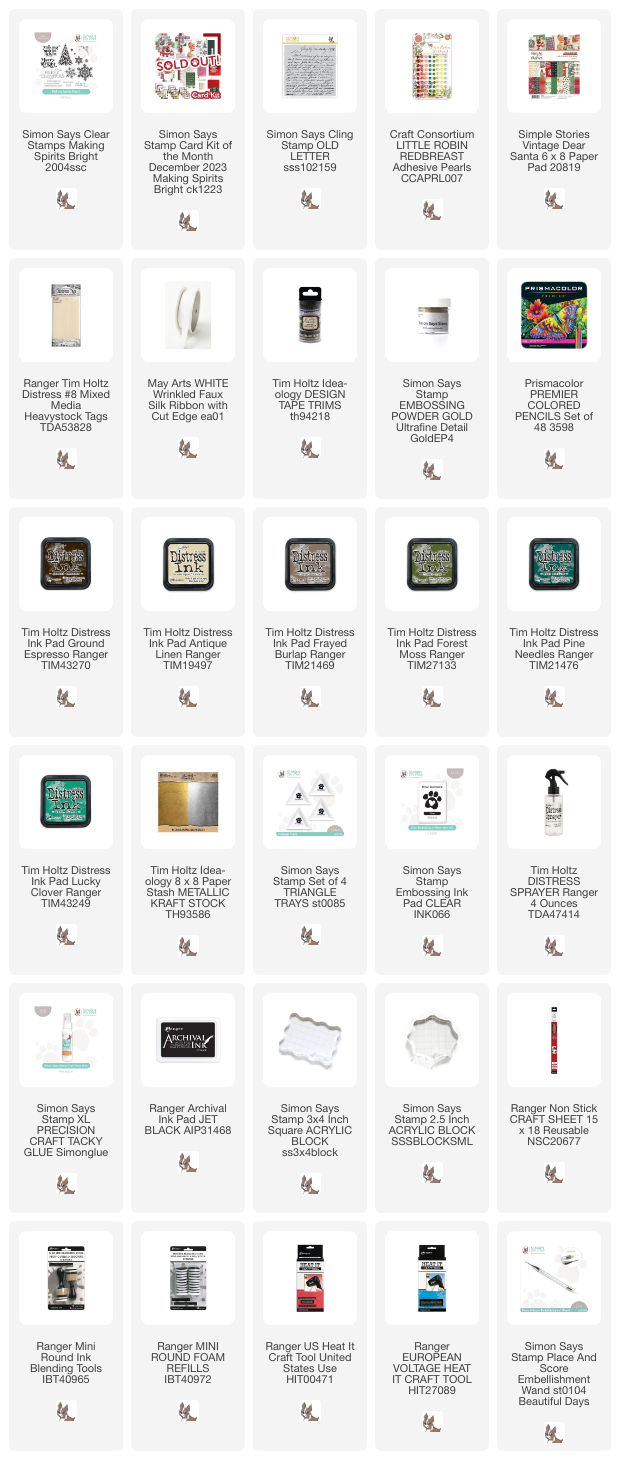
I also added sequins in turquoise shades. I use Simon Says Stamp Place and Score Embellishment Wand to place the sequins, on dots made with Simon Glue.

Layers of ink - Layered Numbers Card Background Tutorial by Anna-Karin Evaldsson. Stamp with All Seasons Tree sentiments.

It is fun to mix fonts, sizes and colors.

Layers of ink - Layered Numbers Card Background Tutorial by Anna-Karin Evaldsson.

The card was mounted on two shades of turquoise cardstock. I also added two strips of Design Tape Trims. Their role was partly to cover up a sentiment that was stamped in too light ink and didn't read well.

I hope you will join us this week in our Favorite Color challenge. You have a chance to win a $25 gift voucher to do some fun shopping at Simon Says Stamp. You have until Monday 8am Ohio time. 1pm UK time, 2 pm CET to join in.


Do you use Instagram? If so please add #sssmchallenge so we can see your entries there too.


Thank you so much for stopping by here today! 

Happy crafting!

Anna-Karin

Supplies:

* Please note: the links are affiliate links, for which I receive a small percentage of sales generated by the link, at no extra cost to you.


Thursday, September 14, 2023

Sparkling Party Hats Card

Hi everyone! Today I have a card to share with a dry embossed resist background and lots of sparkle and shine.

Please note: this post has affiliate links, for which I receive a small percentage of sales generated by the link, at no extra cost to you.


Layers of ink - Sparkling Party Hats Card Tutorial by Anna-Karin Evaldsson.

I wanted to combine a distressed and somewhat grungy background with gold, shine and shimmer. The background technique is also a fun one, with an embossing folder, mica spray, stamping and clear embossing powder. The card was made with new products, from the Simon Says Stamp STAMPtember® release.


Layers of ink - Sparkling Party Hats Card Tutorial by Anna-Karin Evaldsson. Ink with Distress Ink.

Start by inking a piece of heavystock cardstock with grey inks.

Layers of ink - Sparkling Party Hats Card Tutorial by Anna-Karin Evaldsson. Stamp with Simon Says Stamp Halftone background.

Stamp the background with Simon Says Stamp Halftone Background and Wilted Violet ink. The background doesn't look that good at this stage, but it will change.

Layers of ink - Sparkling Party Hats Card Tutorial by Anna-Karin Evaldsson. Emboss in party balloons.

Apply embossing ink to the Simon Says Stamp Party Balloons embossing folder and die and emboss the cardstock. Cover with clear embossing powder. Tap off the excess powder and melt. Always be very careful when using a heat gun and don't touch the melted until it has cooled down completely.

Layers of ink - Sparkling Party Hats Card Tutorial by Anna-Karin Evaldsson. Mist with Mica Spray.

Mist heavily with Tim Holtz Mica Stain Phantom Mist and Ominous Twilight. The embossing will resist the ink and protect the purple dots, while the spray will cover the dots on the balloons.

Layers of ink - Sparkling Party Hats Card Tutorial by Anna-Karin Evaldsson. Simon Says Stamp Party Hat.

Die cut the Party Hat from Tim Holtz Halloween Backdrops paper, Tim Holtz gold metallic paper and Simon Says Stamp gold glitter cardstock. Assemble.

Layers of ink - Sparkling Party Hats Card Tutorial by Anna-Karin Evaldsson.

I thought the card needed a second hat and die cut it from dotted paper also from the Halloween Backdrops stack.

Layers of ink - Sparkling Party Hats Card Tutorial by Anna-Karin Evaldsson. Die cut balloon.

Die cut balloons with the coordinating Party Balloons die, from gold metallic paper and from a piece of Backdrops paper. Stamp a sentiment from Simon Says Stamp Happy Days on one of the balloons.

Layers of ink - Sparkling Party Hats Card Tutorial by Anna-Karin Evaldsson. Shiny balloons.

Don't worry if there is stray embossing powder on the balloons, it gives them a great textured look. Here you can maybe also see how shiny they are from the mica spray.

Layers of ink - Sparkling Party Hats Card Tutorial by Anna-Karin Evaldsson.

I added a piece of twine to the balloons and adhered them with Simon Says Stamp Pawsitively Perfect Foam Tape. The black sentiments were cut from a sheet of Simon Says Stamp Sentiment strips.

Layers of ink - Sparkling Party Hats Card Tutorial by Anna-Karin Evaldsson.

There is a Studio Katia Iridescent Bubble in the middle.

Layers of ink - Sparkling Party Hats Card Tutorial by Anna-Karin Evaldsson.

I used every second stripe of the gold glitter paper, but you can also cover the hats almost completely in die cut stripes.

Layers of ink - Sparkling Party Hats Card Tutorial by Anna-Karin Evaldsson.

The embossed background has a textured look, with the purple dots, the shiny embossing and the sparkly areas where there was no embossing powder. For another example using the Simon Says Stamp Party Balloons and die see my Happy Days Tag Tutorial.


Thank you so much for stopping by here today! See you soon again.

Happy crafting!

Anna-Karin

Supplies:

* Please note: the links are affiliate links, for which I receive a small percentage of sales generated by the link, at no extra cost to you.

Monday, September 11, 2023

Sunflowers and Birds Tutorial

Hello friends! I hope you had a good weekend. We had summer-time weather and enjoyed the sunshine.

Please note: this post has affiliate links, for which I receive a small percentage of sales generated by the link, at no extra cost to you.


This week at the Simon Says Stamp Monday Challenge blog we have a Take Flight theme. I hope you will join us! And don't miss the project by our September guest designer Deborah Emmons.

Layers of ink - Sunflowers and Birds Tutorial by Anna-Karin Evaldsson.

Last week, we suddenly had a whole lot of great tit birds in the garden and they happen to be one of my favorite birds. They were here for sunflower seeds, since we also have a lot of sunflowers presenting a feast for the birds. I wanted this memory in my art journal.

Layers of ink - Sunflowers and Birds Tutorial by Anna-Karin Evaldsson. Ink with distress ink.

Working on a page in my Dylusions Small Creative Journal, I inked the page with Distress Ink.

Layers of ink - Sunflowers and Birds Tutorial by Anna-Karin Evaldsson. Simon Says Stamp Sunflower Garden.


Layers of ink - Sunflowers and Birds Tutorial by Anna-Karin Evaldsson. Watercolor with Gansai Tambi.

The sunflowers were watercolored with Zig Kuretake Gansai Tambi watercolors, aiming for a loose look.

Layers of ink - Sunflowers and Birds Tutorial by Anna-Karin Evaldsson. Stamp with Stained Glass.

For texture, stamp with Simon Says Stamp Stained Glass and Potting Soil ink. 

Layers of ink - Sunflowers and Birds Tutorial by Anna-Karin Evaldsson.

I added marks and highlights with a black pen and a white gel pen.

Layers of ink - Sunflowers and Birds Tutorial by Anna-Karin Evaldsson. Die cut birds and watercolor.

I die cut Simon Says Stamp Layered Warbler and Layered Birdie from watercolor paper and painted them in the colors of a great tit.

Layers of ink - Sunflowers and Birds Tutorial by Anna-Karin Evaldsson. Add highlights with a white gel pen.

Assemble and glue the pieces together, adding a little dimension to the wings. Use a white gel pen for highlights. 

Layers of ink - Sunflowers and Birds Tutorial by Anna-Karin Evaldsson.

Sentiments were stamped on the background and I also added Design Tape.

Layers of ink - Sunflowers and Birds Tutorial by Anna-Karin Evaldsson.

The Layered Warbler is such a cute bird and can be turned into lots of different birds. 

Layers of ink - Sunflowers and Birds Tutorial by Anna-Karin Evaldsson. Watercolor sunflower.

Up close you can see that I painted the flowers loosely. The already tinted background is also a forgiving surface to paint on.

Layers of ink - Sunflowers and Birds Tutorial by Anna-Karin Evaldsson. Great Tit bird in watercolors.

Great tits are such beautiful birds. 

Layers of ink - Sunflowers and Birds Tutorial by Anna-Karin Evaldsson.

The title was die cut with Tim Holtz Emporium Alphanumeric die. I painted left-over watercolor paper with the same blue that I used on the birds. 

Layers of ink - Sunflowers and Birds Tutorial by Anna-Karin Evaldsson.

Marks and scribbles are fun to add.

Layers of ink - Sunflowers and Birds Tutorial by Anna-Karin Evaldsson.

I normally don't care about if facing pages match in my art journal, but these two both used a lot of yellow, which was nice. You can find the tutorial for the Coneflower page here. 

I hope you will join us this week in our Take Flight challenge. You have a chance to win a $25 gift voucher to do some fun shopping at Simon Says Stamp. You have until Monday 8am Ohio time. 1pm UK time, 2 pm CET to join in.


Do you use Instagram? If so please add #sssmchallenge so we can see your entries there too.


Thank you so much for stopping by here today! 

Happy crafting!

Anna-Karin

Supplies:

* Please note: the links are affiliate links, for which I receive a small percentage of sales generated by the link, at no extra cost to you.