Tuesday, December 19, 2023

Vintage Christmas Gift Tags

Hello crafters! Today I am sharing some vintage gift tags, which are fun and quick to make, and great for using up bits and pieces.

Please note: this post has affiliate links, for which I receive a small percentage of sales generated by the link, at no extra cost to you.

Layers of ink - Vintage Christmas Gift Tags Tutorial by Anna-Karin Evaldsson.

I used Tim Holtz idea-ology ephemera, paper and stickers for these and had fun combining the various images, words and patterns. The Christmas Layer Frames gave me the idea. The back of the tags is covered with double-sided backdrops paper.

Layers of ink - Vintage Christmas Gift Tags Tutorial by Anna-Karin Evaldsson.

Start by picking a bunch of frames, paper dolls, ephemera, labels, photos and Christmas Backdrops papers for the back. 

Layers of ink - Vintage Christmas Gift Tags Tutorial by Anna-Karin Evaldsson.

Stamp sentiment using Simon Says Stamp Season's Greetings. Add stickers from Tim Holtz Christmas Sticker Book and ink the edges of the tags.

Layers of ink - Vintage Christmas Gift Tags Tutorial by Anna-Karin Evaldsson. Punch holes.

Punch holes with a Crop-a-Dile and tie string through the holes. 

Layers of ink - Vintage Christmas Gift Tags Tutorial by Anna-Karin Evaldsson. Add sentiment labels.

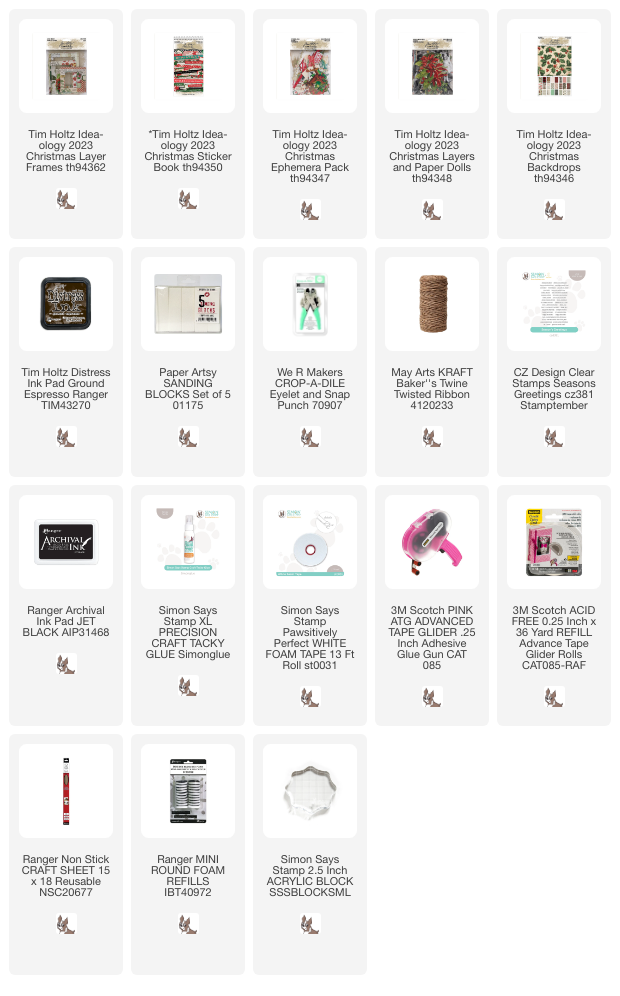
This tag is made from the largest of the three sizes Christmas Layer Frames. The children were adhered with foam tape. The Poinsettia image comes from the Christmas Layers and Paper Dolls set and the label, star and green sentiment are from the Christmas Sticker Book.

Layers of ink - Vintage Christmas Gift Tags Tutorial by Anna-Karin Evaldsson. Tim Holtz Christmas Ephemera idea-ology 2023.

I am very fond of small sentiment stamps and one of the reasons is that they fit in small spaces, such as these labels.

Layers of ink - Vintage Christmas Gift Tags Tutorial by Anna-Karin Evaldsson.

The next tag has a Christmas Ephemera image behind the frame. The poinsettia was adhered with Simon Says Stamp Pawsitively Perfect Foam Tape. I like the loose threads at the one corner of all the Christmas Layer Frames.

Layers of ink - Vintage Christmas Gift Tags Tutorial by Anna-Karin Evaldsson.

I sanded some of the edges too, such as the poinsettia here.

Layers of ink - Vintage Christmas Gift Tags Tutorial by Anna-Karin Evaldsson. Tim Holtz idea-ology Christmas frames.

The next tag features an old photo of a girl and a snowman. I paired it up with an old calendar ephemera piece. The back is covered with the same poinsettia pattern that you see on the right-hand side of the tag.

Layers of ink - Vintage Christmas Gift Tags Tutorial by Anna-Karin Evaldsson.

The frames have such interesting combination of patterns, text, music notes and more.

Layers of ink - Vintage Christmas Gift Tags Tutorial by Anna-Karin Evaldsson.

The following tag is square and features a large brass bell. The bell was shaped a little and adhered with a foam strip down the center. 

Layers of ink - Vintage Christmas Gift Tags Tutorial by Anna-Karin Evaldsson.

The holly was also adhered with a foam strip. My mom has a similar bell from her grandmother which always hangs in the hallway during Christmas.

Layers of ink - Vintage Christmas Gift Tags Tutorial by Anna-Karin Evaldsson. Tim Holtz idea-ology Christmas sticker book 2023.

This tag has another vintage photo in the frame, combined with a sticker label and two different sentiment tags and labels.

Layers of ink - Vintage Christmas Gift Tags Tutorial by Anna-Karin Evaldsson. Tim Holtz Christmas Baseboards.

Another square tag. The children are adhered with foam tape and there is a music ephemera piece in the frame and more music paper at the back of the tag.

Layers of ink - Vintage Christmas Gift Tags Tutorial by Anna-Karin Evaldsson.

Here are the backs of the tag. Some of them have space for a message at the back. The paper comes from the Christmas Backdrops pack.


Thank you for visiting my blog! 

Happy crafting!

Anna-Karin

Supplies:

* Please note: the links are affiliate links, for which I receive a small percentage of sales generated by the link, at no extra cost to you.


No comments:

Post a Comment

Thank you so much for leaving a comment! Happy Crafting!