Hello friends! I have a Halloween tutorial to share with you today, made for the Eileen Hull Inspiration Team. This month the team is focusing on holiday projects, as an
Holiday Jump Start inspiration. I made a little book to document Halloween memories in.
Last year, Anton and I went to look at a Halloween parade, but instead ended up walking in the parade and had a great time. I haven't developed the photos yet, but thought I'd put them in this album, as well as this year's Halloween photos.
The album was made with Eileen's Sizzix
Passport Book die, which makes it very easy to do a minibook. I used
Tim Holtz stamps to embellish it.
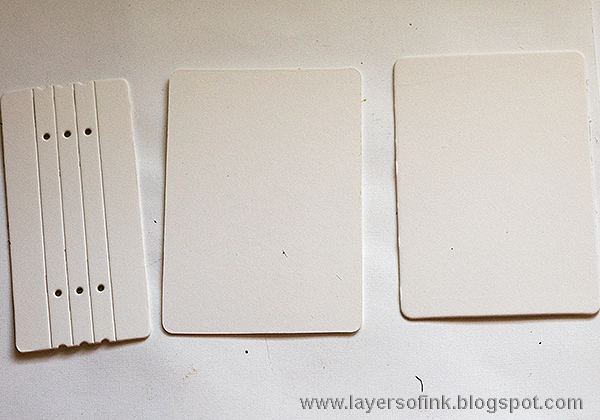
Start by die cutting two covers and the spine from white mat board. This is an XL die, so you need the Extended Cutting Pads.
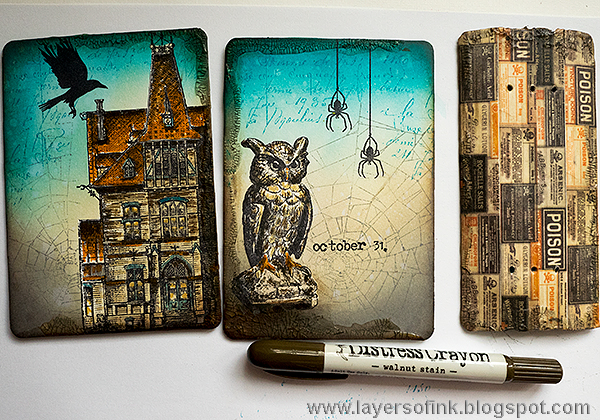
Colour the images with Distress Markers.
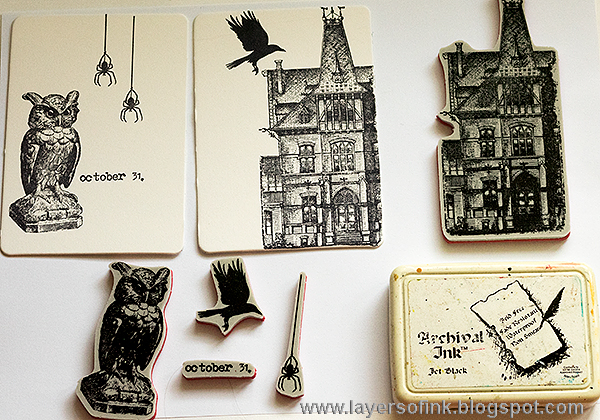
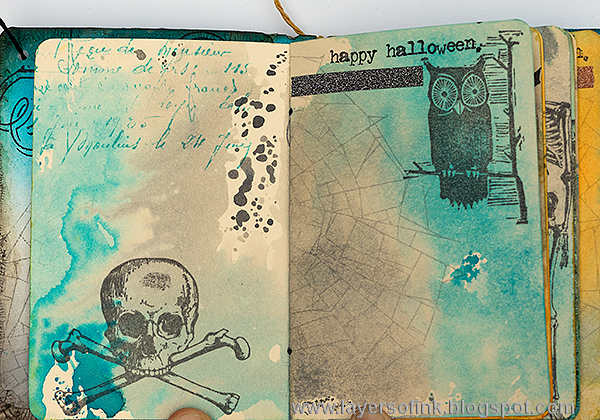
Stamp the house and the owl on Eclipse Masking Tape and cut out. Mask the house and owl. Ink the background with Distress Ink and and ink blending tool. Also ink the inside of the spine.
With the masks still in place, splatter some water on the background to create texture.
Stamp the covers with the
Webs background stamp and Watering Can ink, and with a script stamp and Forget-Me-Not ink.
Apply
Distress Collage Medium Matte on the spine and then place
Design Tape on top. Add another layer of Medium on top of the tape. The medium makes the tape stronger and adhere better, which is important since it is on the spine of the book.
Now you can remove the masks, and add some shading. I smeared
Crazing Medium along the edges, also of the spine.
Let dry and then rub a brown Distress Crayon into the cracks. Use a slightly moist cloth to wipe away some of the crayon.
Apply a strong adhesive, along the flaps of the spine and attach the covers. I used Wonder Tape. As you can see, I stamped and applied Crazing Medium to the inside covers too.
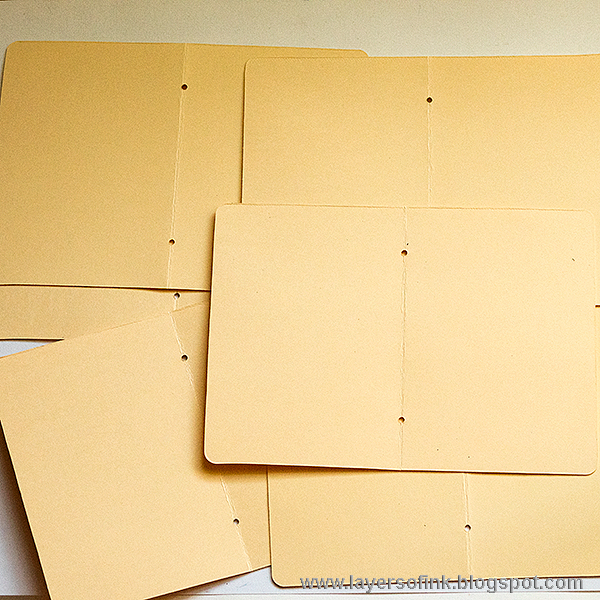
Die cut six inside double-pages from manila cardstock. You can easily fit even more pages into the book. As you can see, the die both scores and punches holes in the pages, which makes assembly very easy.
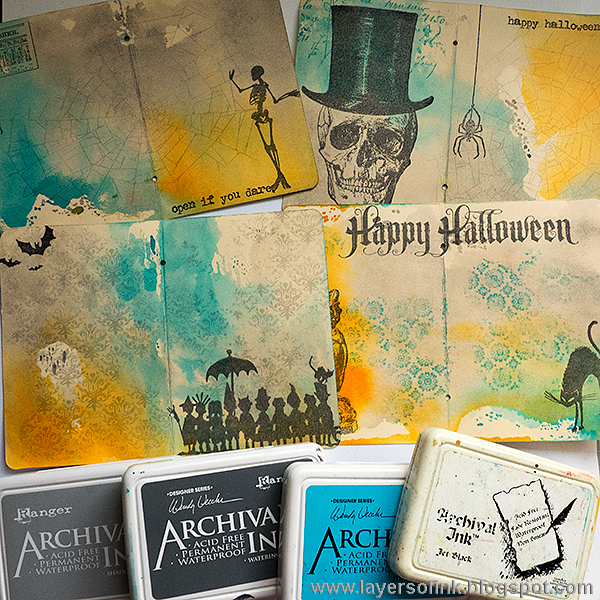
Smear Distress Inks on your craft sheet, mist with water and press the papers into the ink. Repeat on both sides, of all the pages.
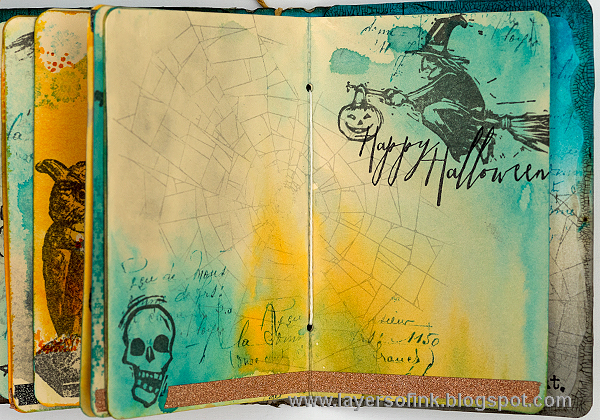
When the ink is dry, stamp the pages with a variety of Halloween and background stamps. I used Shadow Grey, Watering Can, Forget-Me-Not and Jet Black Archival Ink. Some of the impressions are second generation. This is my favourite way of making mini-books and I love to sit surrounded by stamps, stamping away.
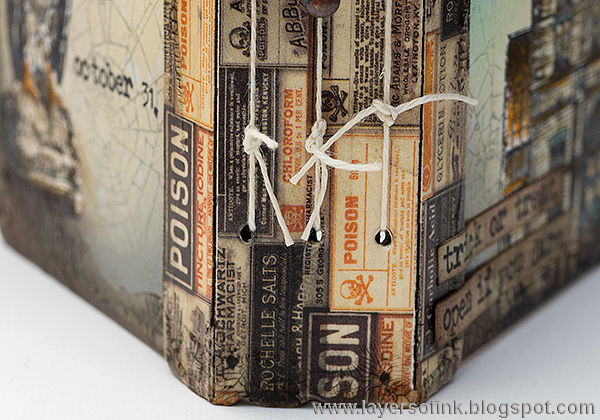
Use two pages for each signature and tie to the spine with a piece of string.
Make knots on the outside of the spine.
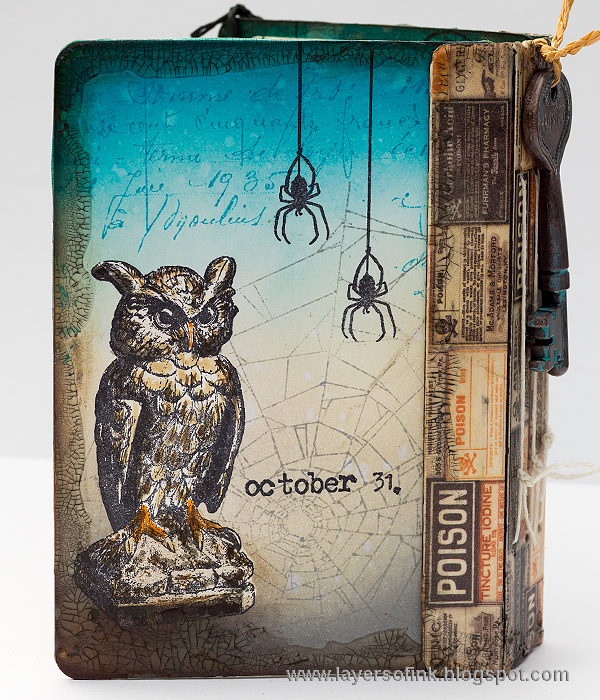
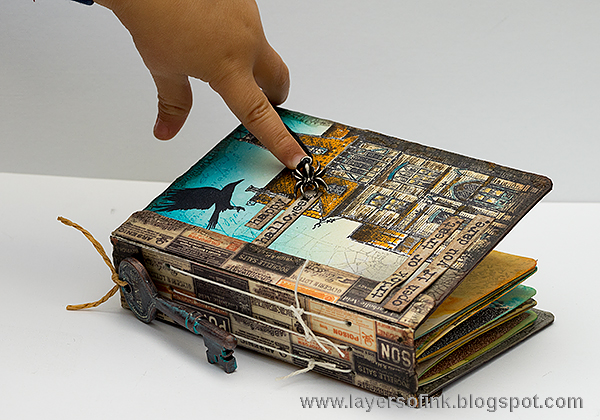
I tied a
key to the top of the spine, by making an additional hole with my Crop-a-Dile. Distress Paint had been rubbed into the key to age it.
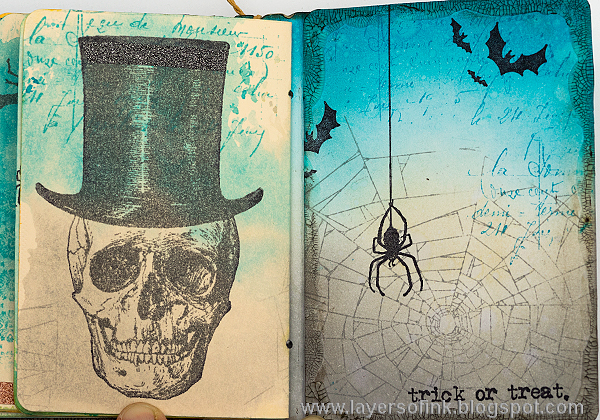
From the cover, a
spider is hanging from a string. I first planned to glue it, but then let it hang lose.
Sentiments from
Regions Beyond were stamped on Materialize patterned paper and cut into strips.
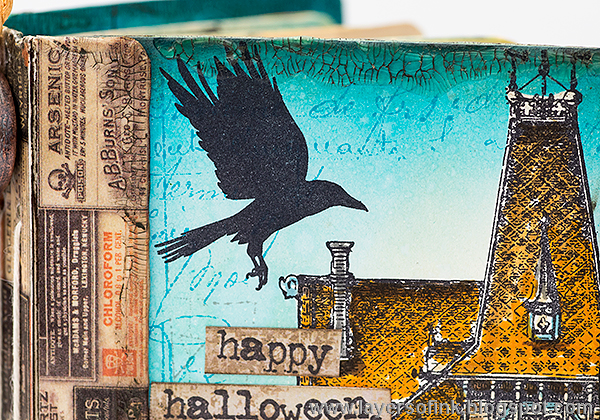
The cool bird comes from the
Mini Halloween #5 set.
Here's a look at the back cover. I really like that owl stone statue stamp.
This script stamp is a favourite of mine, and it is not only for Halloween.
Most pages have a lot of open space, but I started the book with a
skull stamp, which I know Anton finds fascinating. As a title page.
I'll just show you some of the pages, otherwise the post gets very long.
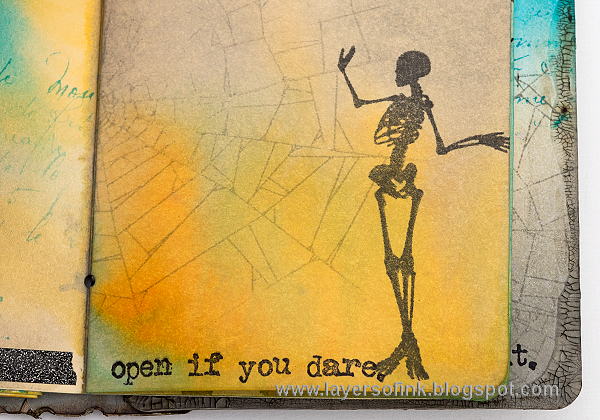
If you stamp most of the images at the edges and corners, there is plenty of space for journaling and photos.
And I love this funny skeleton.
I applied orange and black
Deco Tape to the pages, as an extra embellishment, and for some bling.
The back spread has another
skull stamp. There is a piece of Deco Tape at the top of his hat.
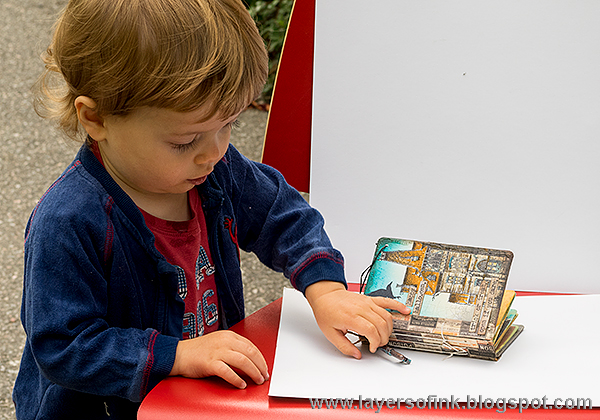
I had a little helper when I photographed this project and when I was almost finished, he discovered that there were moving parts on the book and a little hand came into the picture.
And here he is, and my red kitchen chair that I use for a lot of my photos. Leo loves to walk around outdoor exploring.
I hope this post inspired you to make some mini-books. They are great as gifts too. If you use different stamps, you can make it work for any theme. Check out my
Brothers Crackle Album for another example using the
Passport Book die.
Thank you so much for watching!
Happy Crafting!
Anna-Karin
Supplies: