Showing posts with label Distress Ink. Show all posts

Tuesday, September 29, 2026

Colorful Paper Mushrooms

Hi crafters! Today I have a fun project to share, filled with colorful paper mushrooms. I made a small wall hanger, but you can also make a card or a tag.

Please note: this post has affiliate links, for which I receive a small percentage of sales generated by the link, at no extra cost to you.

Layers of ink - Colorful Mushrooms Tutorial by Anna-Karin Evaldsson.

I had this idea of wanting to fill something with colorful mushrooms in different sizes, using mainly, but not only, autumn colors. The base is a wood panel in size 2.7x7.1 in. You can also use cardstock, mat board or a tag. The mushrooms were die cut from very inky and textured papers and I also stamped even more texture on some of them. The inky papers are useful for many types of projects.

Coat with gesso.

Start with a layer of gesso and make marks with a palette knife. Let dry.

Add texture paste through Simon Says Stamp Bubbles stencil.


Paint with Distress Paint.

When dry, paint with watered-down Distress Paint.

Stamp with Tim Holtz School Desk.

Stamp with Tim Holtz School Desk, alphabet stamp.

Mist with Distress Spritz.

Mist the background with Peacock Feathers and Tumbled Glass Distress Spritz. 

Ink with Distress Ink.

Next, the inky papers, which require a bit of patience. Smear Distress Ink on a non-stick craft sheet, mist with water and press Ranger Heavystock cardstock into the ink. Let dry. 

Ink with Distress Ink.

Repeat with orange and purple shades.

Ink with Distress Ink.

When the paper is dry, repeat the process and let dry again. 

Ink with Distress Oxide ink.

Repeat the inking steps again until you are happy with the look. For the last layers, I used mainly darker inks and only lightly patted the paper into the ink. The final layer is Distress Oxide Ink, which you only want to get here and there. Don't press the paper into the ink, only lightly touch the ink, to get more texture.

Die cut with Simon Says Stamp Mushroom Stems.

Die cut Simon Says Stamp Mushroom Stems from the inky papers. I also added a few similar papers from my scrap pile. 

Die cut with Simon Says Stamp Tall Mushrooms.


Add texture.

White emboss the dot pattern from Tim Holtz Grunged on most of the mushrooms. Stamp some of them with Simon Says Stamp Crackle Background, using a darker shade of ink.

Die cut with Simon Says Stamp Pocket full of mushrooms.

Die cut a whole lot of mushrooms using Simon Says Stamp Pocket Full of Mushrooms. 


Shape them with Tim Holtz Shaping Tool kit and add Simon Says Stamp Pawsitively Perfect Foam Tape under the cap of the larger mushrooms. I used some of these on yesterday's Sunflower Garden project.


Shape the larger mushrooms too and add foam tape under all the caps.

Add Small Talk stickers.

I added Tim Holtz Small Talk stickers as sentiments.


The background has lots of texture and shimmer. You can see how the Distress Spritz have formed halos around the texture paste dots. 

Simon Says Stamp mushrooms.

There is Distress Spritz on some of the inky papers too. I used up left over spritz which had ended up on the stencils during yesterday's Sunflower Garden project. 


The color and texture of the mushrooms looks great all together. 


The white embossing adds a lot of texture and also makes the mushrooms look a little poisonous. These mushrooms should not be eaten. 


I tied organza and twine under the mushrooms. There is also cheese cloth behind them, dyed with the same colors Distress Ink as used on the background.

Layers of ink - Colorful Mushrooms Tutorial by Anna-Karin Evaldsson.

I adhered some of the mushrooms with foam tape and glued the rest. The project is quite dimensional.

Layers of ink - Colorful Mushrooms Tutorial by Anna-Karin Evaldsson.

Thank you for visiting my blog today!


Happy crafting!

Anna-Karin

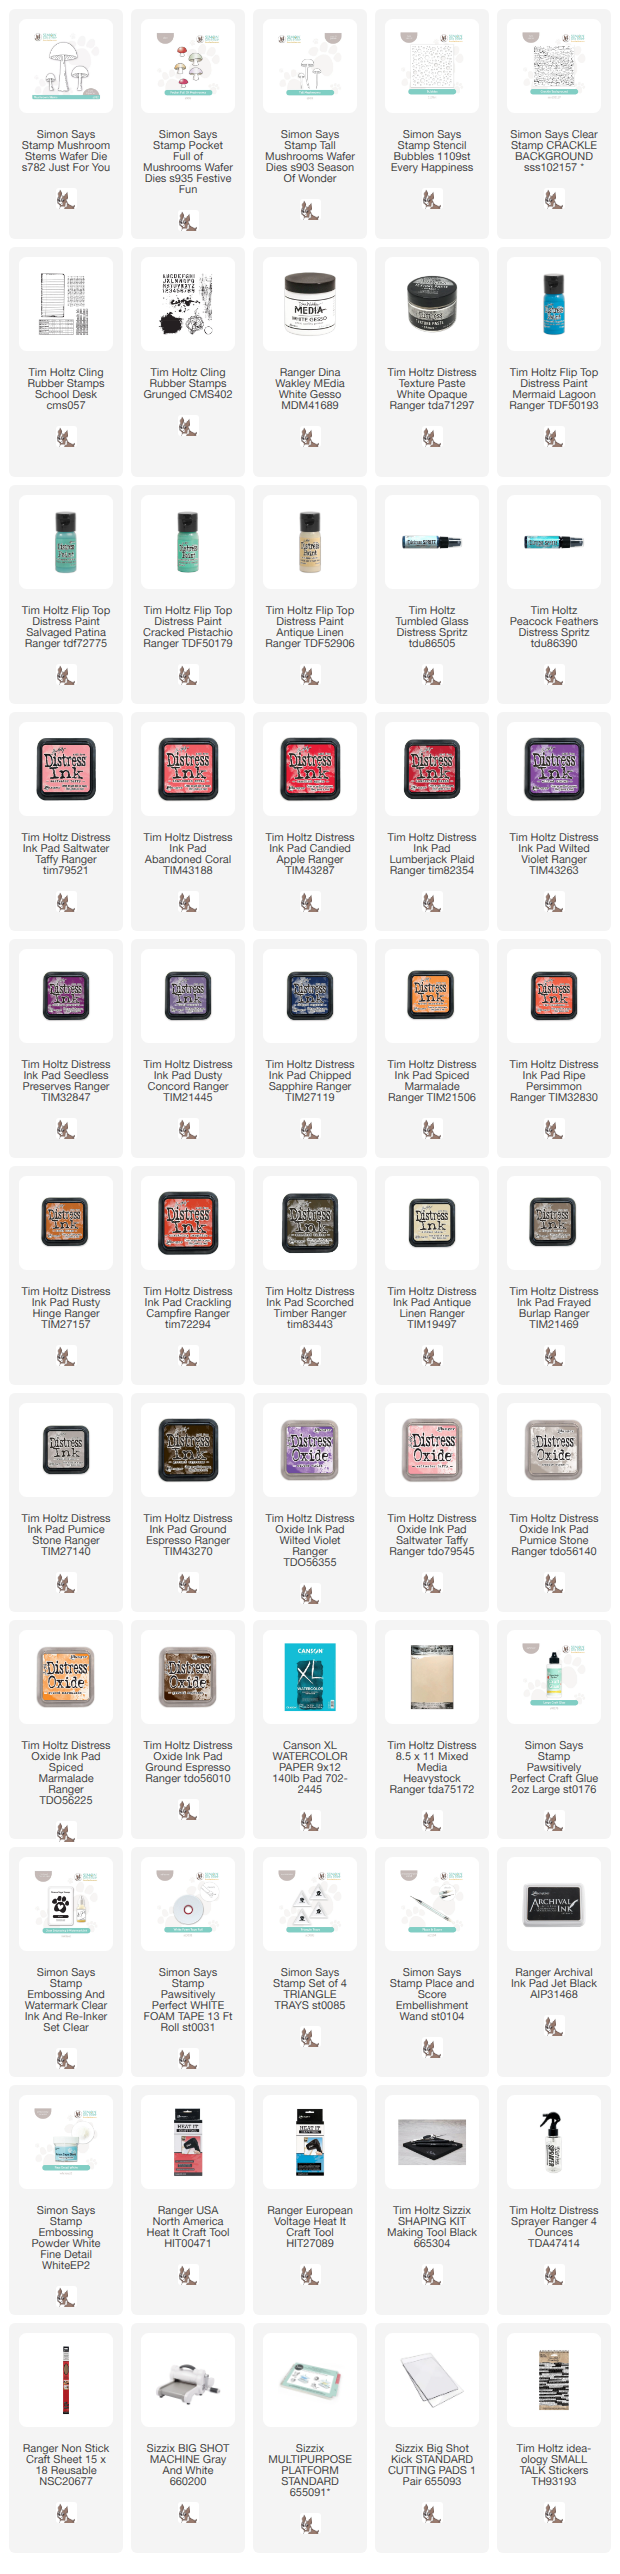
Supplies:

* Please note: the links are affiliate links, for which I receive a small percentage of sales generated by the link, at no extra cost to you.


Monday, September 21, 2026

Inky Floral Tag Tutorial

 Hello friends! I hope all is well with you and that you had time to craft over the weekend. 

Please note: this post has affiliate links, for which I receive a small percentage of sales generated by the link, at no extra cost to you.


It is Monday and this week we have a Make a Background theme at the Simon Says Stamp Monday Challenge Blog. I hope you will join us! Don't miss the wonderful project by our September guest designer Debbie Emmons.

Layers of ink - Inky Floral Tag Tutorial by Anna-Karin Evaldsson.

I love to make my own backgrounds and there are so many techniques that can be used for backgrounds, and combined too. Here I made a stamped and inky background, using embossed resist in different colors. The background is also the main focus of the tag.

Stamp with Simon Says Stamp To Friendship.

Start by white embossing the leaves and stems from Simon Says Stamp To Friendship. The set is from the STAMPtember® release.

Stamp with Distress Oxide ink.

Stamp one of the flower stamps with Saltwater Taffy Distress Oxide Ink and clear emboss.


Repeat with Spiced Marmalade Distress Oxide. I also stamped both flower stamps again with embossing ink and embossed with clear powder one more time. 

Stamp sentiments.

White emboss the sentiments from Simon Says Stamp To Friendship.

Ink with Distress Ink.

Smear Distress Ink on a non-stick craft sheet and mist with water. Press the tag into the ink. Let dry.


Repeat until you are happy with the look. I added ink at least two more times after taking this photo. Finally, use Distress Oxide Ink as the last layer, but only in a few places. I used Mermaid Lagoon and Twisted Citron (but forgot to take a photo of that step).


I used a mix of organza and Wrinkled Faux Silk Ribbon to tie the tag. The latter was dyed with Distress Ink.


Here you can see the effect of all those layers of ink, with the final layer being Distress Oxide Mermaid Lagoon. 


Since I embossed the flower one extra time with clear ink and powder, they are very shiny and stand out from the background.

Embossed flowers.

Here the clear ink stamping was accidentally placed a bit to the left, but that created a cool layered effect instead.


This is such a great sentiment! I added some Mermaid Lagoon Distress Oxide ink also in the green areas, so that the green and the blue part of the tag would connect better, and to add texture.


Add Simon Says Stamp Pawsitively Dazzling Peachy Gems to the tag.

Layers of ink - Inky Floral Tag Tutorial by Anna-Karin Evaldsson.


Join us this week in our Make a Background challenge! You have a chance to win a $25 gift voucher to do some fun shopping at Simon Says Stamp. You have until Monday 8am Ohio time. 1pm UK time, 2 pm CET to join in.


Do you use Instagram? If so please add #sssmchallenge so we can see your entries there too.


Thank you so much for visiting today! 

Happy crafting!

Anna-Karin

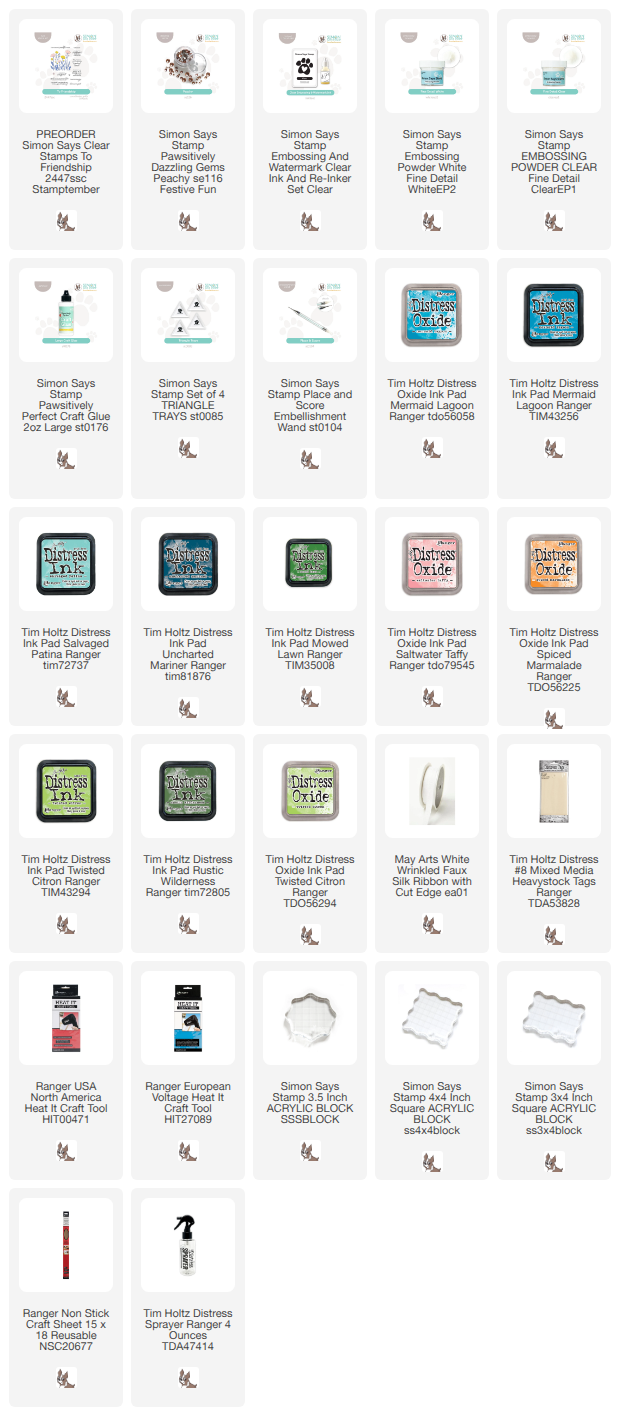
Supplies:

* Please note: the links are affiliate links, for which I receive a small percentage of sales generated by the link, at no extra cost to you.


Monday, September 14, 2026

Vintage Road Trip

 Hello crafters! I hope you are well and that you had a good weekend with lots of crafty time. 

Please note: this post has affiliate links, for which I receive a small percentage of sales generated by the link, at no extra cost to you.


This week we have a Transport It theme at the Simon Says Stamp Monday Challenge Blog. I hope you will join us!! And don't miss the stunning project by our September guest designer Debbie Emmons.

Layers of ink - Vintage Car Road Trip tutorial by Anna-Karin Evaldsson.

I thought that the new Simon Says Stamp A7 Notched Rectangles, from the STAMPtember® release, look like tickets and decided to make a ticket shaped card. The theme of the card is taking a road trip in a vintage car. Almost everything on the card was stamped.

Die cut Simon Says Stamp Notched Rectangles.

Start by die cutting a Simon Says Stamp A7 Notched Rectangle from heavystock cardstock. I really like this die cutting set. 

Ink with Distress Ink.

I also die cut the smallest rectangle. Smear Distress Ink on a non-stick craft sheet and mist with water. Press the paper into the ink. Let dry and repeat.

Stamp with Tim Holtz Vintage Auto.

Stamp one of the Tim Holtz Vintage Autos on the paper.

Add more stamping.

Add more stamping. I stamped the sentiments with Archival Ink Red Geranium. Turn the small rectangle into a ticket. The sentiment stamps are from: Tiny Text, Curiosity Shop and Road Trip. The compass comes from Tim's Warehouse District and the small stamps are from Correspondence.

Gold emboss.

Stamp some script with the ledger stamp from Tim Holtz Etcetera and gold emboss the grid pattern from Tim's Ultimate Grunge set.

Die cut matte and cardbase.

Die cut A7 Notched Rectangles from gold kraft stock and from red cardstock. Die cut the cardbase by folding the cardstock and placing the cutting edge of the die just above the fold.


Staple the small ticket to the card. I also added some Simon Says Stamp Mini Stars.


I bit of gold embossing folder got stuck to the car. I like stray embossing powder, so I melted it as it was.


Adding a few embossed elements with metallic powders adds a nice finishing touch and an additional texture.


Don't miss all the STAMPtember® inspiration and surprises at Simon Says Stamp!

Join us this week in our Transport It challenge! You have a chance to win a $25 gift voucher to do some fun shopping at Simon Says Stamp. You have until Monday 8am Ohio time. 1pm UK time, 2 pm CET to join in.


Do you use Instagram? If so please add #sssmchallenge so we can see your entries there too.


Thank you so much for visiting today! 

Happy crafting!

Anna-Karin

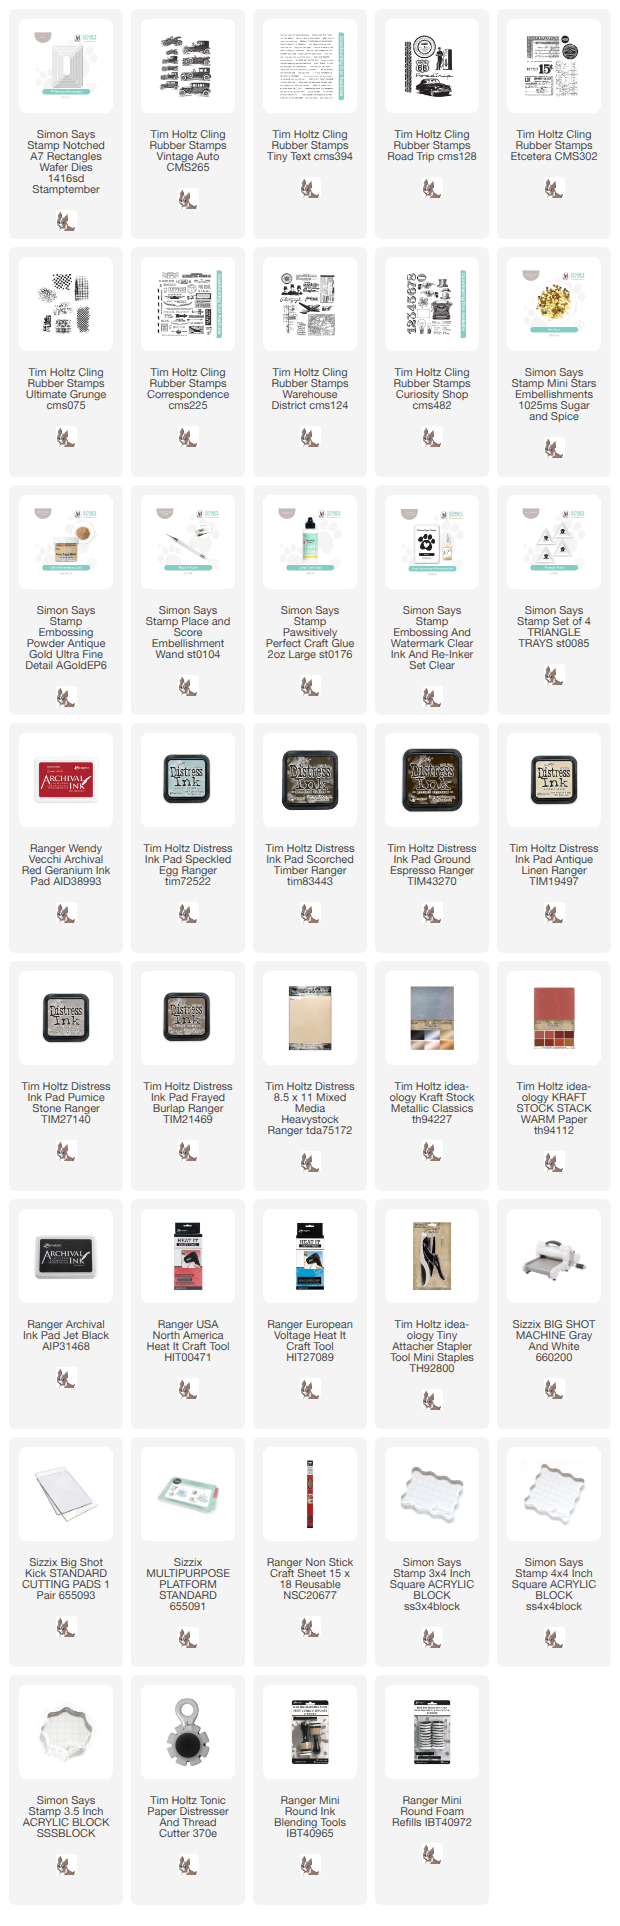
Supplies:

* Please note: the links are affiliate links, for which I receive a small percentage of sales generated by the link, at no extra cost to you.