
Hello friends! I hope all is well with you and that you had time to craft over the weekend.
Please note: this post has affiliate links, for which I receive a small percentage of sales generated by the link, at no extra cost to you.

It is Monday and this week we have a Make a Background theme at the Simon Says Stamp Monday Challenge Blog. I hope you will join us! Don't miss the wonderful project by our September guest designer Debbie Emmons.

I love to make my own backgrounds and there are so many techniques that can be used for backgrounds, and combined too. Here I made a stamped and inky background, using embossed resist in different colors. The background is also the main focus of the tag.

Start by white embossing the leaves and stems from Simon Says Stamp To Friendship. The set is from the STAMPtember® release.

Stamp one of the flower stamps with Saltwater Taffy Distress Oxide Ink and clear emboss.

Repeat with Spiced Marmalade Distress Oxide. I also stamped both flower stamps again with embossing ink and embossed with clear powder one more time.

White emboss the sentiments from Simon Says Stamp To Friendship.

Smear Distress Ink on a non-stick craft sheet and mist with water. Press the tag into the ink. Let dry.

Repeat until you are happy with the look. I added ink at least two more times after taking this photo. Finally, use Distress Oxide Ink as the last layer, but only in a few places. I used Mermaid Lagoon and Twisted Citron (but forgot to take a photo of that step).

I used a mix of organza and Wrinkled Faux Silk Ribbon to tie the tag. The latter was dyed with Distress Ink.

Here you can see the effect of all those layers of ink, with the final layer being Distress Oxide Mermaid Lagoon.

Since I embossed the flower one extra time with clear ink and powder, they are very shiny and stand out from the background.

Here the clear ink stamping was accidentally placed a bit to the left, but that created a cool layered effect instead.

This is such a great sentiment! I added some Mermaid Lagoon Distress Oxide ink also in the green areas, so that the green and the blue part of the tag would connect better, and to add texture.

Add Simon Says Stamp Pawsitively Dazzling Peachy Gems to the tag.


Join us this week in our Make a Background challenge! You have a chance to win a $25 gift voucher to do some fun shopping at Simon Says Stamp. You have until Monday 8am Ohio time. 1pm UK time, 2 pm CET to join in.
%20(1).jpg)
Do you use Instagram? If so please add #sssmchallenge so we can see your entries there too.


Thank you so much for visiting today!
Happy crafting!
Anna-Karin
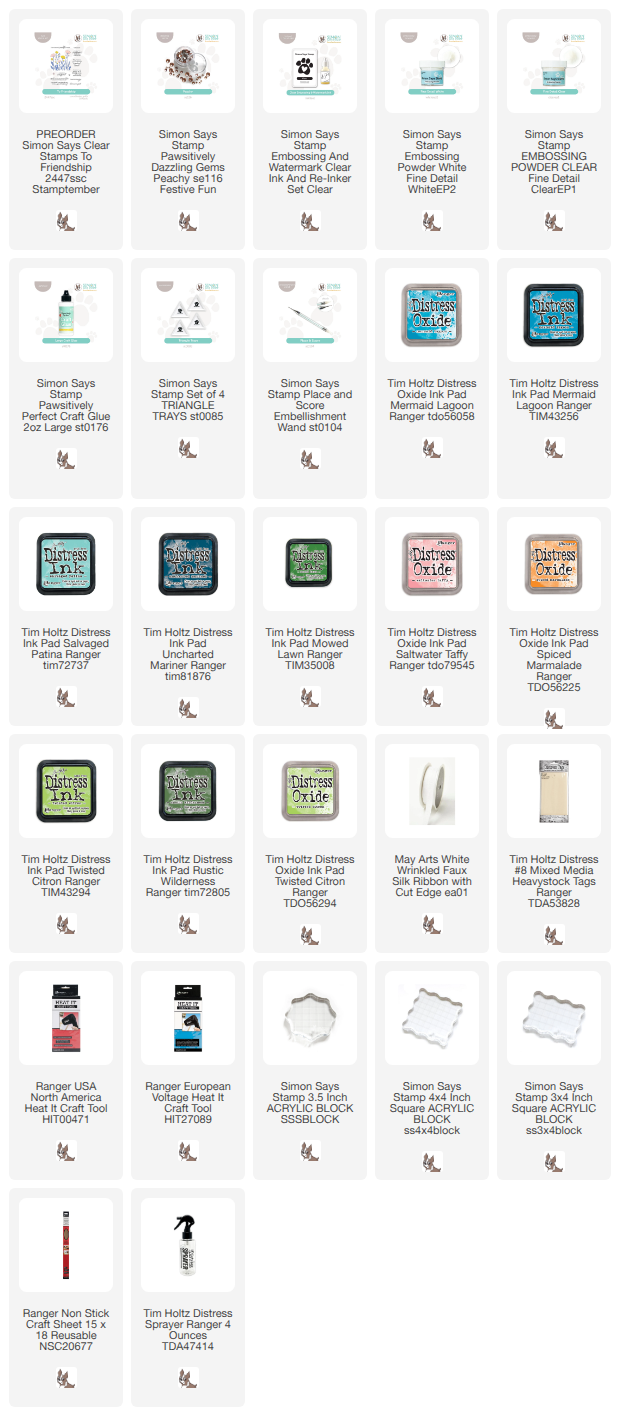
Supplies:
* Please note: the links are affiliate links, for which I receive a small percentage of sales generated by the link, at no extra cost to you.
* Please note: the links are affiliate links, for which I receive a small percentage of sales generated by the link, at no extra cost to you.

No comments:
Post a Comment
Thank you so much for leaving a comment! Happy Crafting!