Showing posts with label Patterned Paper. Show all posts

Tuesday, July 28, 2026

Smile Layout

Hello friends! Today I have a scrapbooking layout to share, with stitching and patterned paper.

Please note: this post has affiliate links, for which I receive a small percentage of sales generated by the link, at no extra cost to you.

Layers of ink - Smile Layout by Anna-Karin Evaldsson.

I wanted to use a mix of Tim Holtz Palette paper, and in particular the collage papers with all the small details. All I added was some ephemera, die cut butterflies, a title and some stamped sentiments. I used an old childhood photo.

Use Tim Holtz Palette paper.

I started by cutting out pieces from the collage papers in various Palette Paper 8x8 in sets, picking designs that I liked, or that fit the theme.


Arrange them on a background paper, distress the edges and then stitch around the design with both straight and zigzag stitches.

Stitch around the paper.

The background is kraft paper and I added more Palette paper, distressed the edges and stitched another frame.

Die cut Tim Holtz Alphanumeric Bulletin.

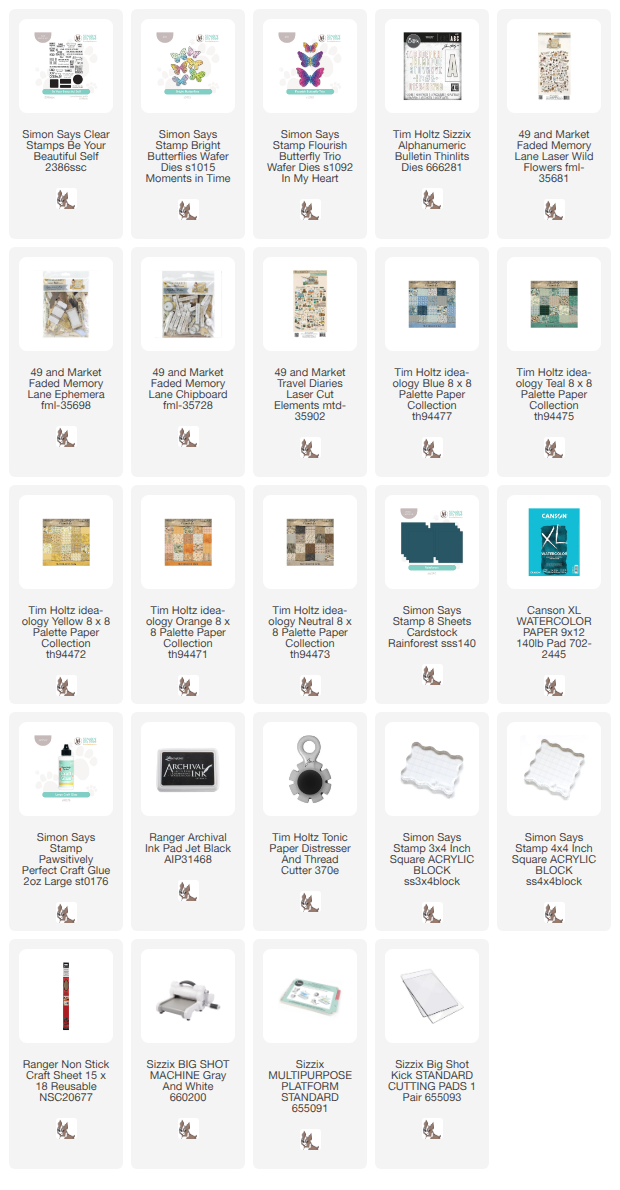
I really like Tim Holtz Sizzix Alphanumeric Bulletin letters and die cut the title from another pieces of palette paper and from Simon Says Stamp Rainforest cardstock.


Butterflies were die cut from more patterned paper with Simon Says Stamp Bright Butterflies. The bodies come from Simon Says Stamp Flourish Butterfly Trio.


I used ephemera from 49 and Market Faded Memory Lane ephemera and chipboard sets and sanded the edges slightly.


Glue the title and add lace trim underneath as a border.


This sentiment also comes from Simon Says Stamp Be Your Beautiful Self. 


A few more flowers and a butterfly. 


Happy crafting!

Anna-Karin

Supplies:

* Please note: the links are affiliate links, for which I receive a small percentage of sales generated by the link, at no extra cost to you.


Happy crafting!

Anna-Karin

Supplies:

* Please note: the links are affiliate links, for which I receive a small percentage of sales generated by the link, at no extra cost to you.


Monday, July 6, 2026

Read Layout

Hi crafters! I hope your weekend was good and with some crafty time. 

Please note: this post has affiliate links, for which I receive a small percentage of sales generated by the link, at no extra cost to you.


This week we have a Back to School theme at the Simon Says Stamp Monday Challenge Blog. I hope you will join us and don't miss the project by our July guest designer Rox aka Red Dirt Crafter.

Since it is the first Monday of a new month, the team is showcasing products by a specific designer / company and this week it is 49 and Market. You can find all their stunning paper products here. You don't have to use 49 and Market products to join, but it is fun if you do.

Layers of ink - Read Layout by Anna-Karin Evaldsson.

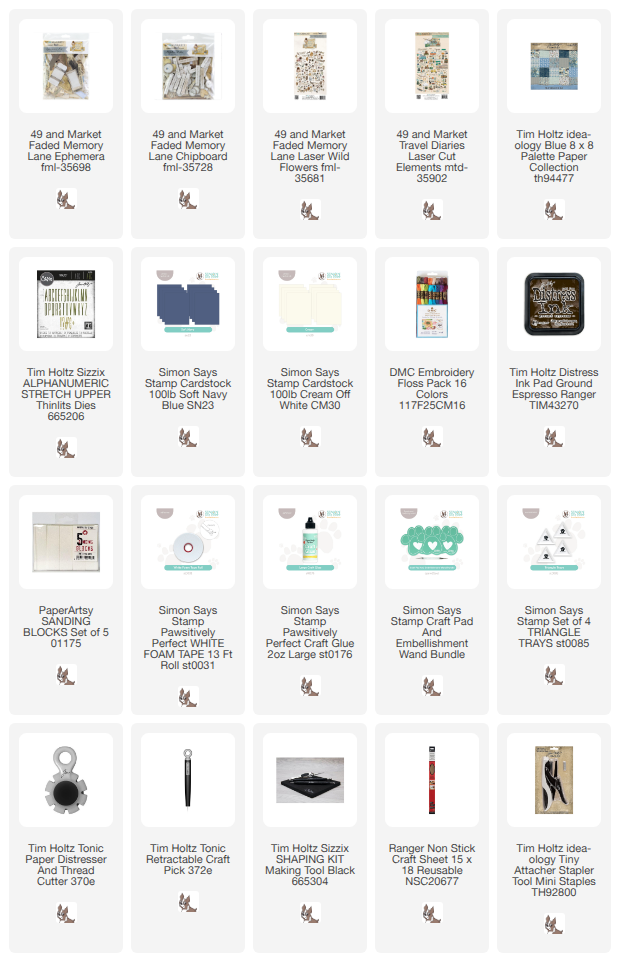
I made a scrapbooking layout this week, using an old school photo. I had fun playing around with pretty papers and ephemera and used 49 and Market: Faded Memory Lane Ephemera, Faded Memory Lane Chipboard, Faded Memory Lane Laser Wild Flowers and Travel Diaries Laser Cut Elements. All I added was a die cut title, buttons and lots of stitching.

Stitch the 49 and Market items.

I started by arranging various papers from 49 and Market Faded Memory Lane Ephemera on Simon Says Stamp Soft Navy Blue cardstock. The edges were distressed and inked. I stitched them to the background with my sewing machine, using a mix of straight and zig-zag stitching. The ephemera kit has 118 pieces, both larger and smaller, and lots of great sentiments.


I also used Faded Memory Lane Chipboard, such as this sentiment. The edges were sanded and some of them were inked.


The butterfly comes from Faded Memories Laser Cut Wild Flowers, fold up the wings.


More chipboard pieces. The vintage buttons were stitched to the background with DMC floss.


This faded coneflower print is so pretty! 

Add 49 and Market Travel Diaries Laser Cut Elements.

For the learning and reading theme, I for example added this pile of books and a globe from Travel Diaries Laser Cut elements. The edges were sanded. I also stitched two charms to the background. A key because reading opens doors and a plant, to fit with the floral theme. Isn't 'paper dreams' the perfect sentiments. Already from a very young age, I loved paper products.

Add 49 and Market Travel Diaries.

I added Simon Says Stamp Pawsitively Perfect Foam Tape behind one end of the banner, to give it dimension. Foam tape was also placed under the stack of books. The butterfly comes from Faded Memory Lane Laser Wild Flowers.

Die cut letters with Tim Holtz Alphanumeric Stretch Upper.

The title was die cut with Tim Holtz Alphanumeric Stretch Upper from Blue Palette Paper 8x8 in. I also added a map, folded, inked and shaped with foam tape, an open book and more chipboard elements, all from Faded Memory Lane. 

Add 49 and Market Faded Memory Lane.

Fold the book ephemera and shape. Add foam tape behind the covers and glue only along the spine.


I always liked ruler elements. 

Join us this week in our Back to School challenge! You have a chance to win a $25 gift voucher to do some fun shopping at Simon Says Stamp. You have until Monday 8am Ohio time. 1pm UK time, 2 pm CET to join in.


Do you use Instagram? If so please add #sssmchallenge so we can see your entries there too.


Thank you so much for visiting today! 

Happy crafting!

Anna-Karin

Supplies:

* Please note: the links are affiliate links, for which I receive a small percentage of sales generated by the link, at no extra cost to you.


Sunday, June 28, 2026

Glitter Heart Background

Hi friends! Today I have a very glittery and glitzy card to share, which will dazzle any recipient. 

Please note: this post has affiliate links, for which I receive a small percentage of sales generated by the link, at no extra cost to you.

Layers of ink - Glitter Heart Background tutorial by Anna-Karin Evaldsson.

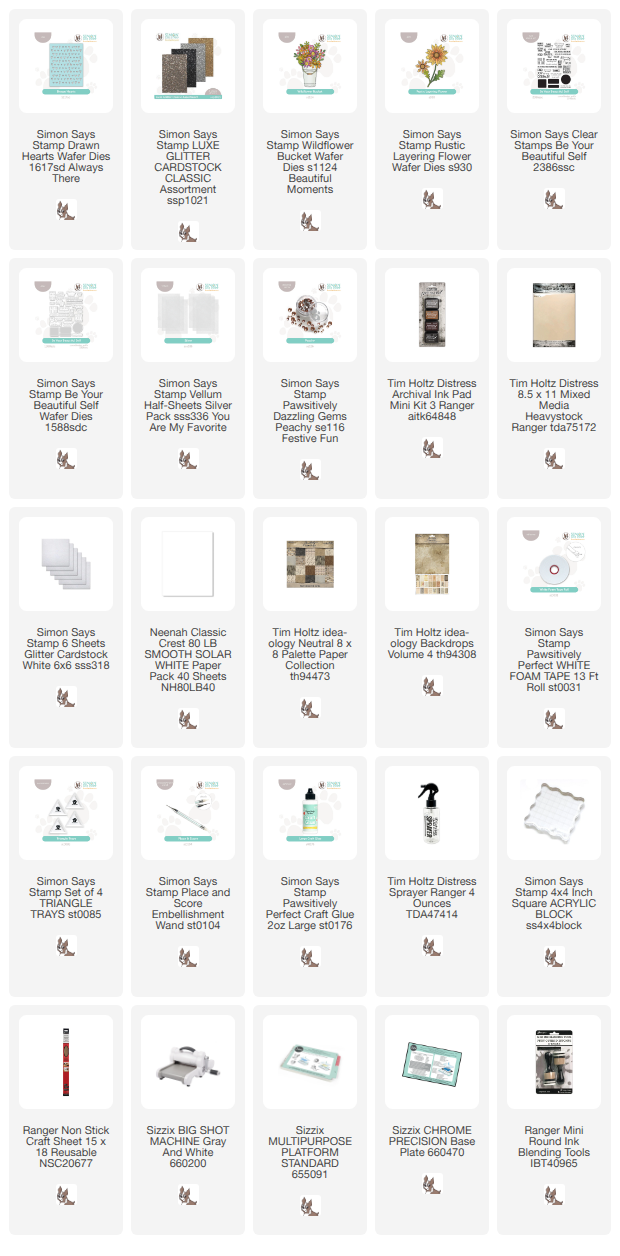
I made a card with an entire glitter background, die cut with Simon Says Stamp Drawn Hearts from the fantastic Luxe Glitter Cardstock. I used the Champagne version of the glitter cardstock and you might have noticed the little glitter hearts used on my last two projects. They were from this die cutting session and I knew I wanted to use the entire sheet on a background too. 

Die cut Simon Says Stamp Flowers.

For the dimensional flowers, start by die cutting Simon Says Stamp Rustic Layering Flower and Wildflower Bucket from heavystock cardstock, white glitter cardstock, white cardstock and Tim Holtz backdrops cardstock.

Ink and shape the flowers.

Ink the flowers with neutral shades of Distress Ink and shape the flowers with Tim Holtz Shaping Tool Kit.

Die cut Simon Says Stamp Drawn Hearts.


Layer the flowers together. I added a paper center to some of them and a Simon Says Stamp Pawsitively Dazzling Peachy Gem to some of them. The sentiment was stamped with brown Archival Ink using Simon Says Stamp Be Your Beautiful Self set and die cut with the coordinating die.


The flowers have quite a lot of dimension.

Dimensional Paper flowers.

At the bottom there is a larger cluster of flowers and a smaller sentiment, from the same stamp set.


It is hart to capture the glimmer in all its might. The silver vellum also glimmers and the Luxe Cardstock has a disco ball look which changes depending on how the light falls.


The same part of the card, but from a different angle.

Layers of ink - Glitter Heart Background tutorial by Anna-Karin Evaldsson.

I hope you enjoyed this tutorial. For another card using Simon Says Stamp Drawn Hearts for the background, check out my Mouse Card.


Happy crafting!

Anna-Karin

Supplies:

* Please note: the links are affiliate links, for which I receive a small percentage of sales generated by the link, at no extra cost to you.


Tuesday, May 19, 2026

Hyacinth Flower in Pencil

Hello crafters! Today I have a hyacinth flower to share, stamped on patterned paper and then colored with pencils.

Please note: this post has affiliate links, for which I receive a small percentage of sales generated by the link, at no extra cost to you.

Layers of ink - Lilac Flower in Pencil tutorial by Anna-Karin Evaldsson.

Stamping on patterned paper and then using pencils to color the image is one of my favorite techniques. The pencils will cover most of the pattern, but some of it will show through. I particularly enjoy combining this technique with ledger papers. I made an art journal page, but this could just as well be a card instead. 

The page was added to my Stamperia Happiness Mixed Media journal, 4x8.5 in.

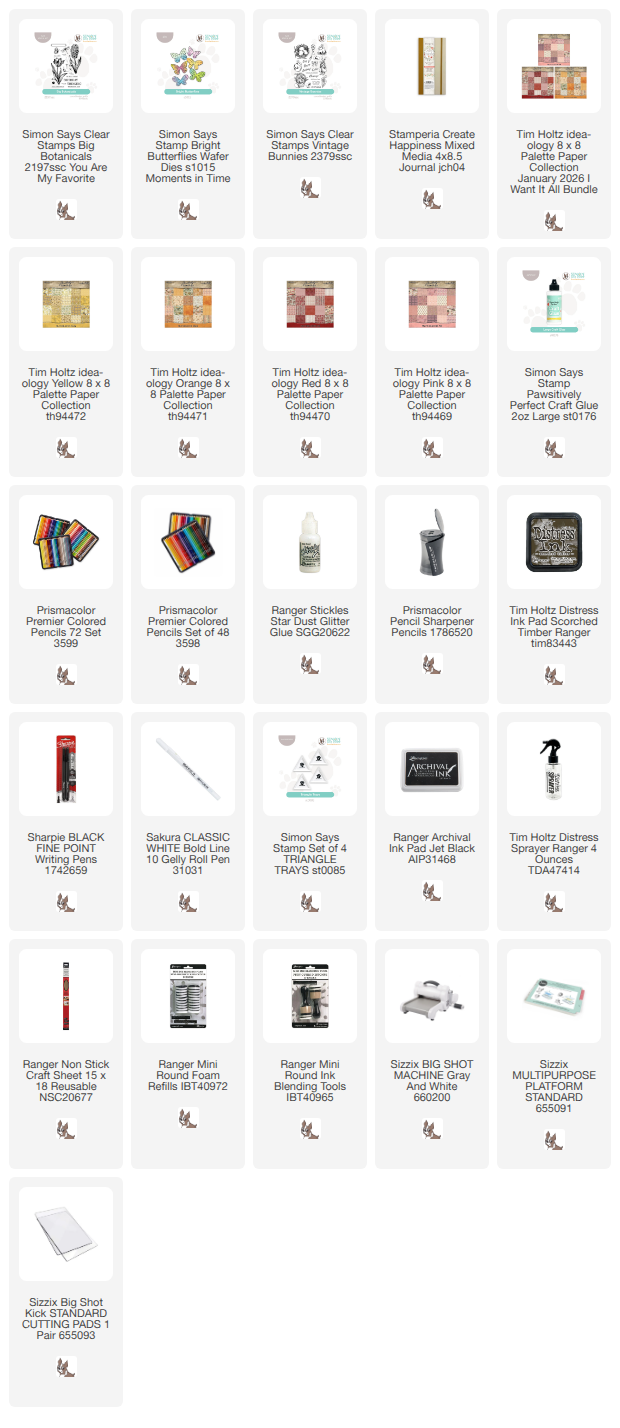
Stamp Simon Says Stamp Big Botanicals.


Color with Prismacolor pencils.

Color with pencils, starting with the lighter shades. I used Prismacolor pencils.

Add highlights with a white gel pen.

Add highlights with a white gel pen.

Add ground with pencils.

Use a black pencil to draw a small hill, some grass and shading. Color with pencils.

Add sentiments from Tim Holtz Palette paper.

I cut the sentiments from Tim Holtz Palette Paper. Ink the edges.

Die cut Simon Says Stamp butterflies.

Die cut butterflies from Pink Palette Paper using Simon Says Stamp Bright Butterflies. The edges were sanded lightly and inked.


I stamped words and numbers from Simon Says Stamp Big Botanicals on the background.


Add Stickles Star Dust to the flower centers. 


I used different shades of blue and a purple for the flowers.

Stamp with Simon Says Stamp Vintage Bunnies.

This sentiment comes from Simon Says Stamp Vintage Bunnies and was stamped on ledger paper. I used the same sentiment yesterday for my Patterned Peony Flower tag.


Adding a grassy hill grounds the flower to the page. Here you can also see how the background paper shines through the pencil coloring.


Little Things was also cut from Palette Paper.


The ticket comes from one of the collage papers from the 8x8 Palette Papers. Stamp a word on the ticket and ink the edges.

Layers of ink - Lilac Flower in Pencil tutorial by Anna-Karin Evaldsson.


Thank for stopping by here today!


Happy crafting!

Anna-Karin

Supplies:

* Please note: the links are affiliate links, for which I receive a small percentage of sales generated by the link, at no extra cost to you.