Monday, October 5, 2026

Transparent Shaker Autumn Tag

Hello crafters! We had beautiful autumn weather this weekend, with sun and blue skies. Today it is not as nice though.

Please note: this post has affiliate links, for which I receive a small percentage of sales generated by the link, at no extra cost to you.


Our theme is Tag It this week at the Simon Says Stamp Monday Challenge Blog. It is the first Monday of a new month, which means that the team is showcasing products by a specific company/designer and this week it is Tim Holtz. You can see Tim's fantastic range of products here.

We also have a new guest designer and during October Fiona Whitehead will be joining us. Visit her blog Crafty Stamping to see the gorgeous project she has created for the challenge. 

Layers of ink - Transparent Shaker Autumn Tag tutorial by Anna-Karin Evaldsson.

I made an acetate shaker tag, with two layers of acetate och glitter and sequins sandwiched between them. The top layer is dry embossed. Both layers are colored with alcohol ink, for a rich autumn feeling. I used gold and copper metallic paper, glitter papers and a sunflower for the front. 

Emboss in Simon Says Stamp Flower Puff.

Start by cutting two tags from Simon Says Stamp Acetate. Emboss one of them in Simon Says Stamp Flower Puff folder.

Color with alcohol ink.

Color the tags with alcohol ink. I used blending solution to add texture to the embossed one. Color at the back. I used: Butterscotch, Valencia, Sunset Orange and Cranberry. The back piece was swiped with Butterscotch and I added Gold Mixative around the edges.

Add sequins and glitter.

Add a pile of Simon Says Stamp Mini Stars, Rose Gold sequins and Tim Holtz Chunky Rock Candy Glitter to the middle of the tag.

Stitch around the tag.

Carefully sandwich the glitter and stitch around the edges with a sewing machine.

Die cut Simon Says Stamp Lively Leaf Corner.

Die cut Simon Says Stamp Lively Leaf Corner from Gold and Bronze glitter cardstock and from Tim Holtz copper metallic kraft stock. Use the latter paper to die cut larger leaves with Simon Says Stamp Rustic Layering Flower.

Die cut Simon Says Stamp Tattered Leaves.

Die cut Simon Says Stamp Tattered Leaves from Tim Holtz gold metallic kraft stock.

Die cut and shape Simon Says Stamp Small Sunflower Bloom.

Die cut Simon Says Stamp Little Sunflower Bloom from a inky yellow paper and from a patterned paper scrap. Shape with Tim Holtz Shaping Kit.

Add stickles.

Add Champagne Stickles to the flower center and a little on the petals.


I used Tim Holtz Metallic Stickers as sentiments. The tag was tied with organza, twine a ribbon with a touch of gold and dyed May Arts Wrinkled Faux Silk Ribbon.


Tuck the leaves under the sunflower and glue. The sunflower was assembled with Simon Says Stamp Pawsitively Perfect Foam Tape between all layers, and underneath. 


I like the mix of metallic, glitter and acetate for autumn projects. I added Simon Says Stamp Pawsitively Dazzling Gold Gems here and there for extra sparkle. 

Die cut Tim Holtz Handwritten.

The title was die cut with Tim Holtz Handwritten Love dies, from gold metallic and Bronze glitter cardstock.


The sequins and glitter in the shaker are a little hard to photograph. 


At the back of the tag, you see the glitter and sequins better.

Layers of ink - Transparent Shaker Autumn Tag tutorial by Anna-Karin Evaldsson.

The leaves and flower have a lot of dimension.

Layers of ink - Transparent Shaker Autumn Tag tutorial by Anna-Karin Evaldsson.

I hope you enjoyed this post. Acetate backgrounds are fun!

Join us this week in our Tag It challenge! You have a chance to win a $25 gift voucher to do some fun shopping at Simon Says Stamp. You have until Monday 8am Ohio time. 1pm UK time, 2 pm CET to join in.


Do you use Instagram? If so please add #sssmchallenge so we can see your entries there too.


Thank you so much for visiting today! 

Happy crafting!

Anna-Karin

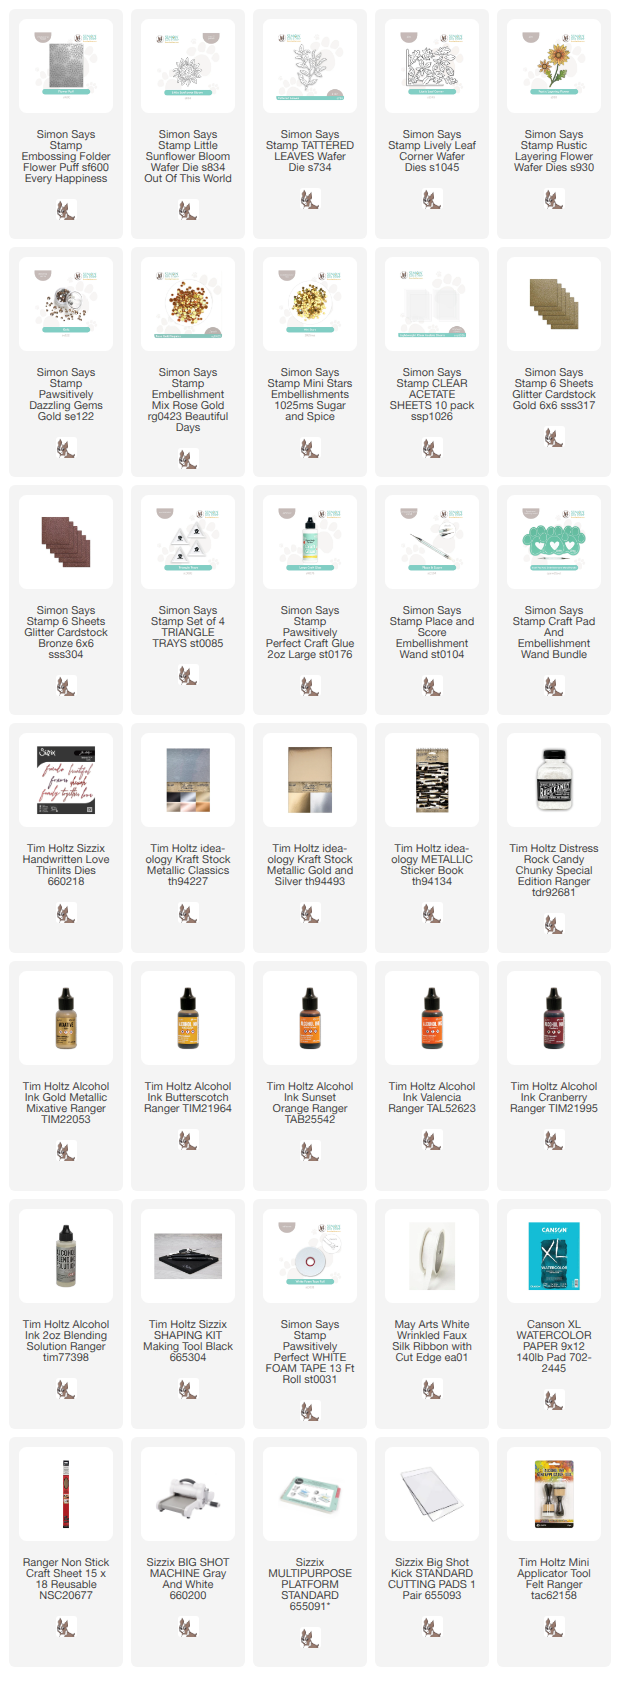
Supplies:

* Please note: the links are affiliate links, for which I receive a small percentage of sales generated by the link, at no extra cost to you.

No comments:

Post a Comment

Thank you so much for leaving a comment! Happy Crafting!