Hello crafters! Today I have a fun tutorial to share, with acrylic flowers on a white background. The flowers were stamped. I got the idea for the tag when I did my Watercolor Flowers on a Black Background recently. This is a similar technique, but the other way around.

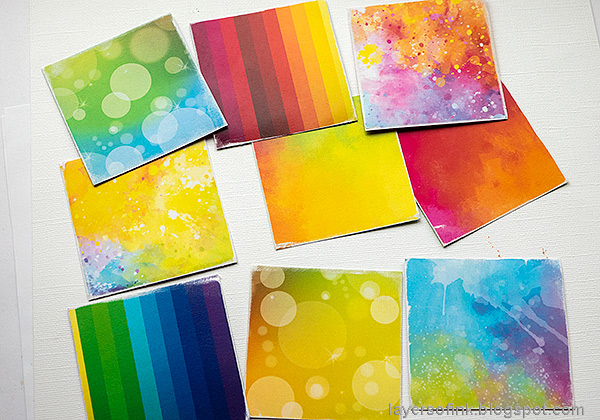
I used the same stamp sets from Simon Says Stamp as on the black tag, so that you can easily compare them. The technique will also work great with other stamps and you can make a card or use it in an art journal, if you would rather do that. It is also a great way to use acrylic paint backgrounds that you might not be so happy with. All you need is some acrylic paint and stamps.

Here you can see both tags next to each other. Both techniques give a striking effect and the flowers look bold on the black and white backgrounds. You can find the Watercolor Flowers on Black Background tutorial here. Even though the effect is similar, the techniques for coloring the flowers are different and I used other media on that tag.

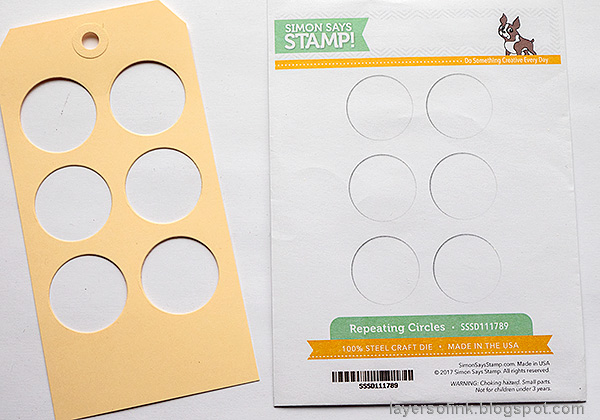
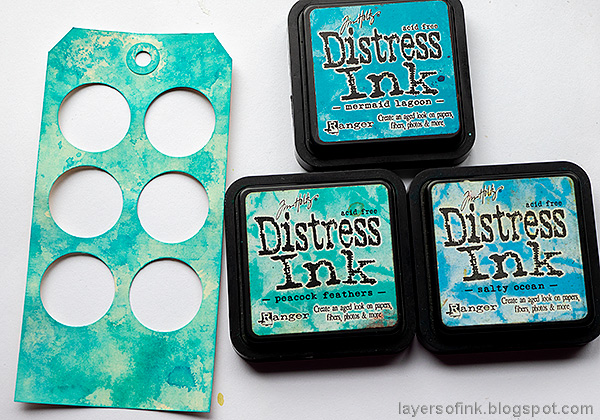
Start by coating a tag with gesso and when dry paint it with four colors Distress Paint. Mist heavily with water to let the paint run and blend. Set aside to dry. It takes a while, but is well worth the wait.
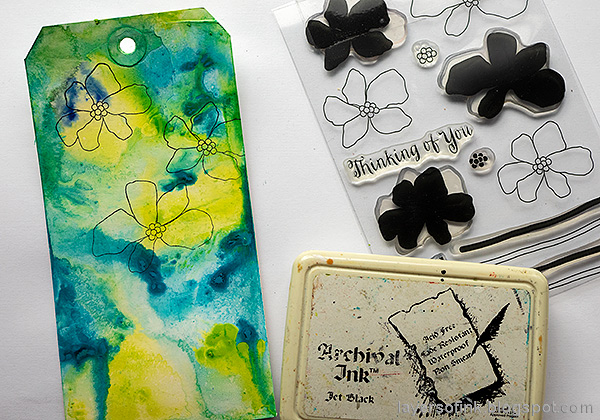
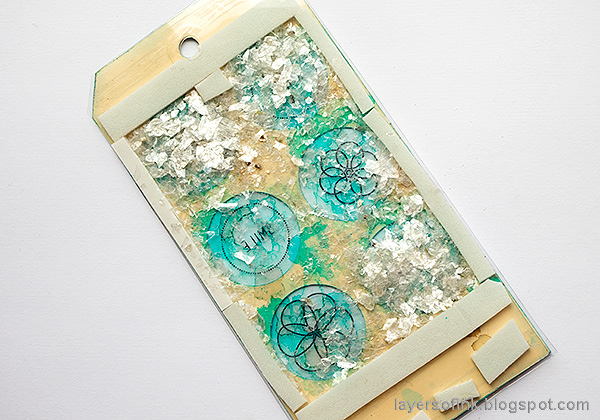
Stamp the three open flowers from the SSS Artful Flowers set.

Stamp the flowers again on SSS Masking paper and cut out. I used the masks that I made for the black tag. Stamp stems and add leaves and smaller flowers with the Stronger Together set.

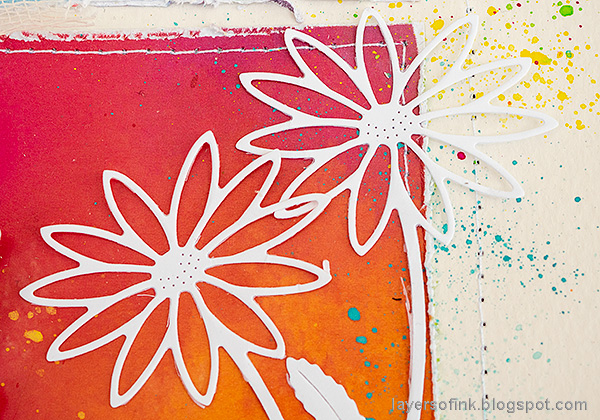
Remove the masks and start painting the background white. It is best to use an opaque white paint. I used Dina Wakley's white paint. If you use Picket Fence Distress Paint, you might need to add more layers.

Continue until you have painted out the entire background. You will probably need to do more than one layer of paint, depending on how dark your background is. Let the layers dry in between. At this stage, the tag might look a little messy, but don't worry, we will fix it.
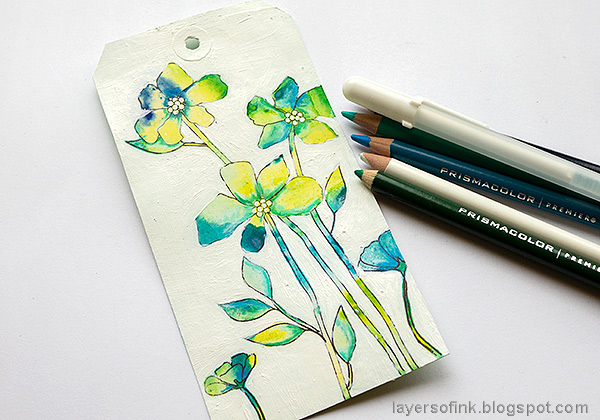
Add more color to the flowers with colored pencils. You can also cover up areas which might not look as nice or that need more definition. This gives dimension to the flowers. Blend the colors with a white pencil. I also colored the flower centers with a white gel pen.

Some of the stamped lines will have been covered when you painted the tag and some will still show, which might look a little messy. Fix it by going over the lines with a black pen. This also gives definition to the flowers and makes them stand out from the background. I added some line work with a black pen and highlights with a white gel pen.

Here's a close up where you can see the lines a little better. Don't worry about it being perfect.

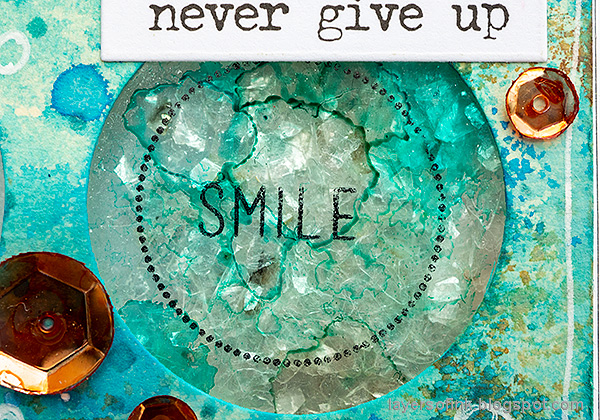
I stamped sentiments from the Just Because Word Mix 2 set directly on the background. For an alternative look, leave some of the background unpainted towards the edges, to bring in more color.

Sequins were glued to the background, for a little more color.

If you look closely you can see the brush-marks from the white painting, but from a distance, you don't think of them, and they also add texture.

Using colored pencils to add shading and color is quick and easy. This is the third flower from the top and if you scroll up and compare it to the original look, you will see that the colored pencils added life and interest to the flower.
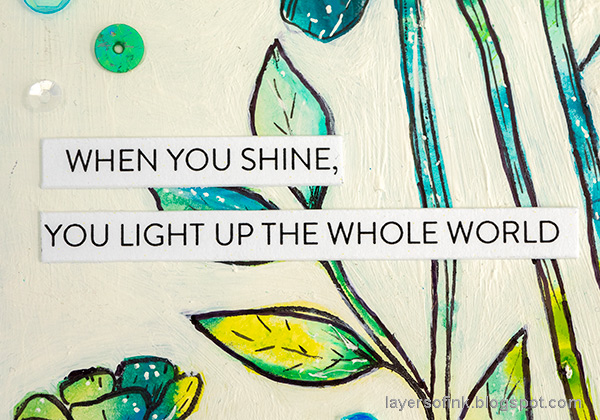
The sentiment strips were cut from the SSS Sentiment Strips 4 set.

I hope you enjoyed this tutorial. It is fun to use negative painting to define stamped shapes that would otherwise disappear on a busy background. You don't have to use white paint. This same technique could be done with black paint, or any other color, as long as it isn't exactly the same as the background colors.

Thank you so much for taking the time to visit my blog today! Have a wonderful weekend!
Happy crafting!
Anna-Karin
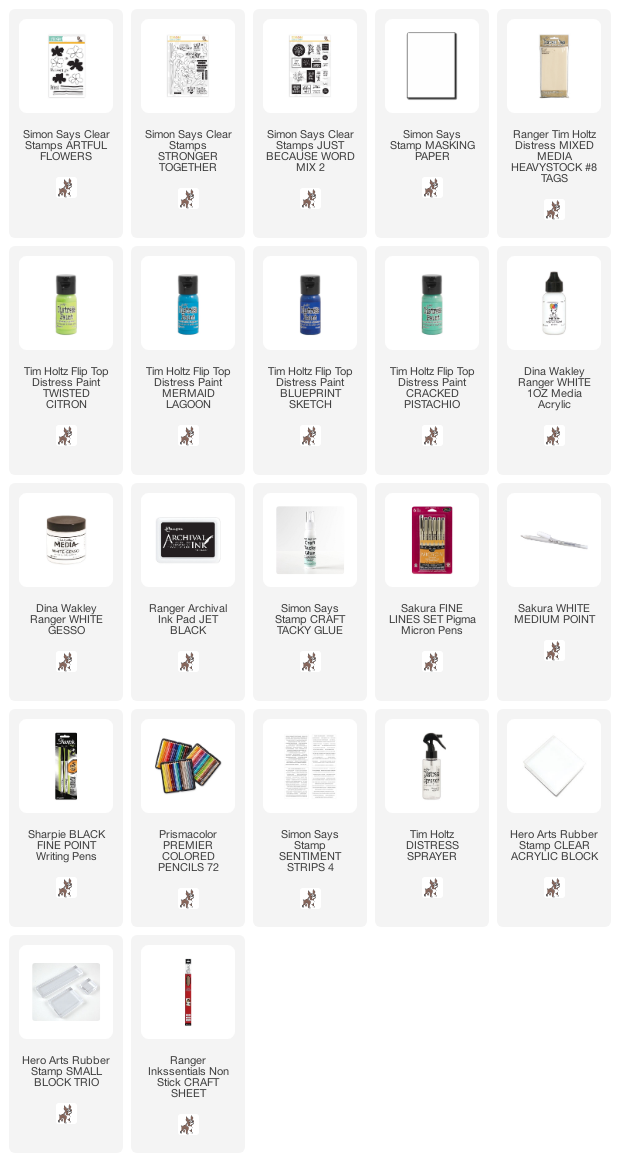
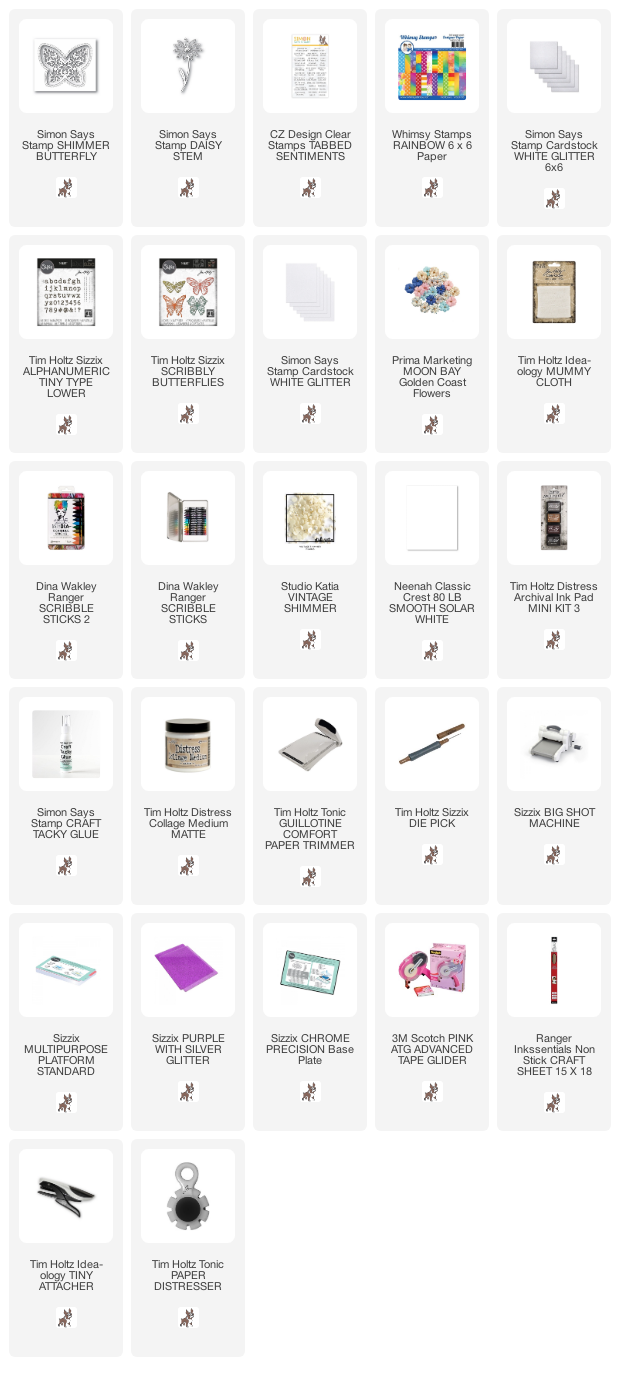
Supplies:
* Please note: the links are affiliate links, for which I receive a small percentage of sales generated by the link, at no extra cost to you.
* Please note: the links are affiliate links, for which I receive a small percentage of sales generated by the link, at no extra cost to you.