
Today I have a shaker tag to share with you, which can easily be turned into a card instead, or you could just use one or two of the techniques and skip the shaker part.


I made a circle shaker tag and also included circles in other forms, sequins, doodled circles and stamps. One of the great things about circles is that they can be combined in countless ways, bigger and smaller circles, solid and open circles and circles in any other form. For the background and the windows I used Distress Ink, Distress Oxide Ink and alcohol ink. Let start with the tutorial.
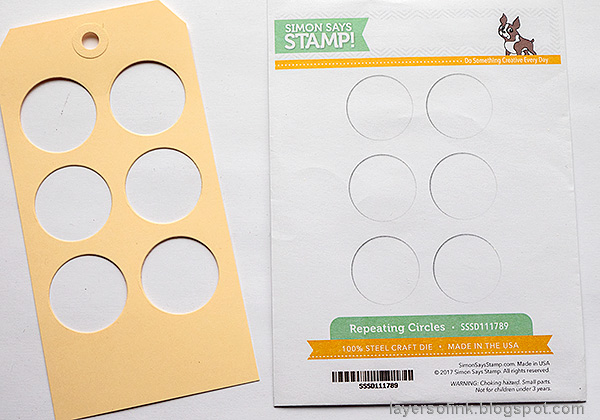
Die cut the SSS Repeating Circles from a tag.

Die cut another two tags from Clear Modeling Film or acetate.
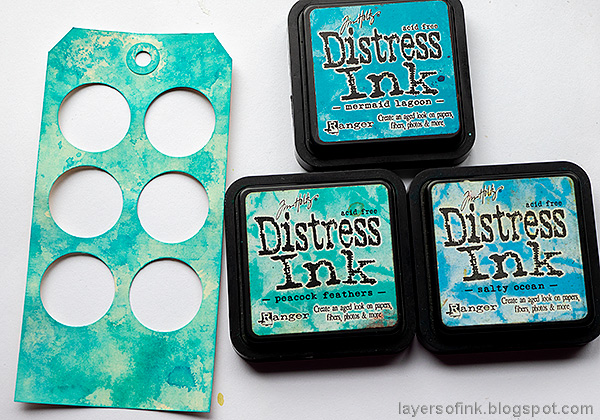
Smear Distress Inks on a non-stick craft sheet and press the tag into the ink. Continue until you are happy with the look.

When the Distress Ink is dry, continue in the same way with Distress Oxide ink, but only touching the tag to the ink. Dry the tag in between.

Place one of the acetate tags on top of the paper tag so that you see where the window till be. Color with alcohol ink using a felt applicator. Then add a few tiny drops of Alcohol Blending Solution to each circle (this is why we want to see where the windows will be).

Turn the tag around, place the paper tag on top and stamp circles, flowers and sentiments in the circles.

Stamp the paper tag with a dot stamp and Forget-me-not ink.
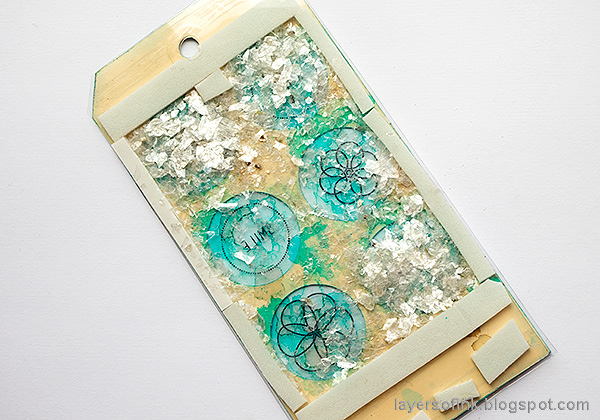
Adhere the colored modeling film tag to the paper tag and then place foam tape around the windows. Fill with Tim Holtz mica flakes and place the second modeling film tag on top to create a sandwich.

The tags are backed by a white tag which was misted with homemade glimmer mist. Place a tiny bit of Perfect Pearls into a mini mister and fill with water.

I wanted to repeat the orange from the snail, but didn't have orange sequins. Instead, I colored SSS Moonshine sequins with orange alcohol ink.

Doodle circles and dots with a white gel pen.

The cute snail from Under the Sea Animals was stamped on white paper and colored with Prismacolor pencils. Then I added white highlights with the gel pen. Adhere it with foam tape.

Doodle a trail for the snail and stamp a sentiment.

If you remove the white backing tag, which was just tied to the main tag, the windows are see-through. It looks really cool, but some of the detail is less visible.

With a white surface underneath, you see the inking in the windows better.

Shake the tag and the mica flakes move around.
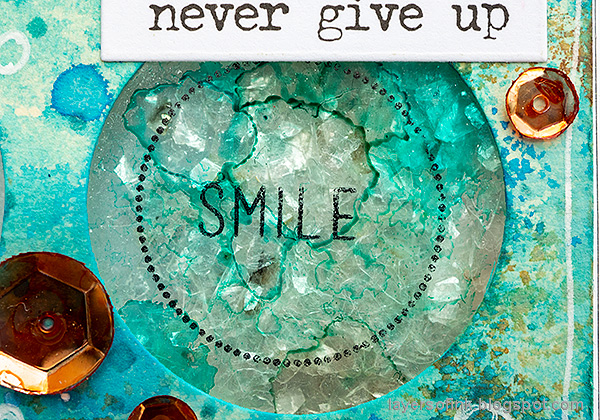
The mica flakes gives a really nice shimmer and work great for shakers.

If you don't have sequins in the right color, you can always use alcohol ink to color them.

I hope you will join us this week in our Going Around In Circles challenge. You have a chance to win a $25 gift voucher to do some fun shopping at Simon Says Stamp. You have until next Monday 8am Ohio time. 1pm UK time, 2 pm CET to join in.


Do you use Instagram? If so please add #sssmchallenge so we can see your entries there too.


Thank you so much for taking the time to visit my blog today!
Happy crafting!
Anna-Karin
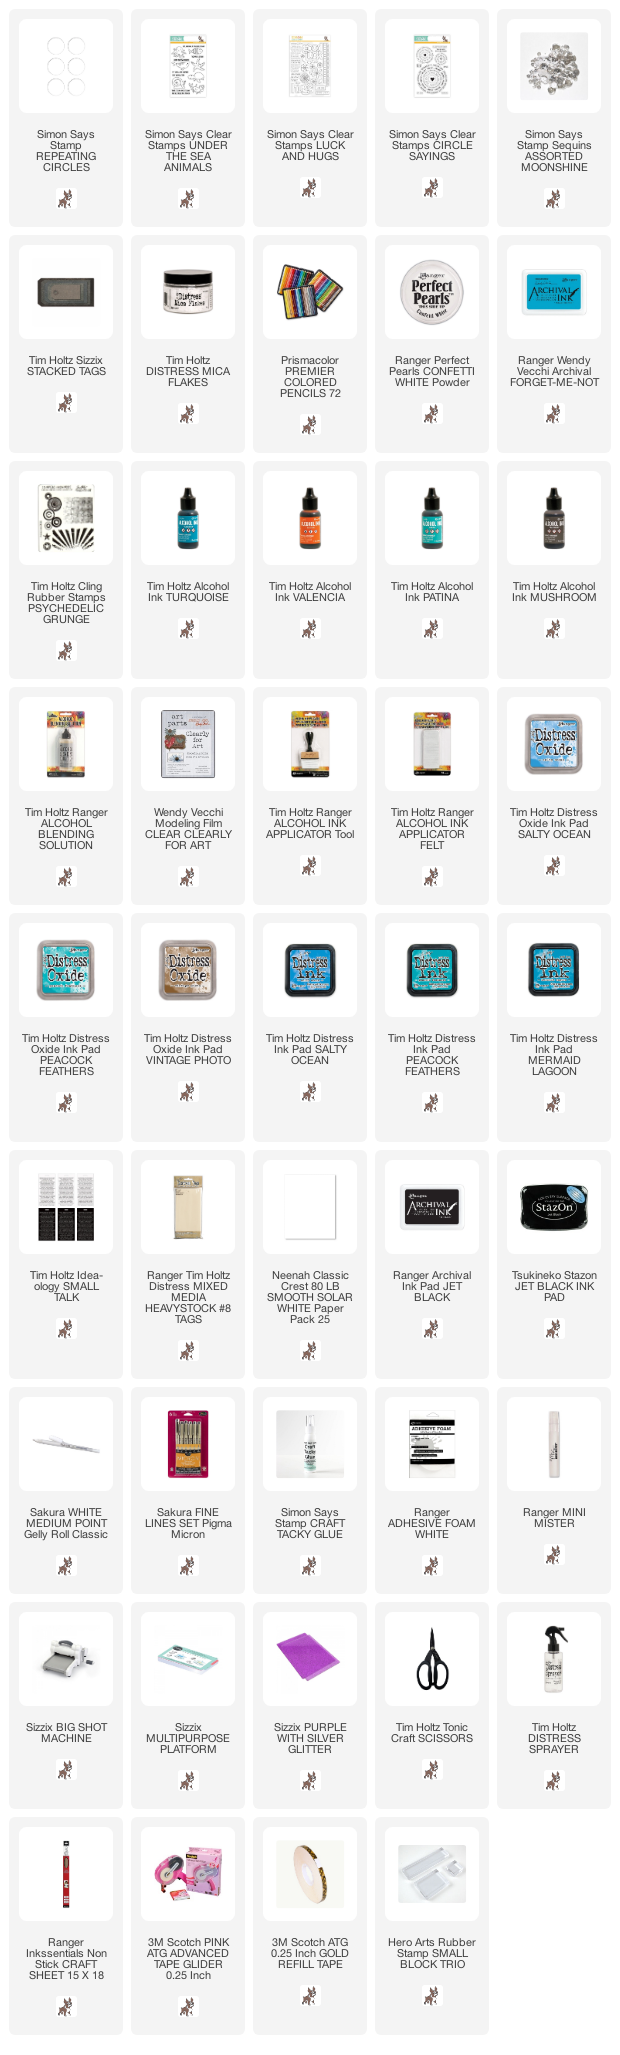
Supplies:
* Please note: the links are affiliate links, for which I receive a small percentage of sales generated by the link, at no extra cost to you.
* Please note: the links are affiliate links, for which I receive a small percentage of sales generated by the link, at no extra cost to you.
What a cute tag, Anna-Karin. I'm sure the shaker is even neater in real life. The background work is so pretty. I love how the inks blend together to create that watercolour effect. Really nice. TFS.
ReplyDeleteThank you for your comments on my Maggie layout. I really appreciate it.