Hi friends! Today I have an embossed poinsettia card to share with you.
Please note: this post has affiliate links, for which I receive a small percentage of sales generated by the link, at no extra cost to you.

I love poinsettias and these flowers from Simon Says Stamp Holiday Sprigs from the Peace On Earth release are so pretty. For the background, I used a new Simon Says Stamp 3-D embossing folder, called Magnetic.

Mist the Magnetic embossing folder with WinterBerry Mica Stain. Mist the paper with water and emboss. This gives you instant coloring and embossing in one step.

Emboss the images with Cream powder on watercolor paper.

Smear Distress Inks on a non-stick craft sheet and mist with water. Pick up with a paint brush and watercolor the images.

Die cut with the coordinating dies, or cut with scissors.

I used a Tonic tool set to shape the flowers and leaves, which gives the more life and dimension.

I splattered a little bit of Abandoned Coral on the background.

This type of carefree watercoloring is so fun. I even intentionally went over the lines here and there, to make them more visible.

Ink the sentiment with Lucky Clover and mist with water. Stamp on watercolor paper.

Here you can see the dimension better. I layered the flowers together.

Thank you so much for taking the time to stop by here today!
Happy crafting!
Anna-Karin
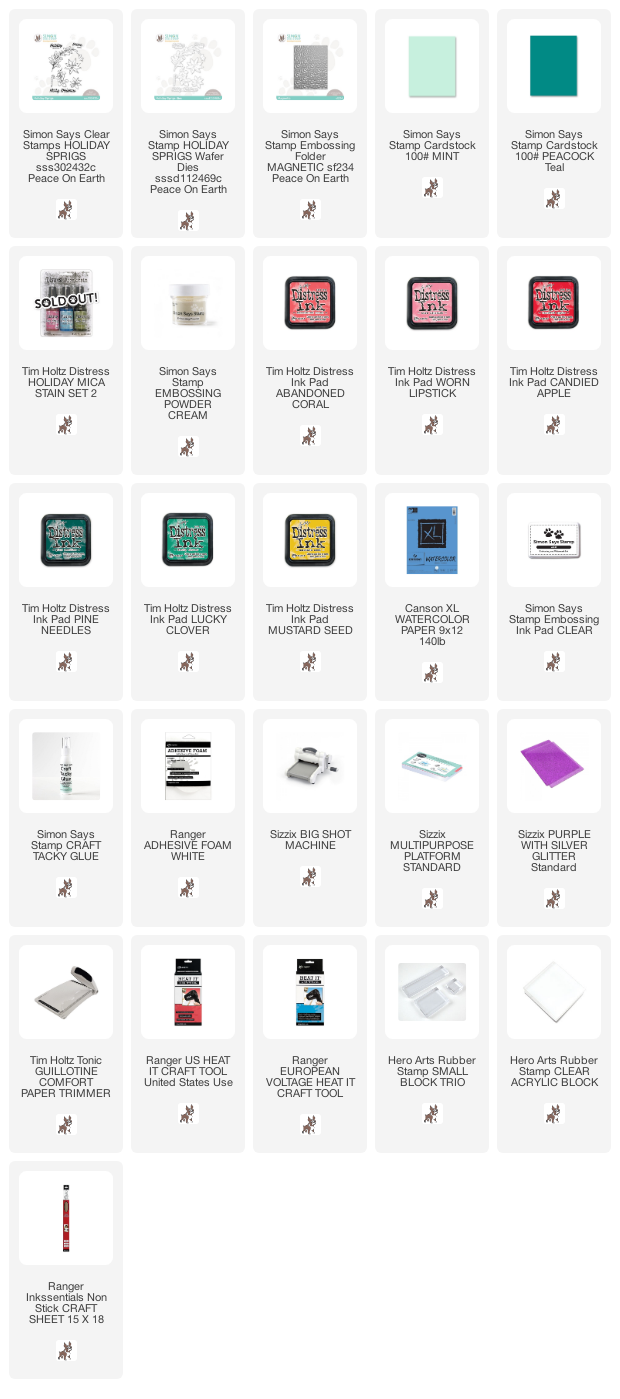
Supplies:
* Please note: the links are affiliate links, for which I receive a small percentage of sales generated by the link, at no extra cost to you.
* Please note: the links are affiliate links, for which I receive a small percentage of sales generated by the link, at no extra cost to you.