
Hi friends! I have an art journal tutorial to share today, but it would work great as a card too.
Please note: this post has affiliate links, for which I receive a small percentage of sales generated by the link, at no extra cost to you.

I wanted to combine this gorgeous Simon Says Stamp Pumpkins stencil with fairly neutral colors and quite a bit of texture. Instead of making all the pumpkins orange, I let some of the be cream and brown. This was done in my Dina Wakley White 6 x 6 in journal, but you could make a square card instead. I had a page which had once been a failure and which had been coated with gesso. It gave just a hint of color to the background.

Add a little brown paint to texture paste and apply through the stencil with a palette knife. Let dry.

Place the stencil back over the design and use a small foam applicator to paint the pumpkins.

When dry, stamp the Simon Says Stamp Old Letter Background stamp with Potting Soil ink.

Add a tiny bit of shine with Sizzix Rose Gold Luster Wax and Gilded Avocado Opal Blaze Polish.

I used Tim Holtz Clippings Stickers for my sentiment.

The texture paste, combined with the paint and stamping, gives a nice texture to the background, something you want to reach out and touch.

Die cut the Bold Thankful from Simon Says Stamp Kraft Wood Grain paper and heavystock paper. Stamp 'October' three times, it comes from the Document It set. The cheese cloth was dyed with brown Distress Inks, misted and left to dry.

Here you can see a little of the shine from the Luster Wax and Opal Blaze Polish.

Thank you so much for taking the time to stop by here today!
Happy crafting!
Anna-Karin
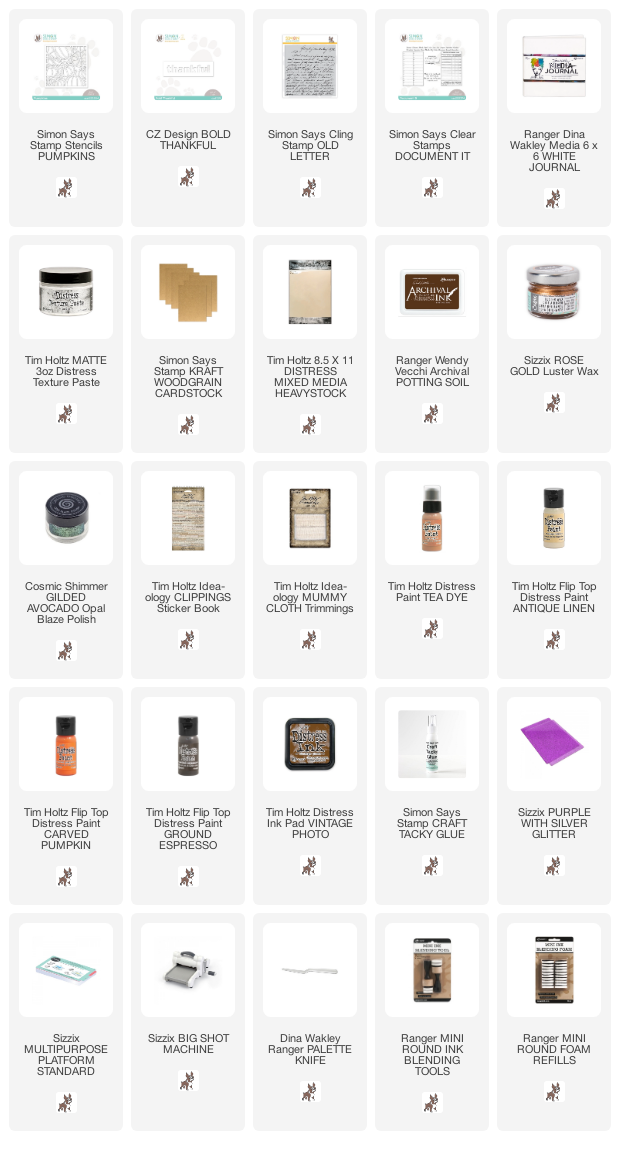
Supplies:
* Please note: the links are affiliate links, for which I receive a small percentage of sales generated by the link, at no extra cost to you.
* Please note: the links are affiliate links, for which I receive a small percentage of sales generated by the link, at no extra cost to you.
No comments:
Post a Comment
Thank you so much for leaving a comment! Happy Crafting!