
Hi friends! I have fun tag tutorial to share with you, using glossy paper.
Please note: this post has affiliate links, for which I receive a small percentage of sales generated by the link, at no extra cost to you.

I really like glossy paper, and particularly the effect of dye ink on glossy paper, so I was happy to see that Simon Says Stamp now sells glossy cardstock. You can do so many techniques on glossy cardstock and you'll often get a different result than you would on ordinary cardstock. Here I created an easy Halloween scene, but the background would work well for any winter project, if you just remove the bats.

Start by cutting or die cutting a tag from the glossy paper. Ink with various shades of Distress Ink. When I ink on glossy paper, I always start with the lightest ink first, which almost acts as a conditioner and makes it easier to get a smooth application of the darker inks. You can also use the lightest ink to blend the darker inks.

Mist with water and add water droplets. Dabb with a paper towel.

Stamp trees from Simon Says Stamp All Seasons Tree, with Archival Night ink. The stamp them again with Cobalt ink. The Night ink is a very dark blue, almost black, while the Cobalt is lighter, creating a sense of distance. In case you don't have the Night ink, you can use Jet Black instead.

Stamp the ground area with the Simon Says Stamp Crackle Background and Watering Can ink. You can stamp it more than once if you want more texture. Stamp bats and sentiments with black ink.

The stars were added with a white gel pen.

This design of funny trick or treaters is one of my favorites among Tim Holtz's Halloween designs. It comes in a stamp form too, but here I used the die from Halloween Vault Series. Die cut from heavystock paper. Ink with Black Soot and then add embossing powder in several layers. I used clear, Gunmetal, Mixed Media Hammered and Mixed Media Sea powder. Be very careful when using a heat tool and never ever touch the melted powder until it has cooled down completely.

Inks don't always act the same way on glossy cardstock. You can see that the Cobalt ink has almost 'melted' into the cardstock, while the Night ink sits more on top. This adds to the effect of creating distance.

I scribbled a border and a shadow with a black pen.


Thank you so much for taking the time to stop by here today!
Happy crafting!
Anna-Karin
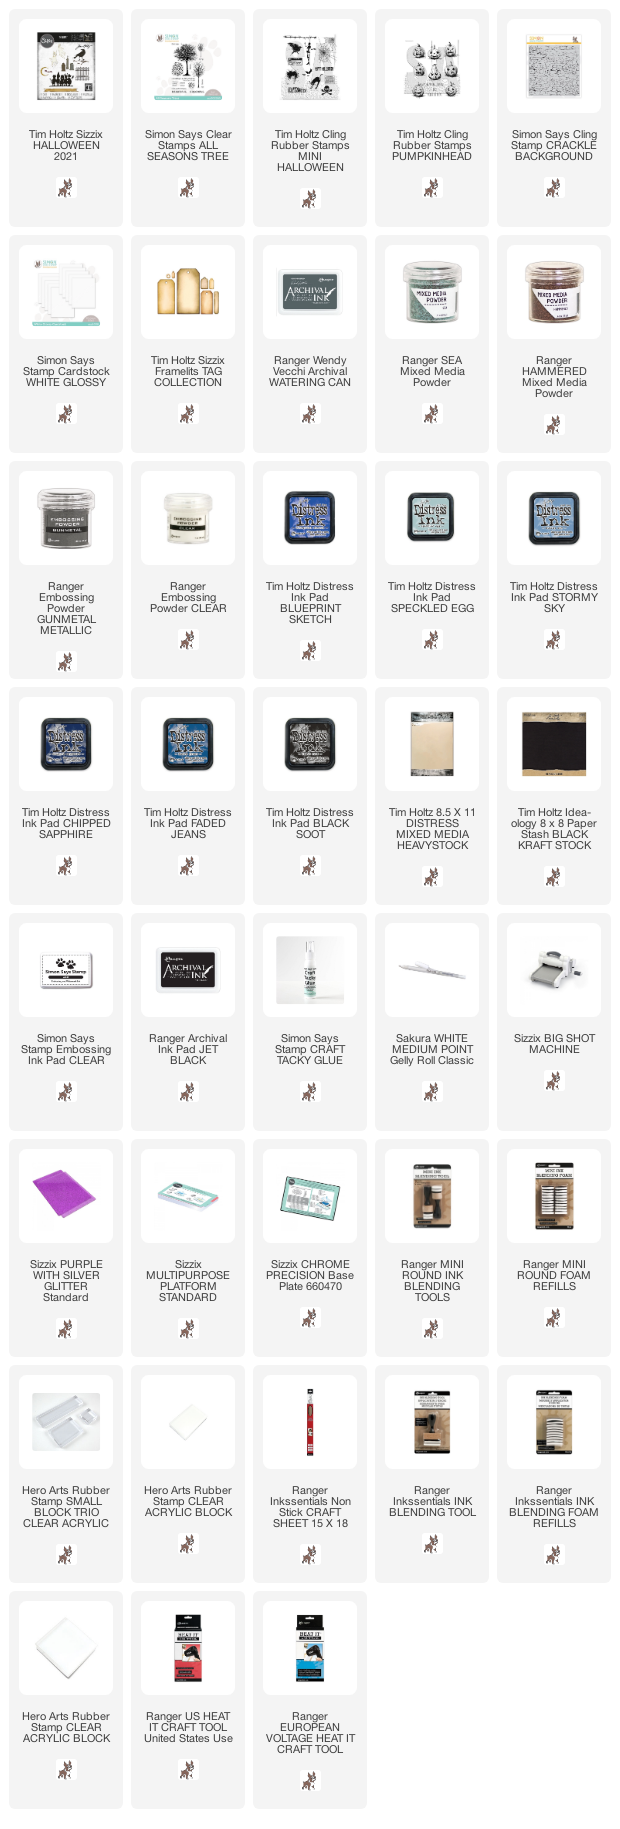
Supplies:
* Please note: the links are affiliate links, for which I receive a small percentage of sales generated by the link, at no extra cost to you.
* Please note: the links are affiliate links, for which I receive a small percentage of sales generated by the link, at no extra cost to you.
Love the layered trees and the finish on the trick or treaters is fabulous.
ReplyDeleteAlison x