Hi friends! It is the last day of this month and I have a tutorial with a whole bunch of fun technique to share with you. I made a mixed media background with dies, acrylic paint, pencils and foil.

This is a pretty busy tag with lots of things going on. It also sparkles and shines, making it a challenge to photograph. The shiny background contrasts nicely with the muted colors on the flowers.You can also pick just one of the techniques in this tutorial to use on a project.
Please note: this post has are affiliate links, for which I receive a small percentage of sales generated by the link, at no extra cost to you.

Start by die cutting Tim Holtz Bubbling from heavystock cardstock and adhere it to a tag with matte medium. When dry, add a layer of gesso on top.

Paint with Distress Paint and mist heavily with water.
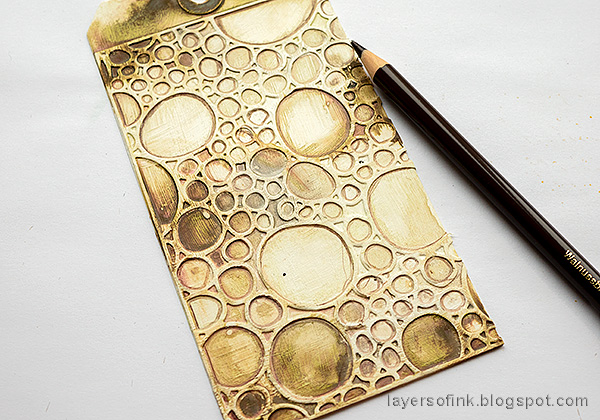
Add shading inside the circles with a brown colored pencil. You could leave the background like this, but I felt like doing some foiling. For another example using the Bubbling die, check out my Funky Forest.

Apply a glue stick to the raised parts of the design. It doesn't need to get everywhere. Leave for about a minute so that the glue gets tacky.

Place a sheet of Therm O Web Bronze foil on top, shiny side up. Run through a Big Shot or another die cut machine, using the same settings that you would use for wafer-thin dies. You can also rub the design with a bone folder.

Remove the foil and you get this distressed looking foiled surface. It is pretty cool.

I added some Nebula Stickles to the open circles. It has tiny star sequins inside.

Die cut flowers from Tim Holtz Wildflower Stems 3 from Journal Cards. This gives an interesting background to add color to.


The background paper still shows through after you color the flowers.

Use a white pencil to blend out the colors.

I also glued some sequins to the background. Here you can see the textured effect of the foil.

The shine of the foil is hard to photograph, but here you can see it better.

Adding foil with this technique gives a nice textured effect to the foil.

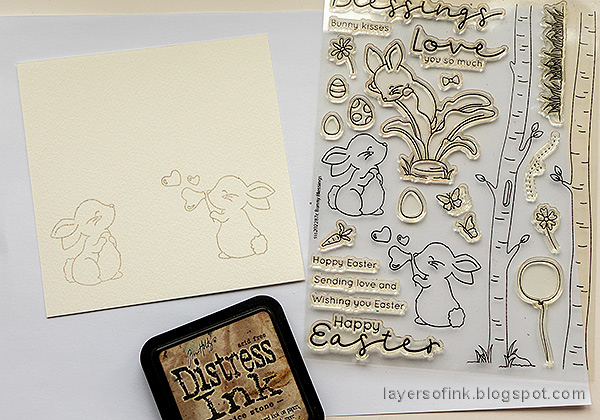
The sentiments were stamped on a journal card, using Tim's Tiny Text set.

The third sentiment was used as a border at the bottom of the tag.

Arrange the flowers on the background and tie a piece of twine around them. The 'ribbon' at the top is a folded over piece of design tape.

Thank you so much for taking the time to stop by here today! I will see you again tomorrow.
Happy crafting!
Anna-Karin
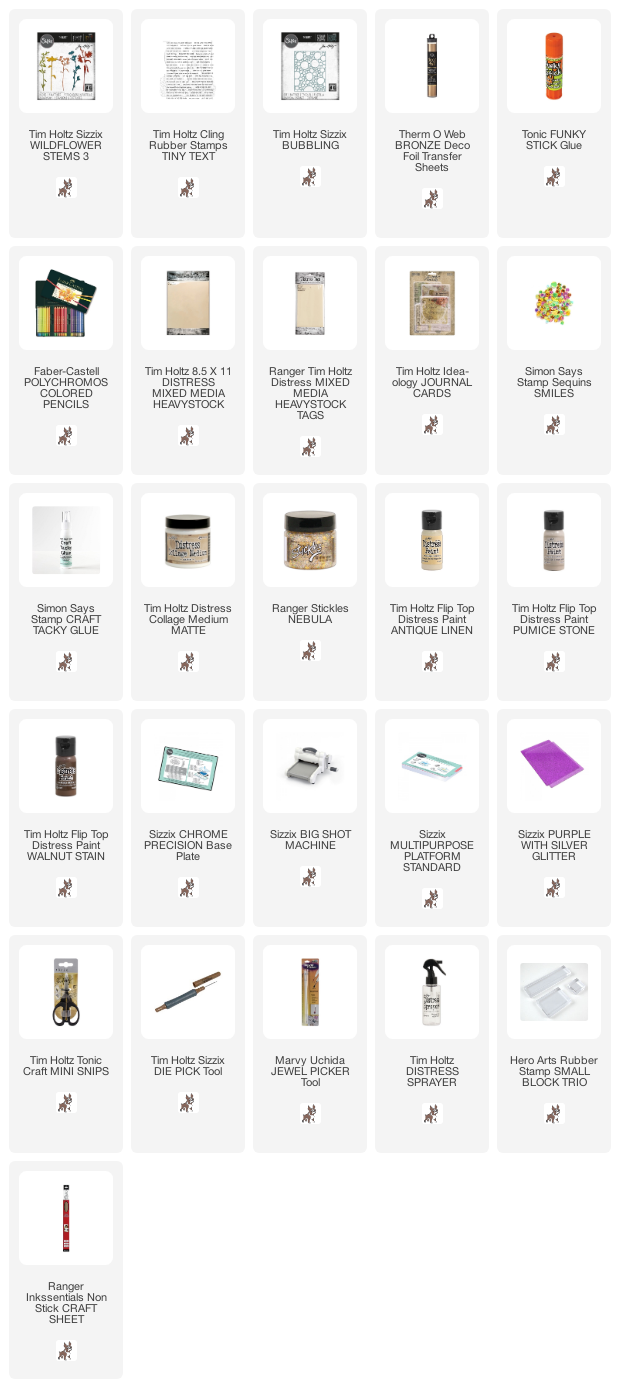
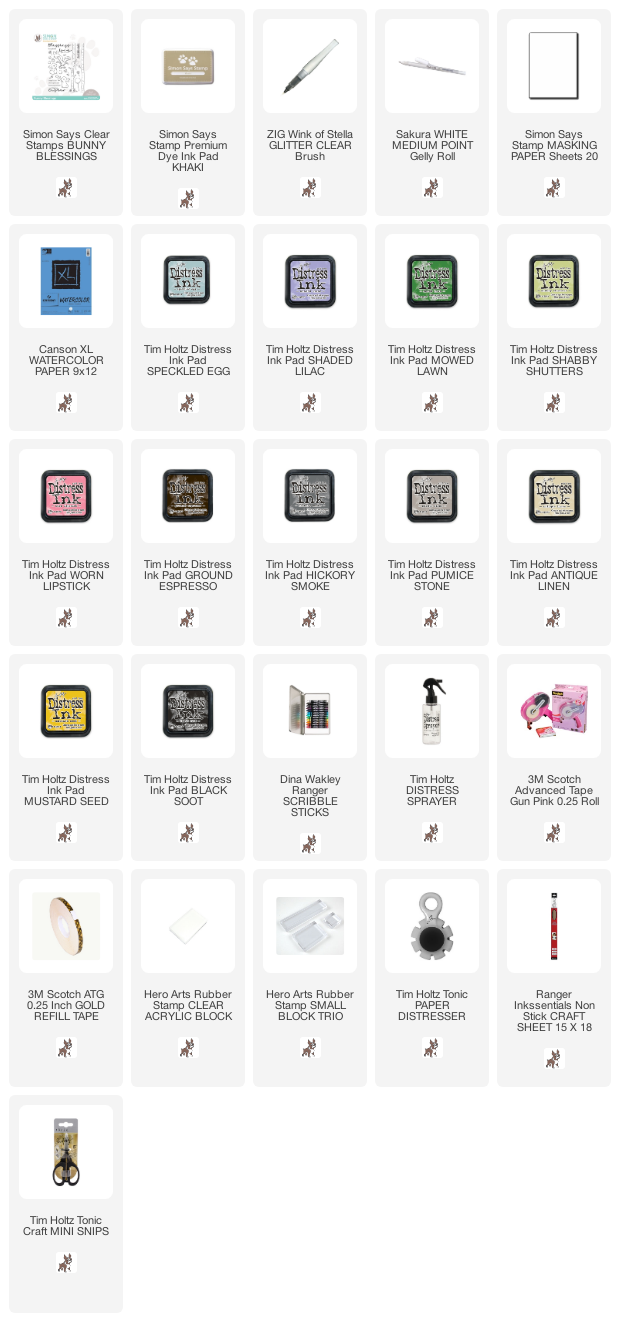
Supplies:
* Please note: the links are affiliate links, for which I receive a small percentage of sales generated by the link, at no extra cost to you.
* Please note: the links are affiliate links, for which I receive a small percentage of sales generated by the link, at no extra cost to you.