Hello crafters! It is Monday and the last day of October. We are moving into the colder months and the Simon Says Stamp Monday Challenge Blog has a Christmas theme this week.
Please note: this post has affiliate links, for which I receive a small percentage of sales generated by the link, at no extra cost to you.

Don't miss the last project by our wonderful October guest designer Lori E Kennedy aka cr8tive_lori.

I am very fond of snow-themed projects, even though I hope the snow will wait a bit longer before it arrives here. This card was made with the Simon Says Stamp Let It Snow stamp set, which is a fun stamp set creating layered designs.

Working on watercolor paper, I started by smearing Distress Ink on a non-stick craft sheet, misting with water and placing the paper into the ink.

When dry, white emboss the outline snow image.

Ink SN-W up with Salvaged Patina at the top and Broken China at the bottom, stamp and emboss with clear powder. Always be very careful when using a heat tool and never touch the melted powder until it has cooled down completely.

Stamp the snow globe with Uncharted Mariner Distress Oxide and emboss with clear powder.

Add more ink to the background as in the first step, but avoid getting too much ink in the center of the card.

Stamp sentiments with Uncharted Mariner and Simon Says Stamp Smoke. Distress the edges. Mat the panel on white, Fog Grey and folded Soft Navy cardstock.

The embossing makes the word stand out more and gives it an icy look.

I also added Simon Says Stamp Winter Flurries sequins here and there.

I hope you will join us this week in our Christmas challenge. You have a chance to win a $25 gift voucher to do some fun shopping at Simon Says Stamp. You have until Monday 8am Ohio time. 1pm UK time, 2 pm CET to join in.

Do you use Instagram? If so please add #sssmchallenge so we can see your entries there too.


Thank you so much for stopping by here today!
Happy crafting!
Anna-Karin
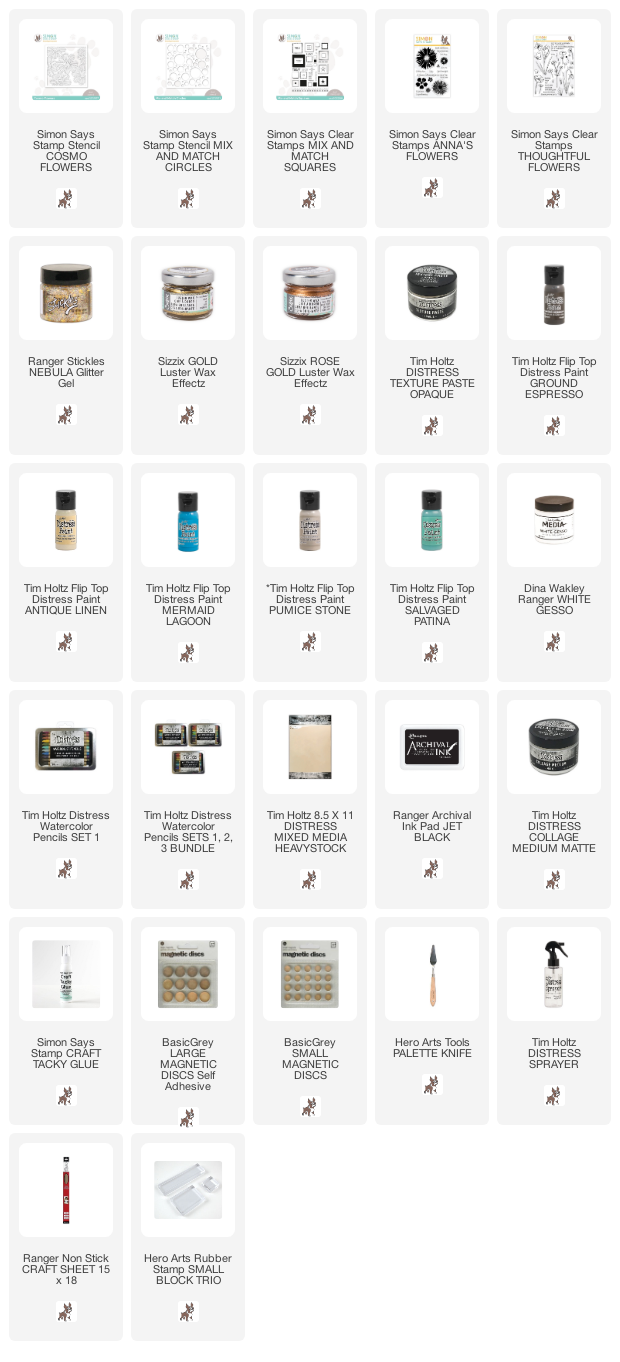
Supplies:
* Please note: the links are affiliate links, for which I receive a small percentage of sales generated by the link, at no extra cost to you.
* Please note: the links are affiliate links, for which I receive a small percentage of sales generated by the link, at no extra cost to you.