
Hello and welcome to my blog today! I have a fun Halloween tag to share with a 3D scarecrow.
Please note: this post has affiliate links, for which I receive a small percentage of sales generated by the link, at no extra cost to you.

We have a Halloween/Spooky theme at the Simon Says Stamp Monday Challenge Blog this week. I hope you will join us and don't miss the project by our October guest designer October guest Lori E Kennedy aka cr8tive_lori.


Start by stamping the scarecrow once on a tag and four times on heavystock paper.

Color all the images with Distress Watercolor Pencils. I picked the pigment up from the tip of the pencil with a paint brush. I colored all the images, to prevent uncolored areas from showing in the final image.

Cut them into parts starting from the base. For every layer one item is removed from the image. From the last image I cut both the coat and the hat.

Run a black pen around the edges to remove the cream/white edge.

Add details and highlights with a white gel pen and a black pen.

Use a Tim Holtz Shaping Kit to shape the pieces.

Stamp the moon from The Scarecrow on the tag and stamp both the moon and the scarecrow on Simon Says Stamp Masking Paper. Cut out and use as masks.

Ink the background with Distress Inks using an ink-blending tool.

Place the Focus stencil over the design and ink with Distress Ink.

Ink the moon with yellow and orange.

Stamp bats, corn stems and branches.

Use Simon Says Stamp Pawsitively foam tape and adhere the first layer. Continue adding layers, still using the foam tape.

Here you can see all the layers and the cool 3D effect it creates. It is way better in real life.

The scarecrow gets even more of a personality when it is in shaped layers.

Create even more depth by darkening the shadows with the black pen.

For the bottom, I used Idea-ology Black Tinsel and glued idea-ology pumkins to it. The pumpkins had been glittered with Asteroid Stickles Glitter Gel.

Glue the Halloween Pearl Droplets all over the tinsel and pumpkins.

Nebula Stickles Glitter Gel was added to the moon and a Mini Flair.

Stars were added with a white gel pen.

I hope you will join us this week in our Halloween/Spooky challenge. You have a chance to win a $25 gift voucher to do some fun shopping at Simon Says Stamp. You have until Monday 8am Ohio time. 1pm UK time, 2 pm CET to join in.

Do you use Instagram? If so please add #sssmchallenge so we can see your entries there too.


Thank you so much for stopping by here today!
Happy crafting!
Anna-Karin
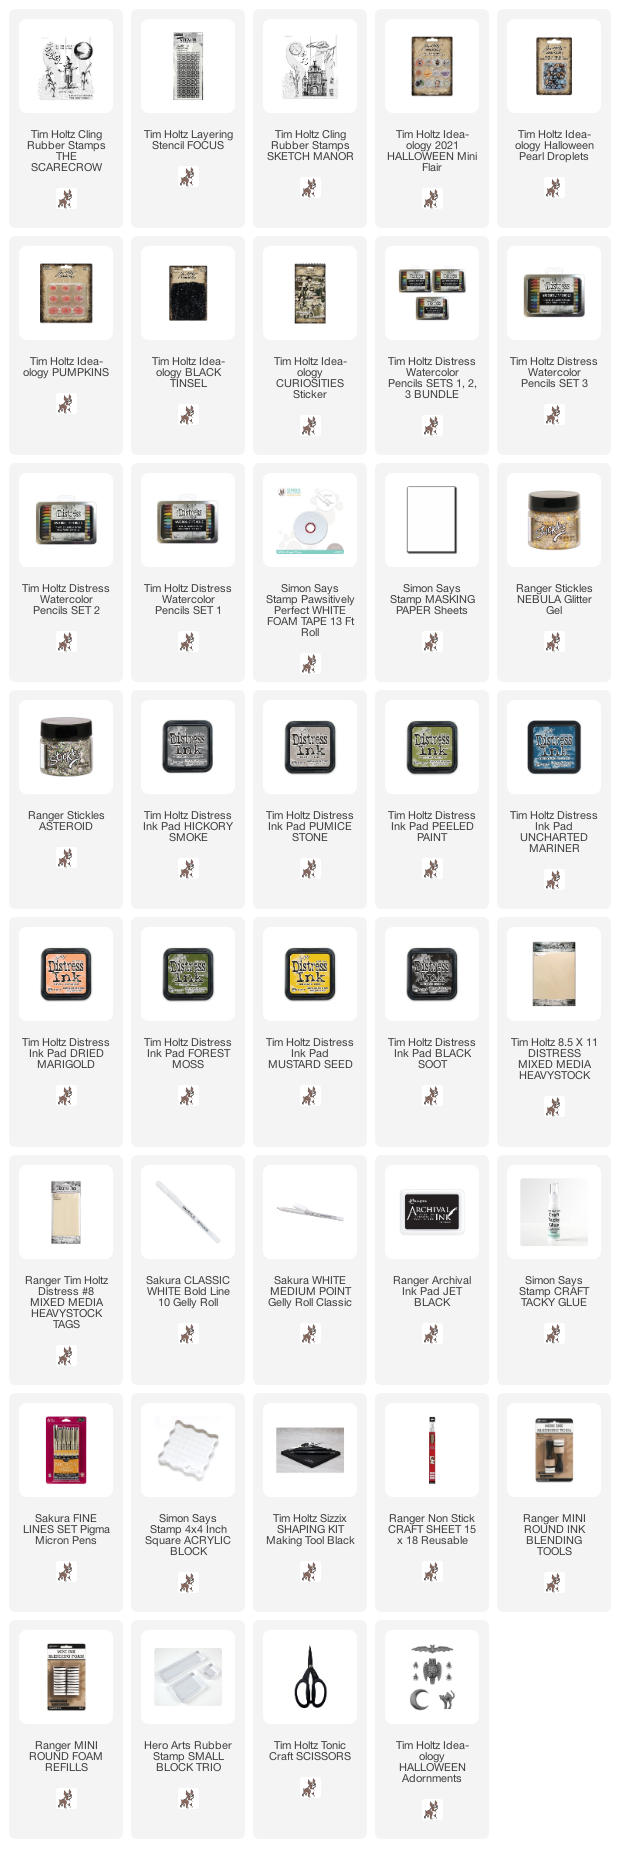
Supplies:
* Please note: the links are affiliate links, for which I receive a small percentage of sales generated by the link, at no extra cost to you.
* Please note: the links are affiliate links, for which I receive a small percentage of sales generated by the link, at no extra cost to you.
Thank you so much for the sweet mention on your blog - means the world to me! 🥰 I ADORE this scarecrow tag and I appreciate the amount of patience and work that went into the creation! I’m so motivated by you and the whole design team — you all blow me away with your endless talent! Happy Halloween! 👻🎃🍭🍬
ReplyDelete