Happy Easter! The sun is shining and this is the warmest day so far this year. I have a no-line watercoloring project to share today.
Please note: this post has affiliate links, for which I receive a small percentage of sales generated by the link, at no extra cost to you.

Daffodils are closely associated with Easter and spring here and have such interesting shapes. My daffodils are a little darker than normally, since I wanted them to stand out from the background and not be too pale. The flowers were stamped with a Simon Says Stamp Daffodil Stems stamp and watercolored with Zig Kuretake Gansai Tambi paint.

Stamp the daffodils from Simon Says Stamp Daffodil Stems on watercolor paper with Antique Linen ink. Mist a couple of times with water before stamping.

Mix shades of yellow and orange and start watercoloring. Don't worry about perfection. I mixed paint in a palette, as well as used some paint right from the pans.

Use a couple of shades of green for the leaves and stems.

Paint a grassy area for the daffodils to grow from and add shading to the flowers and leaves.

Paint the sky with a soft blue mix.

Make the sky a little darker at the top and darken the shadows under the flower. Splatter with green and orange paint.

When the splatters were dry, I added some highlights with a white gel pen. 'March' comes from Simon Says Stamp Document It.

Splatters can add texture and movement.


Thank you so much for stopping by here today!
Anna-Karin
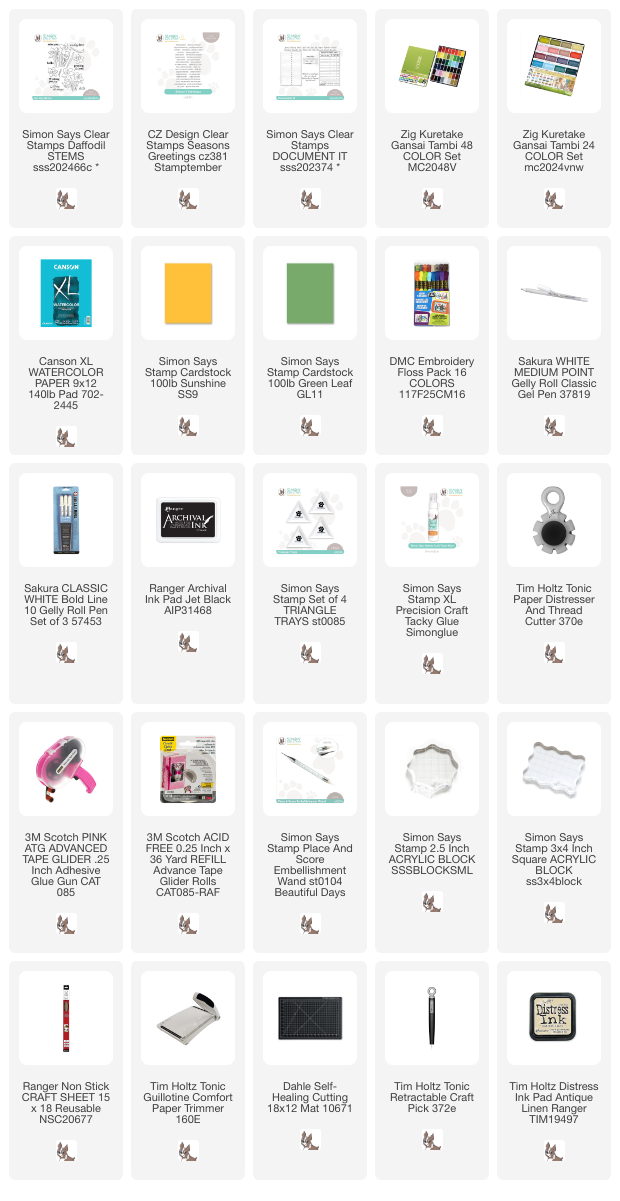
Supplies:
* Please note: the links are affiliate links, for which I receive a small percentage of sales generated by the link, at no extra cost to you.
* Please note: the links are affiliate links, for which I receive a small percentage of sales generated by the link, at no extra cost to you.