
Hello stampers! I hope you are well and had a good weekend. I enjoyed walks in the city and some crafty time.
Please note: this post has affiliate links, for which I receive a small percentage of sales generated by the link, at no extra cost to you.

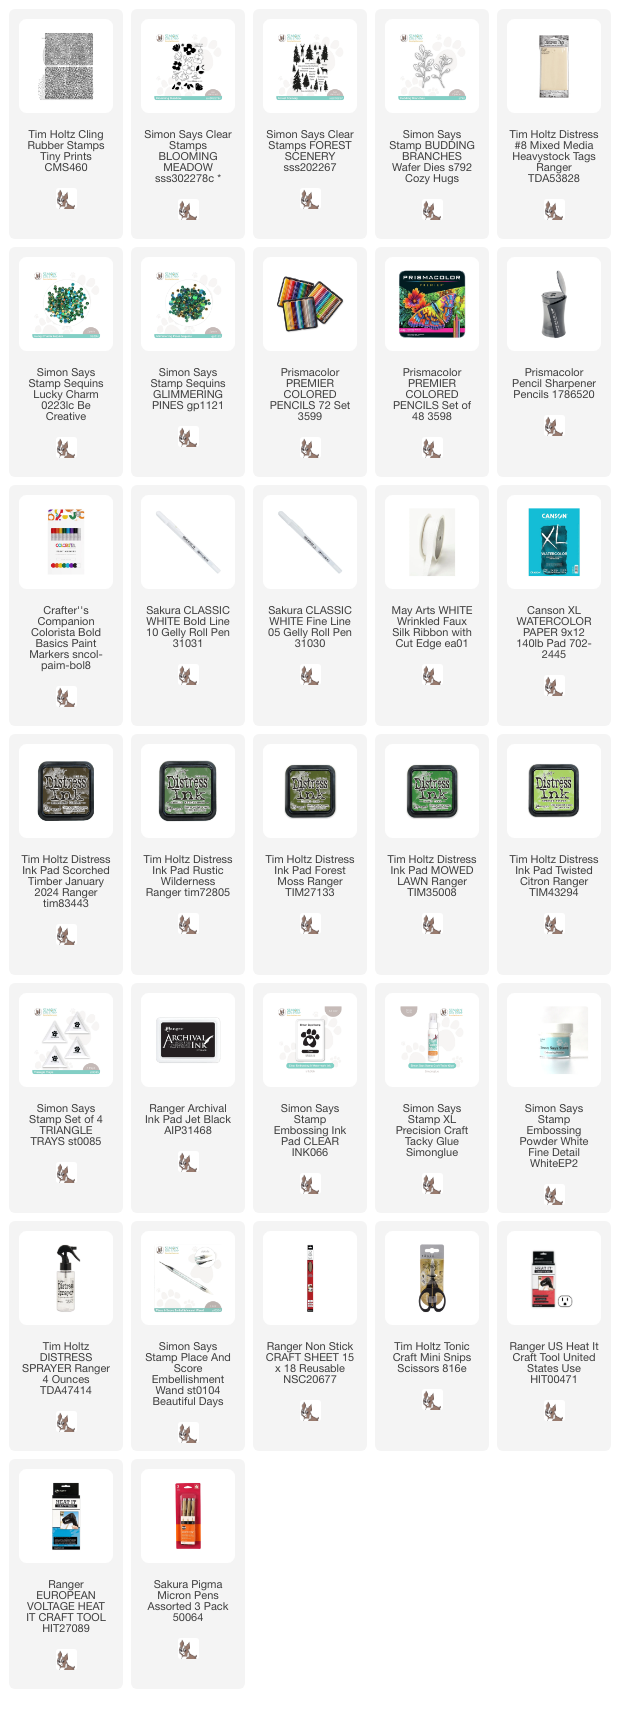
This week we have an A Bit O’ Green theme at the Simon Says Stamp Monday Challenge Blog. Don't miss the project by our March guest designer Ann Chuang.

Almost at the same time as the snowdrops, winter aconites appear in the garden. The small yellow flowers look cheerful and almost out of place in the still cold March weather. On this tag, I wanted to capture the flowers appearing here and there in the grass. The grass is not nearly this green yet, but I wanted green grass instead of the fairly pale grass we have now.


Add highlights and details with a white gel pen and a white paint pen.

Cut the flowers out and glue to the background. I forgot to take a photo of the step with the leaves. Use left-over inky green papers or make green papers by smearing various green Distress Inks on a non-stick craft sheet, mist with water and press watercolor paper into the ink. Let dry and repeat. Die cut flowers with Simon Says Stamp Budding Branches and cut into leaves. The leaves aren't exactly the right shapes, but they would have to do.

The sentiments were stamped on the same green inky paper that I used for the leaves, with Simon Says Stamp Forest Scenery stamp set. Cut into strips.

The most amazing thing with spring is all the shades of green which start to appear. We are not there yet, but the winter aconite show that it is on the way.


I tied my dyed ribbons and a piece of organza ribbon to the tag.
I hope you will join us this week in our A Bit O’ Green challenge. You have a chance to win a $25 gift voucher to do some fun shopping at Simon Says Stamp. You have until Monday 8am Ohio time. 1pm UK time, 2 pm CET to join in.


Thank you so much for stopping by here today!
* Please note: the links are affiliate links, for which I receive a small percentage of sales generated by the link, at no extra cost to you.
No comments:
Post a Comment
Thank you so much for leaving a comment! Happy Crafting!