
Hello crafters! Easter comes early this year and today I am sharing an Easter decor tutorial, with pastel colors and glitter. You can also use the techniques for other themes, it doesn't have to be for Easter.
Please note: this post has affiliate links, for which I receive a small percentage of sales generated by the link, at no extra cost to you.


Paint the Etcetera panel with gesso. I added two coats. Let the gesso dry in between applications.

Stamp the background here and there with the alphabet stamp from Tim Holtz School Desk set.

When dry, apply Texture Paste through Simon Says Stamp Geo Leaves stencil.

Add Crackle Paste at the base.

Cracks appear as the paste dries. The thicker the paste, the larger the cracks.

Paint with Distress Paint and add water to blend.

Die cut the Tim Holtz Hippity Hop bunnies from collage paper. I made this paper for a different project and had left-overs. Glue pieces of old book paper to watercolor paper, coat with gesso in an uneven manner. Let dry. It's a great paper to use for many different types of projects.

Paint the bunnies with Distress Paint and mist with water.

I also decided to die cut three butterflies (also from the Hippity Hop set) from the collage paper and paint them.

I die cut the butterflies from glitter paper and from vellum too, shaped the wings and layered them.

Apply Ranger Moon Dust Stickles Glitter Gel to the background - of course before gluing everything in place (I forgot to take a photo). Let dry.


To make the bunnies stand out from the background, I die cut them again from Simon Says Stamp Slate cardstock and offset it slightly to create a shadow.


The old book paper, gesso and paint adds an interesting, but still subtle, texture to the bunnies.

You can mix Distress Paint to get the shade you are looking for.

I added sequins to the buds on the glitter die cuts.

The title was die cut with the alphabet dies from the Hippity Hop set. It was die cut from Simon Says Stamp yellow glitter paper and Slate cardstock. Glue together. Add a layer of Glossy Accents to the letters for a finished look.


See you soon again!
Anna-Karin
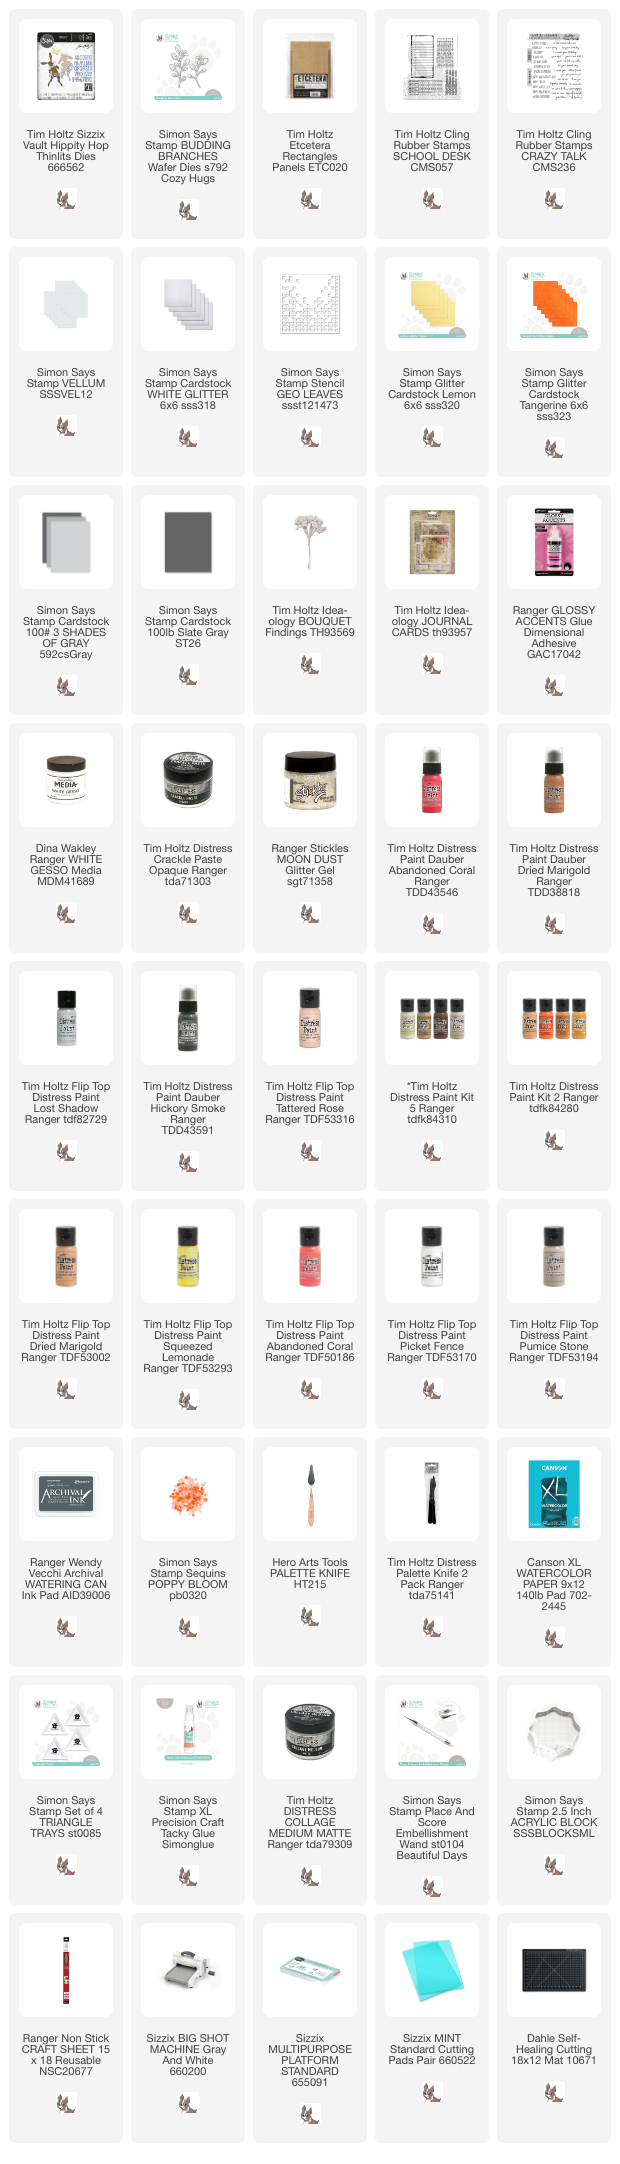
Supplies:
* Please note: the links are affiliate links, for which I receive a small percentage of sales generated by the link, at no extra cost to you.
* Please note: the links are affiliate links, for which I receive a small percentage of sales generated by the link, at no extra cost to you.
No comments:
Post a Comment
Thank you so much for leaving a comment! Happy Crafting!