Showing posts with label Halloween. Show all posts

Friday, October 24, 2025

Skull Halloween Card

Hi friends! I hope you are well. It is getting darker here and today it is raining. I have a fun Halloween card to share.

Please note: this post has affiliate links, for which I receive a small percentage of sales generated by the link, at no extra cost to you.

Layers of ink - Skull Halloween Card Tutorial by Anna-Karin Evaldsson.

Halloween crafting is so fun and you can make things that would otherwise seem a little crazy. Here I had the idea of creating a wallpaper background, with a frame and a poor fellow in the frame. I happened to find a suitable piece of old book paper to add to the projects. 

White emboss the background stamp.

Start by white embossing Tim Holtz Skulls and Cobwebs on heavystock paper.

Ink with Distress Ink.

Smear Distress Ink Wilted Violet over the background and blend with an ink-blending tool. The embossing resists the ink.

Mist with Distress Spritzer.

Mist the background with Uncharted Mariner Distress Spritz and then apply a little Perfect Pearls.

Stamp Tim Holtz Mr Bones.

Stamp the skull from Tim Holtz Mr. Bones on left-over watercolored or inky paper. 

Ink with Distress Ink.

Cut out and use a white gel pen to make the teeth, hat highlights and white of the eye white. Ink the edges.


Use Tim Holtz Shaping Kit to add shape and dimension to the skull. The eye protrudes, while the eye hole recedes.

Stamp with Simon Says Stamp Wood Planks.

Stamp Simon Says Stamp Wood Planks on a piece of Tim Holtz Backdrops paper and cut into a frame.


I added a few Clippings Stickers and Simon Says Stamp Lilac Dazzling Gems. Here you can also see the shine from the mist and Perfect Pearls.

Add Glossy Accents to the eye.

The skull was adhered with two layers of Simon Says Stamp Pawsitively Perfect Foam Tape and the eye is coated with Glossy Accents. 


I just happened to find this strip of paper from an old book and thought it was perfect for the card.


Thank you so much for visiting today! 

Happy crafting!

Anna-Karin

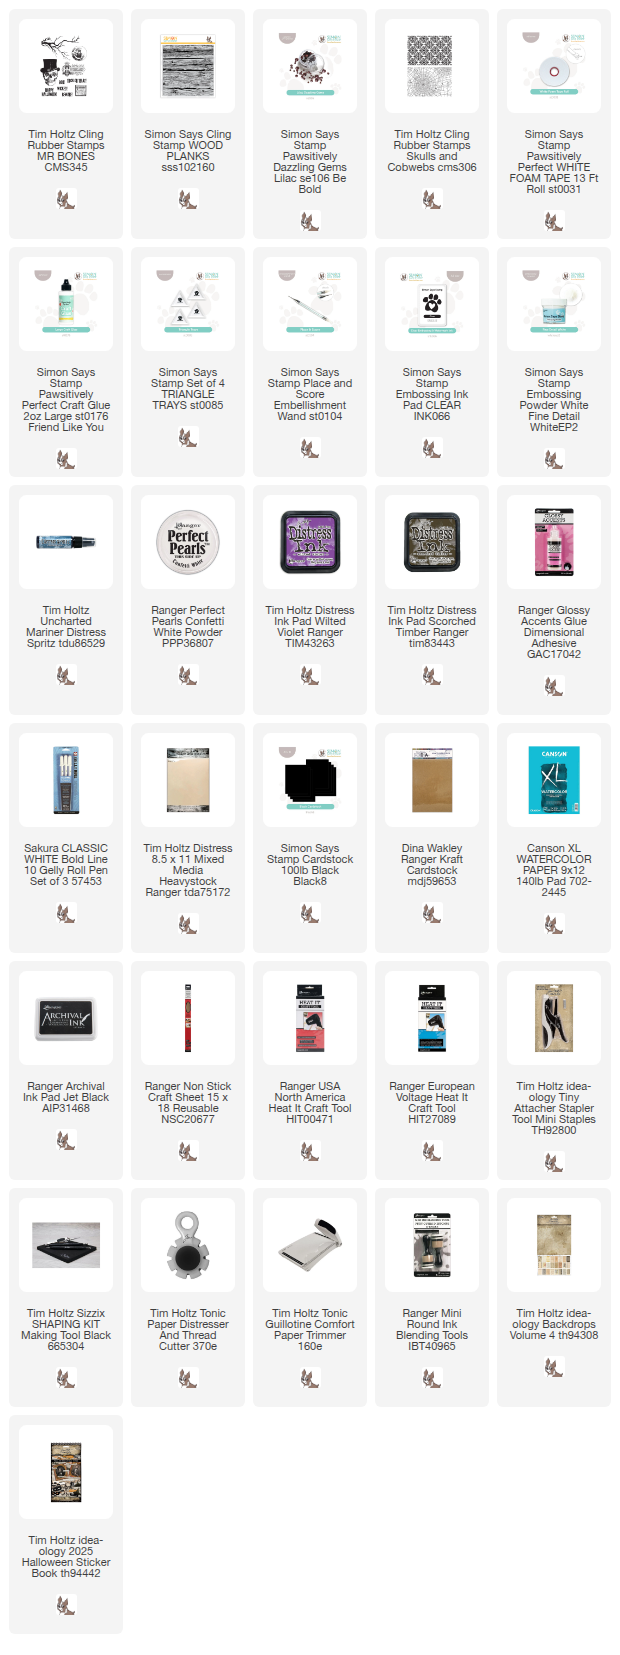
Supplies:

* Please note: the links are affiliate links, for which I receive a small percentage of sales generated by the link, at no extra cost to you.


Friday, October 17, 2025

Faintly Visible

Hello crafters! Today I have a Halloween tag to share, with translucent ghosts and other details.

Please note: this post has affiliate links, for which I receive a small percentage of sales generated by the link, at no extra cost to you.

Layers of ink - Faintly Visible Tag Tutorial by Anna-Karin Evaldsson.

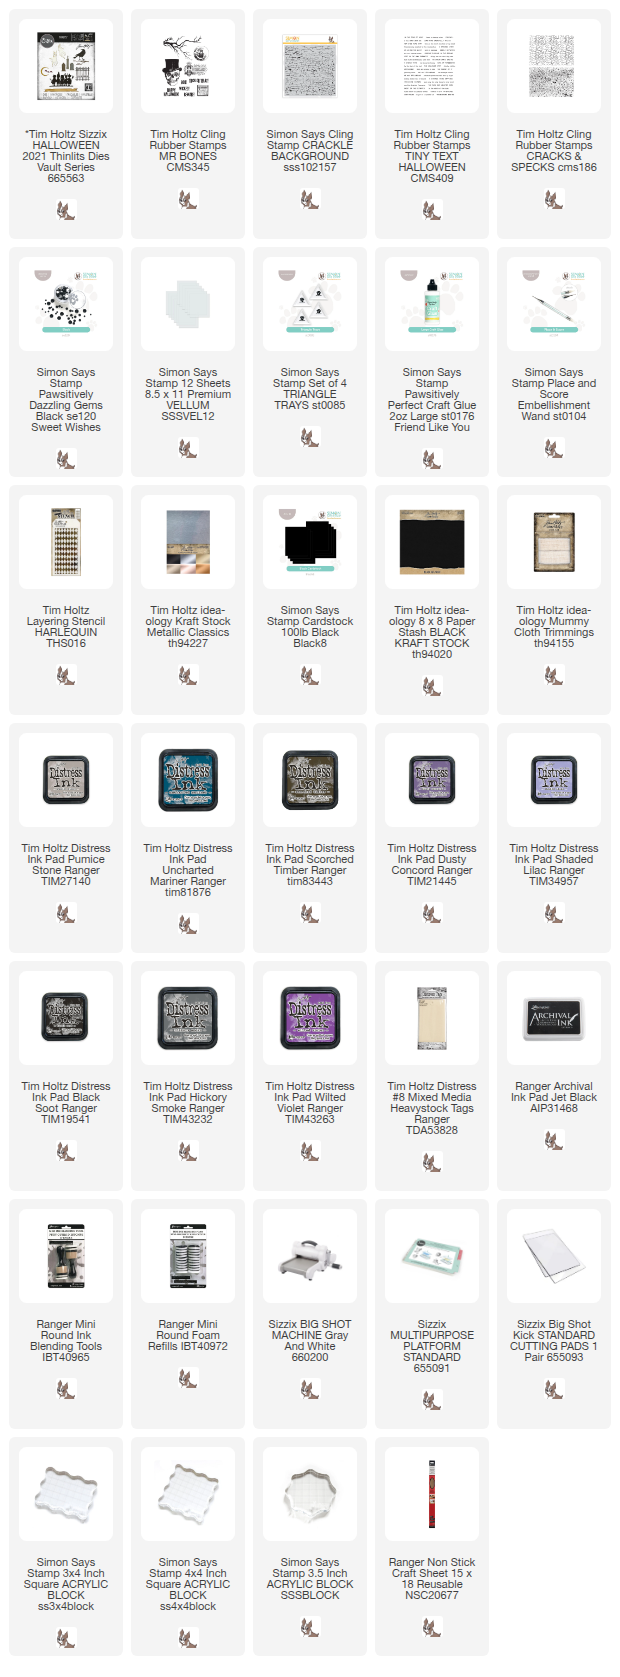
I made a night-time scene with a spooky tree, vellum ghosts and an inked, stamped and stenciled background. You can use the background techniques for other themes too. I used Tim Holtz Sizzix Vault Halloween 2021 for the die cutting.

Ink with Distress Ink.

Start by tearing a piece of printer paper to create a mask for the ink. Mask the hill and ink the sky with purple shades. Use the other piece of the mask to mask the sky and then ink the hill.

Stamp the tree.

Stamp the branch from Tim Holtz Mr Bones to create a tree. I didn't ink the two branches at the bottom of the tree, to make it look more like a tree with a trunk than a branch. 

Ink through Tim Holtz Harlequin stencil.

Ink through Tim Holtz Harlequin stencil with Uncharted Mariner and Scorched Timber. 

Stamp with Simon Says Stamp Crackle Background.


Stamp sentiments on old book paper.

I stamped the sentiments from Tim Holtz Tiny Text Halloween on the margins of an old book and cut into strips. The background was also stamped with a splatter/texture stamp.

Die cut ghosts from vellum.


I also die cut additional branches with Vault Halloween 2021.

Stamp the sentiment on a die cut banner.

The banner comes from the same Vault Halloween 2021 die set and was die cut from leftover paper. Stamp the sentiment, ink the edges and fold. Attach with staples. I added some dyed cheese cloth underneath.


The bats and the moon were also die cut with Vault Halloween 2021. The moon was die cut from gold metallic kraft stock. I also glued Simon Says Stamp Pawsitively Dazzling Black Gems to the tag.

Layers of ink - Faintly Visible Tag Tutorial by Anna-Karin Evaldsson.

I hope you enjoyed this tutorial!


Thank you so much for visiting today! 

Happy crafting!

Anna-Karin

Supplies:

* Please note: the links are affiliate links, for which I receive a small percentage of sales generated by the link, at no extra cost to you.


Friday, September 26, 2025

Watercolor Pumpkins

Hello crafters! Today I have a card to share with a stamped and watercolored background, filled with pumpkins.

Please note: this post has affiliate links, for which I receive a small percentage of sales generated by the link, at no extra cost to you.

Layers of ink - Watercolor pumpkins tutorial by Anna-Karin Evaldsson.

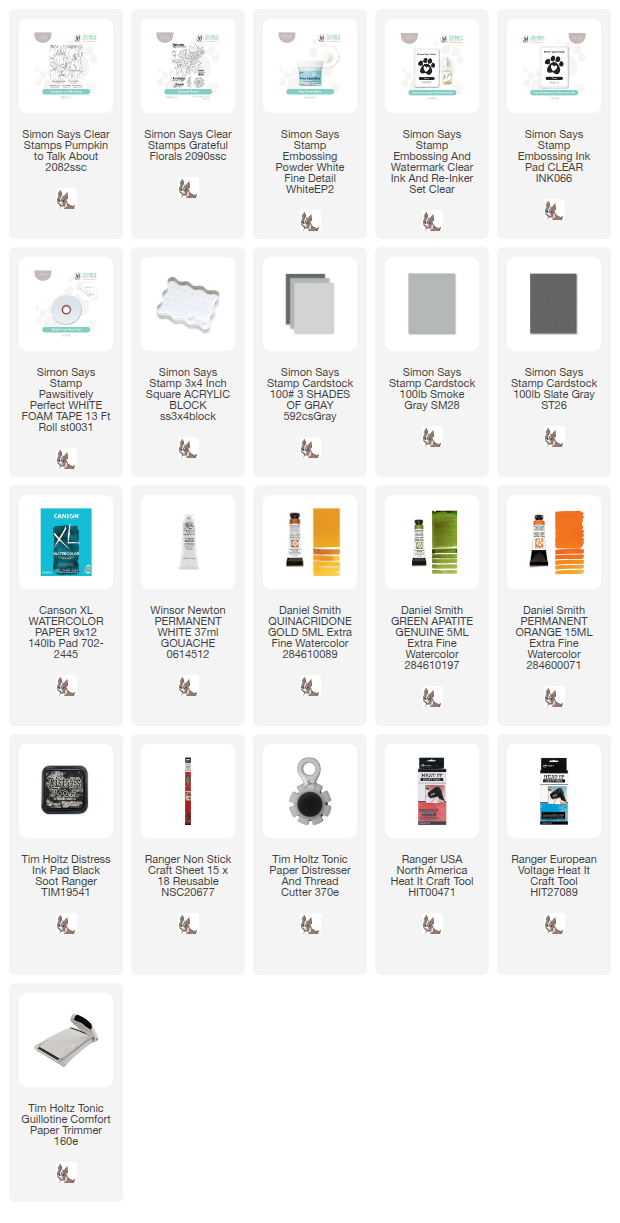
I took some freedom in the colors I used for this card, since I wanted pumpkin in different colors. The background stamp is Simon Says Stamp Pumpkin to Talk About, from last year's STAMPtember® release. I got the stamp too late and was already into winter stamping when it arrived. Now, it was time to ink it up. You can find this year's STAMPtember® release here. 

Stamp Simon Says Stamp Pumpkin to talk about.

White emboss the Simon Says Stamp Pumpkin to Talk About on watercolor paper.

Paint with watercolors.

I colored one pumpkin at a time and paint with water first, for a wet-in-wet effect. After painting with water, drop in watercolor paint, making the pumpkin darker in some places. I used various Daniel Smith watercolors. 

Paint the stems.

Paint the stems in the same way. The embossing powder will resist the paint.

Add shading.

Add shadows with a darker mix of paint.

Splatter with white gouache.

When dry, splatter the background with Winsor & Newton Permanent White gouache. 


The embossed lines will keep the paint from mixing in between the different areas of the pumpkins. The water tends to stay on the inside of the embossed lines. 

Paint the pumpkins in different colors.

When you drop in a different shade into the previous layer of paint before it dries, the colors blend on the paper in sometimes unpredictable ways.


I had fun with the coloring. The purple paint is Amethyst Genuine. 

White emboss and shadow stamp a sentiment from Simon Says Stamp Grateful Florals.

The sentiment comes from Simon Says Stamp Grateful Florals and was white embossed on left-over watercolored paper. I then inked the stamp with Black Soot Distress Ink, misted with water and stamped, off-setting it for a shadow effect. Matte on Simon Says Stamp Slate cardstock and adhere with foam tape.


Don't miss all the inspiration and daily surprises during STAMPtember®.


Thank you so much for visiting today! 

Happy crafting!

Anna-Karin

Supplies:

* Please note: the links are affiliate links, for which I receive a small percentage of sales generated by the link, at no extra cost to you.


Tuesday, October 29, 2024

The Apothecary Tutorial

Hello crafters! I have one more Halloween project to share, the front door of a spooky apothecary practice. 

Please note: this post has affiliate links, for which I receive a small percentage of sales generated by the link, at no extra cost to you.

Layers of ink - The Apothecary Halloween Tutorial by Anna-Karin Evaldsson.

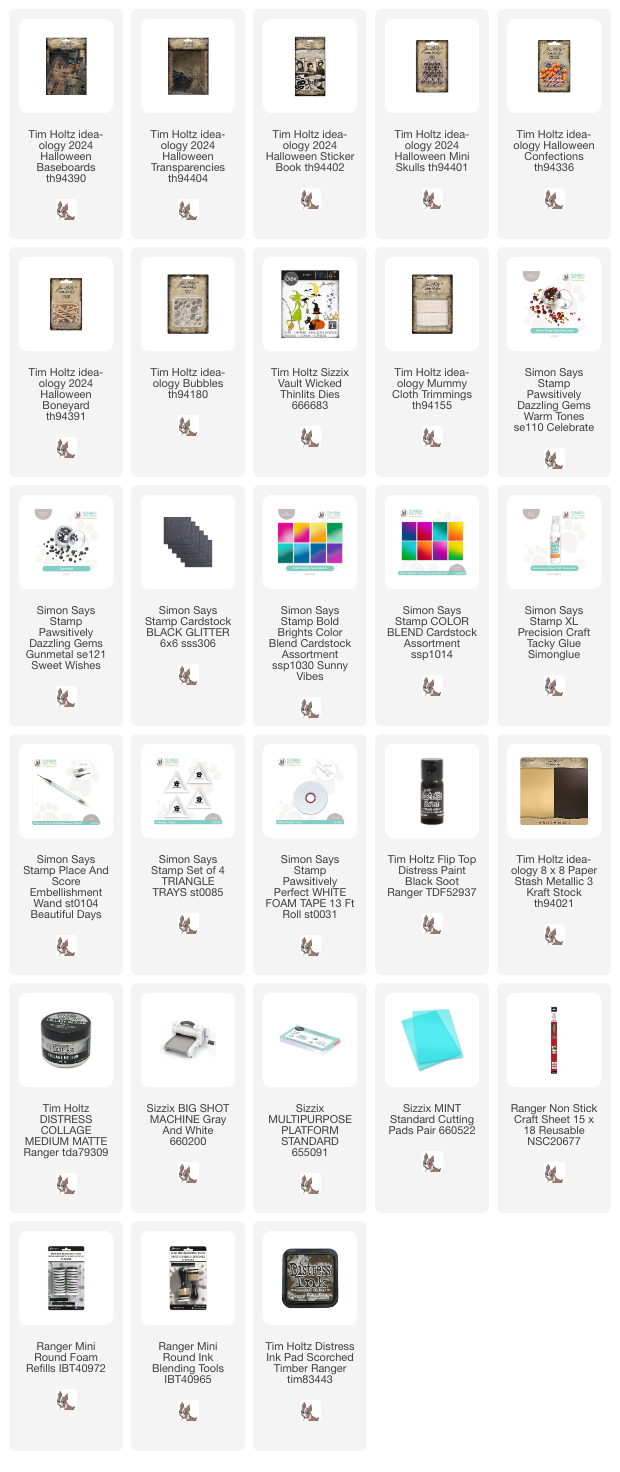
I really like Tim Holtz Baseboard pieces and they are fun to layer. Here I layered an arch and a door, with the addition of a sign post and a sentiment strip. Lots of fun little details which can belong to a spooky apothecary: bottles, jars, glass balls, sweets and of course skulls of some of his victims.

Sand the edges of the idea-ology Halloween baseboards pieces.

Here you can see the individual pieces. The shelf was made by gluing to wood planks from the Baseboard set together. Sand all the edges.

Add a Halloween transparency.

Glue a Halloween Transparency to the arch. I used one of the spider web transparencies.

Stain the skulls and bones with black paint.

Glue the door on top and glue the shelf under the door. Splatter black paint on the background. The skulls and bones were also distressed with black paint.

Die cut bottles with Tim Holtz Vault Wicked set.

Using the Sizzix Vault Wicked set, the bottles were die cut from leftover papers, Simon Says Stamp Color-Blend cardstock (which is glossy), Black Glitter Cardstock and gold metallic cardstock.

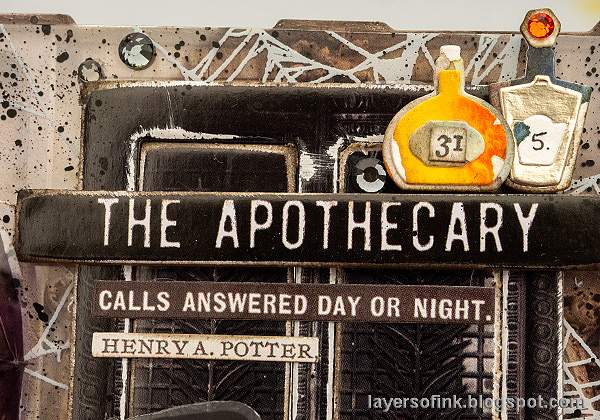
Add Halloween sticker book sentiments to the signpost.

Glue sentiments from the Halloween Sticker Book to the sign post. I really enjoying picking clipping sentiments, creating a story.

Glue Simon Says Stamp Pawsitively Dazzling Gems here and there.

Two bottles were placed on the title and adhered with Simon Says Stamp Pawsitively Perfect Foam Tape. 

Add a transparent moth.

I glued a transparent bat to the door too. Fold up the wings.

Make a shelf with baseboard pieces and place bottles, glass balls, bones and skulls on it.

Glue mummy cloth to the shelf, as a table cloth. Add Bubbles, skulls, Simon Says Stamp Pawsitively Dazzling Gems, bones and bottles to the shelf. I used two layers of foam tape for the bottles.

Tiny bottles.

I added clippings number stickers to some of the bottles and wrote numbers on the rest.


Here you can see the shelf from above with all the little details. 


Shelves are easy to build and give space for many different types of dimensional items.


Stack three skulls on top of each other, with a bone under one of them. I also added idea-ology candy corn.

Layers of ink - The Apothecary Halloween Tutorial by Anna-Karin Evaldsson.

The project has quite a lot of dimension.

Layers of ink - The Apothecary Halloween Tutorial by Anna-Karin Evaldsson.

I hope you enjoyed this tutorial! See you soon again!


Thank you so much for stopping by here today! Have a good weekend!

Happy crafting!

Anna-Karin

Supplies:

* Please note: the links are affiliate links, for which I receive a small percentage of sales generated by the link, at no extra cost to you.