Tuesday, October 31, 2023

Spooky Graveyard

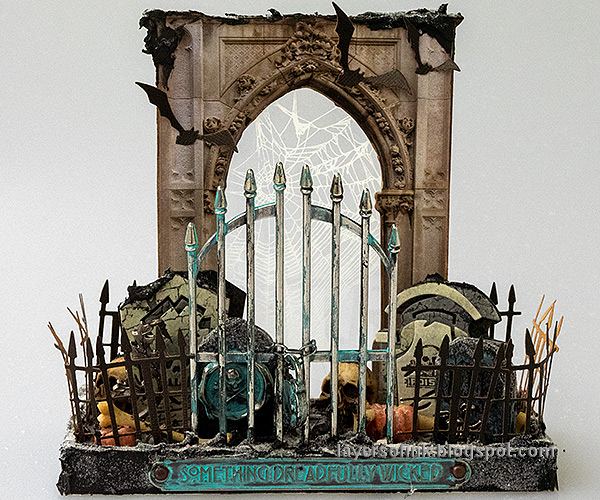
Hi crafters! Happy Halloween! Today I have one last Halloween project to share, in between kids knocking on the door. 

Please note: this post has affiliate links, for which I receive a small percentage of sales generated by the link, at no extra cost to you. 


Layers of ink - Spooky Graveyard Tutorial by Anna-Karin Evaldsson.

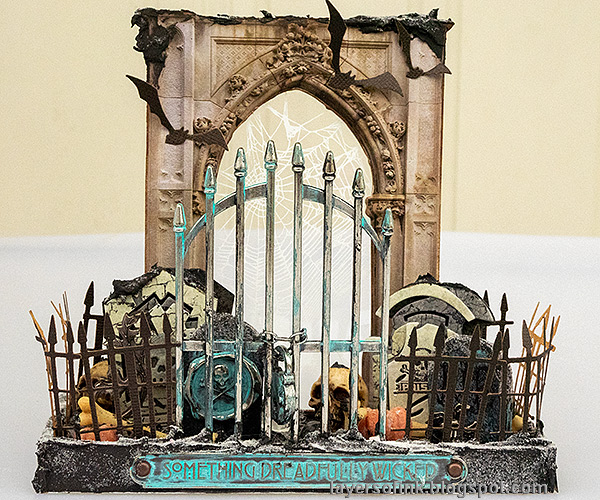
I made a little graveyard scene as my last Halloween project of the year, with lots of little details. The base is made from a cardboard box and I used a bunch of different Tim Holtz idea-ology embellishments. There is an acetate piece at the back of the arch. The project is about 6x6 in.

Layers of ink - Spooky Graveyard Tutorial by Anna-Karin Evaldsson.

This project was a little hard to photograph because of the fence and gate and since it was raining the whole day today.

Layers of ink - Spooky Graveyard Tutorial by Anna-Karin Evaldsson.

Start with a cardboard box, cut into shape and glue a piece of Sizzix mat board at the bottom for stability. Later I also added side pieces.

Layers of ink - Spooky Graveyard Tutorial by Anna-Karin Evaldsson. Distress with paint.

Distress the Gothic Gates, metallic pieces and gravestones with Distress Paint. Paint the base black.

Layers of ink - Spooky Graveyard Tutorial by Anna-Karin Evaldsson. Die cut the graves from heavystock cardstock.

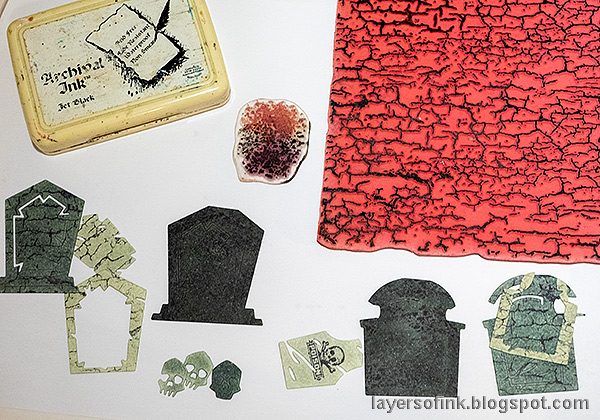
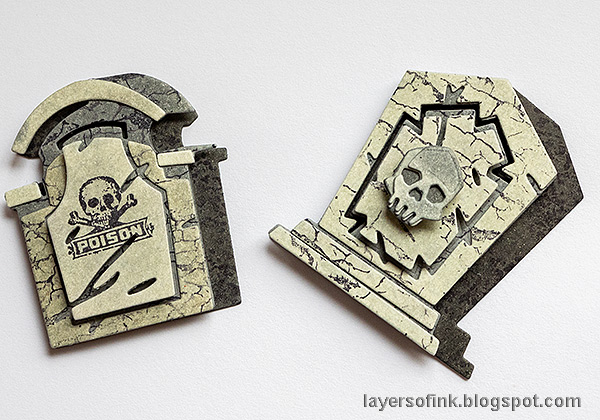
Die cut the pieces for the two paper graves from heavystock cardstock using Tim Holtz Graveyard Colorize die set.

Layers of ink - Spooky Graveyard Tutorial by Anna-Karin Evaldsson. Ink with Simon Says Stamp pawsitivily saturated ink.

Ink the pieces with Simon Says Stamp Pawsitively Saturated inks. I used the Gray Skies ink blocks and ink brushes.

Layers of ink - Spooky Graveyard Tutorial by Anna-Karin Evaldsson. Stamp with crackle background.

Stamp the texture from Simon Says Stamp All Seasons Tree and Crackle Background on the grave pieces.

Layers of ink - Spooky Graveyard Tutorial by Anna-Karin Evaldsson. Mount with foam tape.


Layers of ink - Spooky Graveyard Tutorial by Anna-Karin Evaldsson. Add texture paste and sprinkle with Distress Glitter.

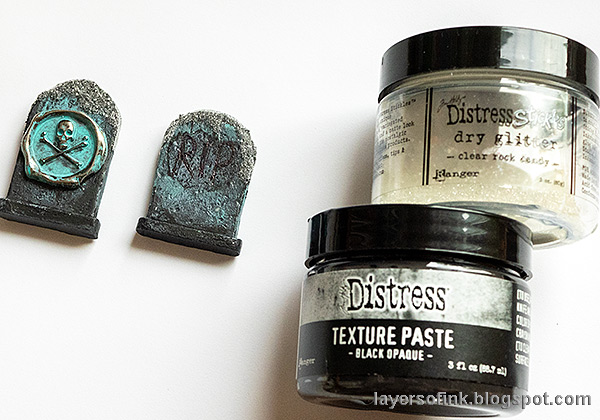
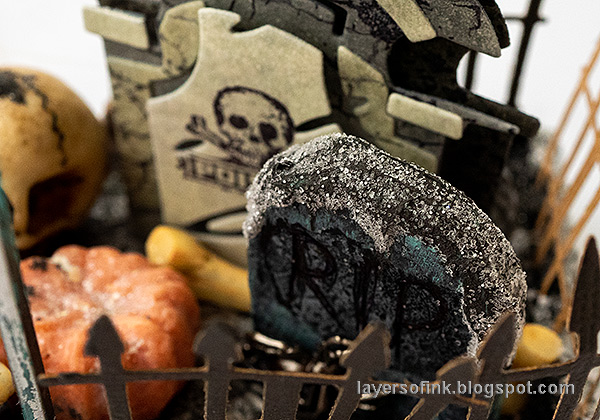
Apply a little Black Opaque Texture Paste to the gravestones and cover with Rock Candy Glitter.

Layers of ink - Spooky Graveyard Tutorial by Anna-Karin Evaldsson. Add black texture paste to the base.

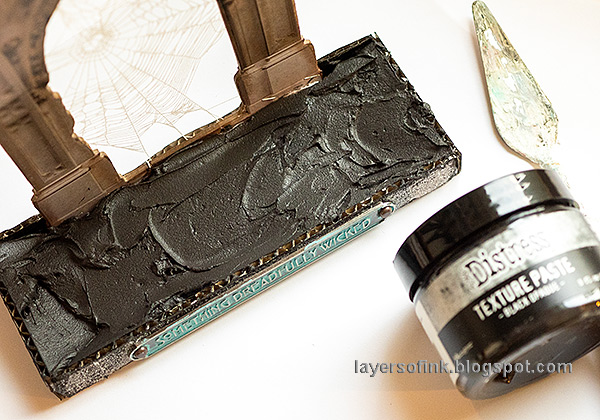
The idea-ology arch was adhered with staples and the printed acetate was glued to the back. Fill the base with black texture paste.

Layers of ink - Spooky Graveyard Tutorial by Anna-Karin Evaldsson.

Add texture paste around the edges too and sprinkle with Rock Candy Glitter. The fence was die cut from black kraft core paper and pressed into the paste.

Layers of ink - Spooky Graveyard Tutorial by Anna-Karin Evaldsson. Add idea-ology embellishments into the paste.

Press everything into the paste, which will act as a glue. You might need to straighten items up as they dry, so don't leave it to dry all on its own. 

Layers of ink - Spooky Graveyard Tutorial by Anna-Karin Evaldsson. Rock candy distress glitter.

I scratched RIP into the gravestone and rubbed black paint into the scratches. 

Layers of ink - Spooky Graveyard Tutorial by Anna-Karin Evaldsson.


Layers of ink - Spooky Graveyard Tutorial by Anna-Karin Evaldsson.

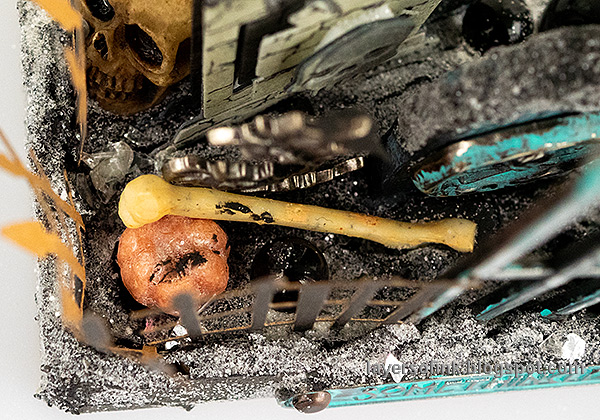
I also sprinkled both some Mica Flakes and Rock Candy Glitter to the paste.

Layers of ink - Spooky Graveyard Tutorial by Anna-Karin Evaldsson. Place a skull into the paste.

Another skull hiding in a corner.

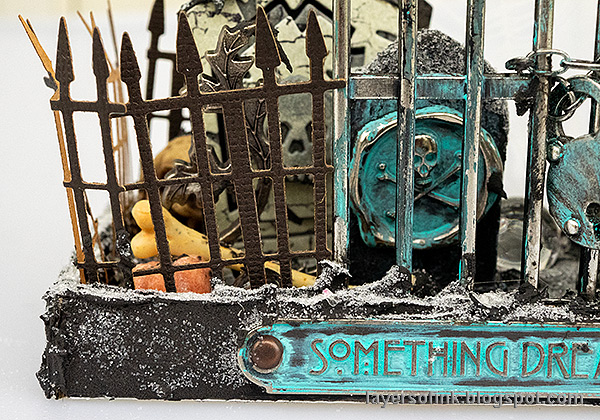
Layers of ink - Spooky Graveyard Tutorial by Anna-Karin Evaldsson. Add a die cut fence.

I used brads to adhere the metallic word plaque.

Layers of ink - Spooky Graveyard Tutorial by Anna-Karin Evaldsson.

You can add some alcohol ink to the acetate if you want to, but I decided to keep it as it was. Sand the edges of the arch and ink with brown ink. The bats were die cut from black kraft stock.

Layers of ink - Spooky Graveyard Tutorial by Anna-Karin Evaldsson.

I hope you enjoyed this tutorial and that it inspired you to build a little scene. If you don't have a good base, it is often easy to build one from cardboard. 


Thank you for visiting my blog! See you again tomorrow!

Happy crafting!

Anna-Karin

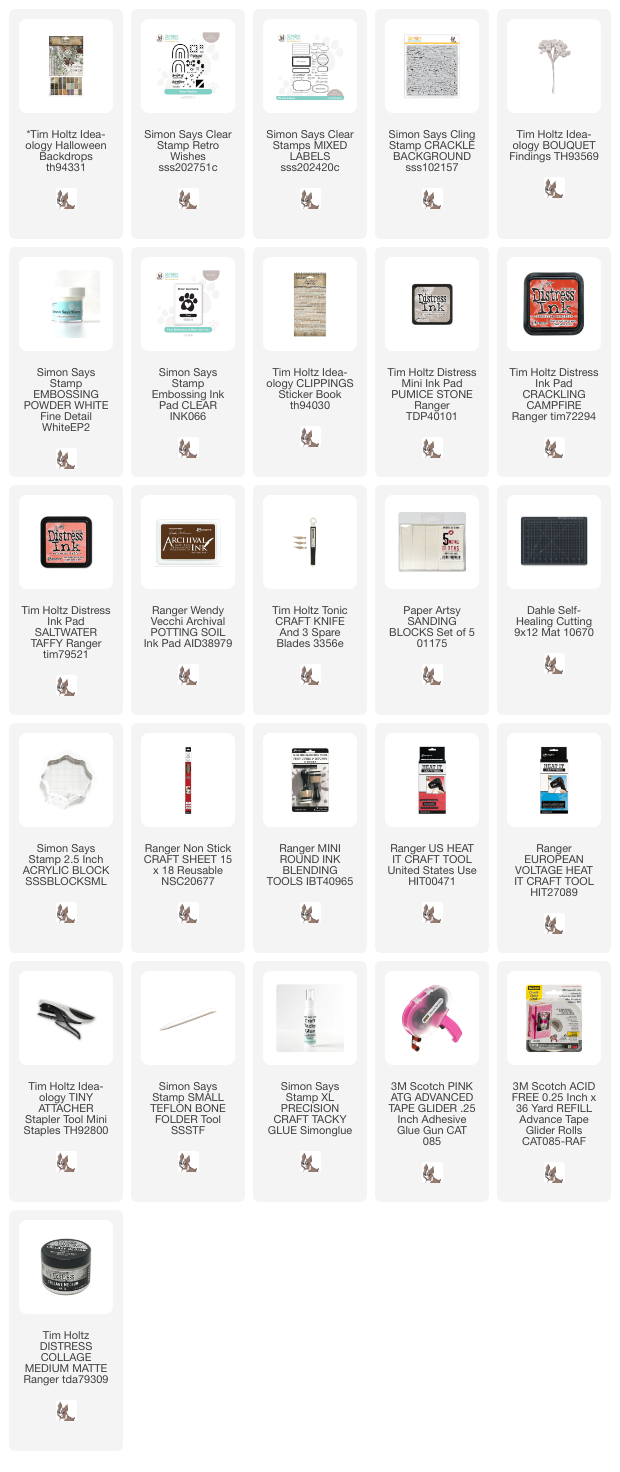
Supplies:

* Please note: the links are affiliate links, for which I receive a small percentage of sales generated by the link, at no extra cost to you.


Monday, October 30, 2023

Altered Notebooks

Hello stampers! It is a new week and we have a Thinking of You theme this week at the Simon Says Stamp Monday Challenge Blog. 

Please note: this post has affiliate links, for which I receive a small percentage of sales generated by the link, at no extra cost to you.


Don't miss the last projects by our two October guests: Teresa York and Gitta Roolf.

Layers of ink - Altered Notebooks Tutorial by Anna-Karin Evaldsson.

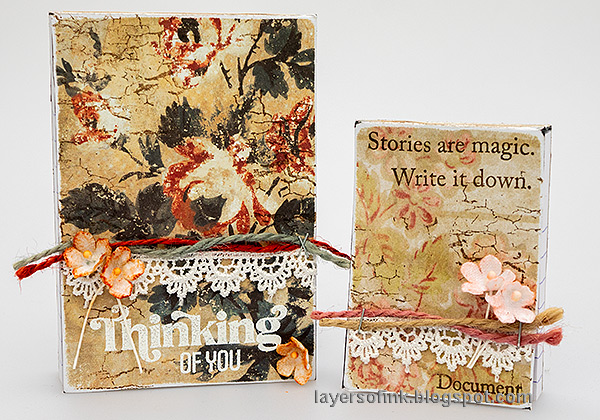
Notebooks are often great gifts and I like to have some at home in case I need a gift. Here I made a little set of two altered notebooks. It's a quick and easy project and great for using up pretty pieces of patterned paper. I used papers from Tim Holtz Halloween Backdrops set.

Layers of ink - altered notebooks. Add patterned paper.

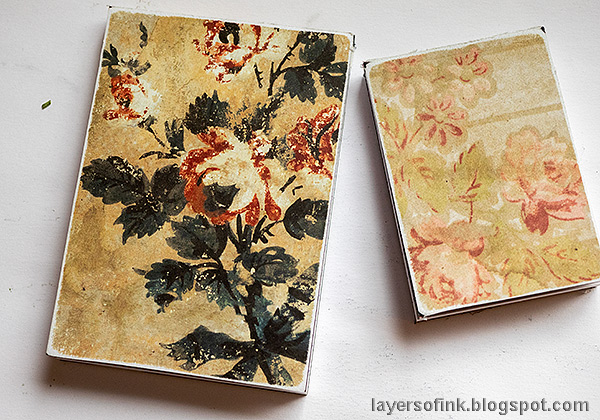
Start by cutting paper and adding it to the front cover of the notebooks. I used double-sided tape. 

Layers of ink - Altered Notebooks Tutorial by Anna-Karin Evaldsson.

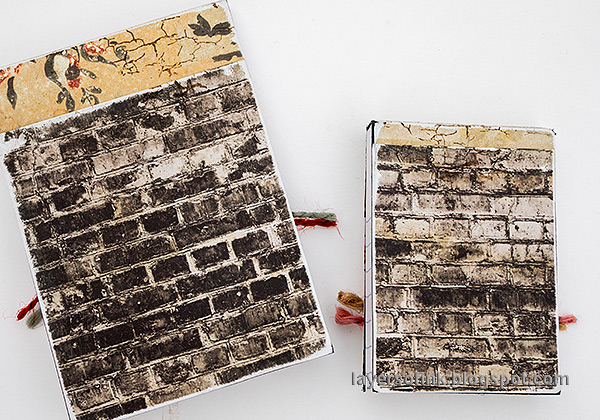
Let the paper used on the front continue onto the back and then add a second patterned paper to cover the back of the notebooks. Sand all the edges to reveal the white core of the paper and give the books a distressed look.

Layers of ink - Altered Notebooks Tutorial by Anna-Karin Evaldsson. White emboss the title.

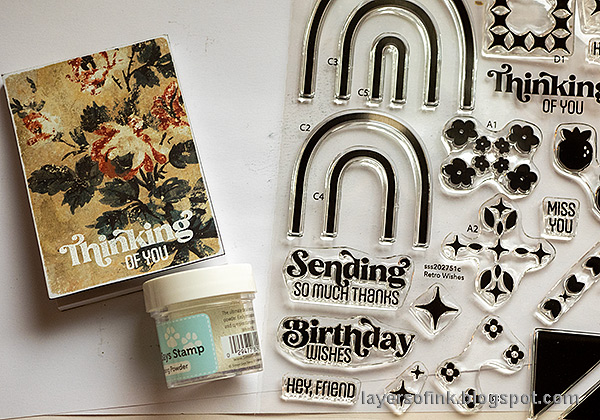
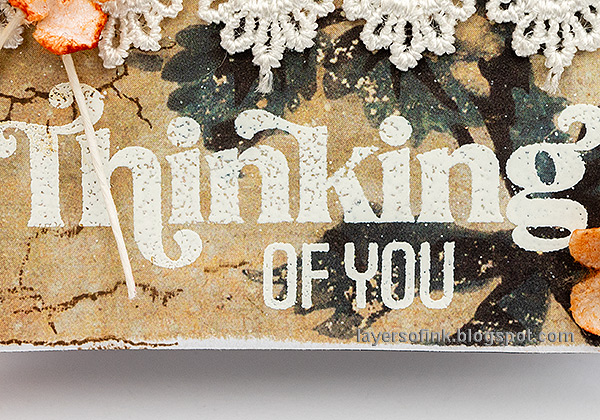
White emboss Thinking of You on the front of the larger notebook. It comes from Simon Says Stamp Retro Wishes.

Layers of ink - Altered Notebooks Tutorial by Anna-Karin Evaldsson.

You can embellish the books with various bits and pieces. It is a great place to use tiny pieces of ribbon and leftover embellishments.

Layers of ink - Altered Notebooks Tutorial by Anna-Karin Evaldsson. Add sentiments with stickers.

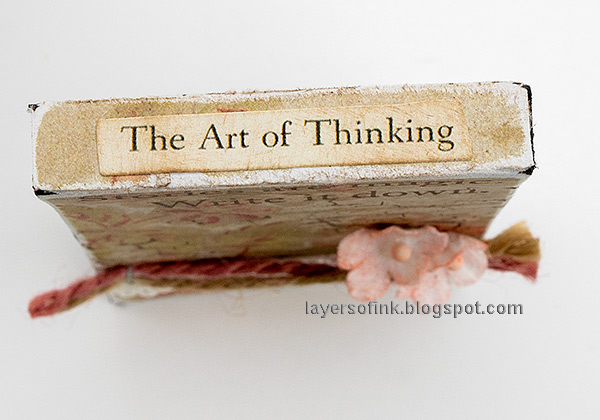
I added a Clipping Sticker to the spine of each notebook.

Layers of ink - Altered Notebooks Tutorial by Anna-Karin Evaldsson. Add words to the spine.

And a smaller sticker for the smallest book.

Layers of ink - Altered Notebooks Tutorial by Anna-Karin Evaldsson. Thinking of you.

The white embossing made the sentiment stand out on the patterned background.

Layers of ink - Altered Notebooks Tutorial by Anna-Karin Evaldsson. Color the flowers with ink.

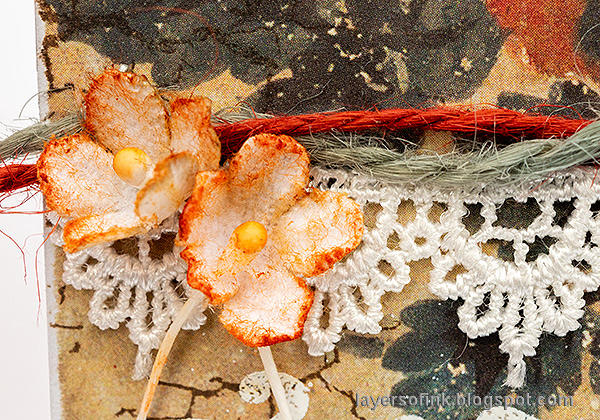
Tim's Bouquet Findings flowers were inked with Distress Ink and glued to the background.

Layers of ink - Altered Notebooks Tutorial by Anna-Karin Evaldsson.

I also stamped the background here and there with Simon Says Stamp Crackle Background.

Layers of ink - Altered Notebooks Tutorial by Anna-Karin Evaldsson. Stamp sentiments with Simon Says Stamp Mixed Labels and brown ink.

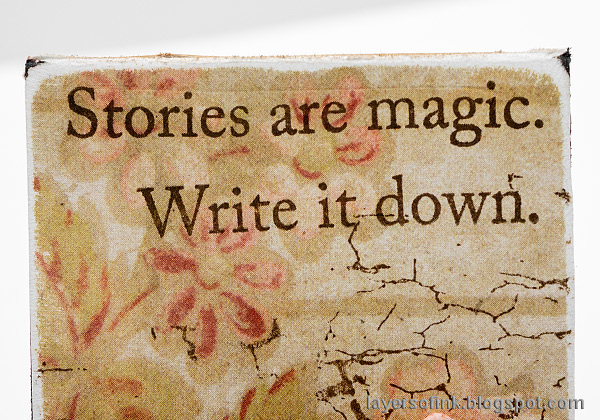
The sentiments on the smaller book were stamped with Potting Soil ink and comes from Simon Says Stamp Mixed Labels.

Layers of ink - Altered Notebooks Tutorial by Anna-Karin Evaldsson. More flowers.

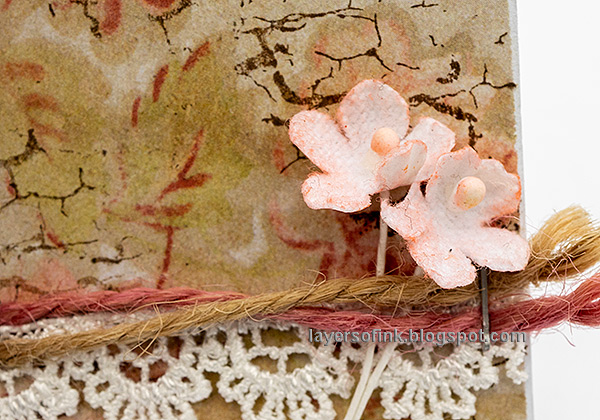
I also used small pieces of lace and twine on the covers.

I hope you will join us this week in our Thinking of you challenge. You have a chance to win a $25 gift voucher to do some fun shopping at Simon Says Stamp. You have until Monday 8am Ohio time. 1pm UK time, 2 pm CET to join in.


Do you use Instagram? If so please add #sssmchallenge so we can see your entries there too.


Thank you so much for stopping by here today! 

Happy crafting!

Anna-Karin

Supplies:

* Please note: the links are affiliate links, for which I receive a small percentage of sales generated by the link, at no extra cost to you.


Saturday, October 28, 2023

Boo Halloween Card

Hello friends! Today I have a fun Halloween card tutorial to share, with techniques that can be used for any theme, not only for Halloween.

Please note: this post has affiliate links, for which I receive a small percentage of sales generated by the link, at no extra cost to you. 

Layers of ink - Boo Halloween Card Tutorial by Anna-Karin Evaldsson.
When looking at the Boo and the smaller of Tim Holtz Halloween Night dies I realised that the word was just the right size for the trick or treaters to walk on, with one kid stepping on each letter. The card is pretty big, about 8x4.5 in size. 

Layers of ink - Boo Halloween Card Tutorial by Anna-Karin Evaldsson. Die cut boo and stamp with a web stamp.

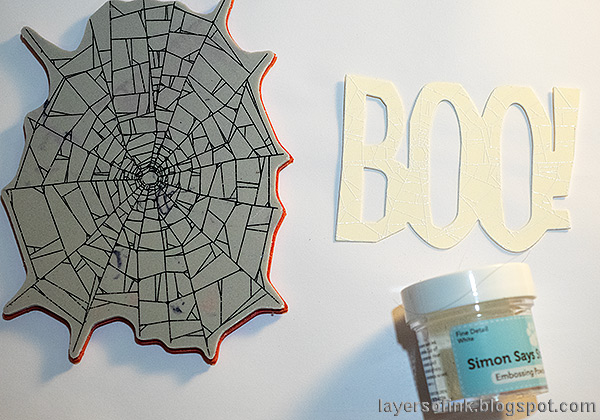
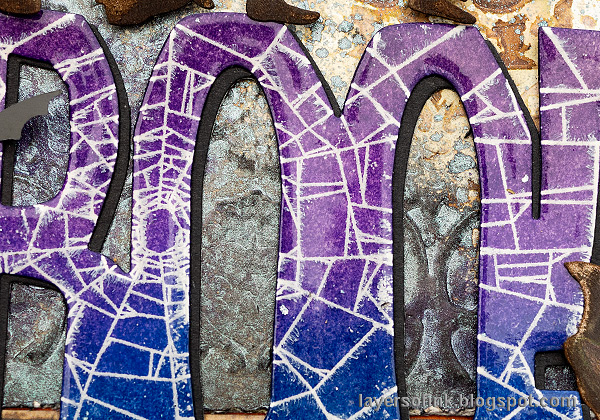
I started by die cuttin Boo from Big Frights from heavystock paper. A spider web was white emboss on the word. The web comes from Tim's Webs & Damask.

Layers of ink - Boo Halloween Card Tutorial by Anna-Karin Evaldsson. Ink with Distress Ink and emboss with clear powder.

Ink with Distress Ink and emboss with clear powder. Add two or more layers of embossing powder. Be very careful when using a heat tool and never touch the melted powder until it has cooled down completely.

Layers of ink - Boo Halloween Card Tutorial by Anna-Karin Evaldsson. Die cut trick or treaters.

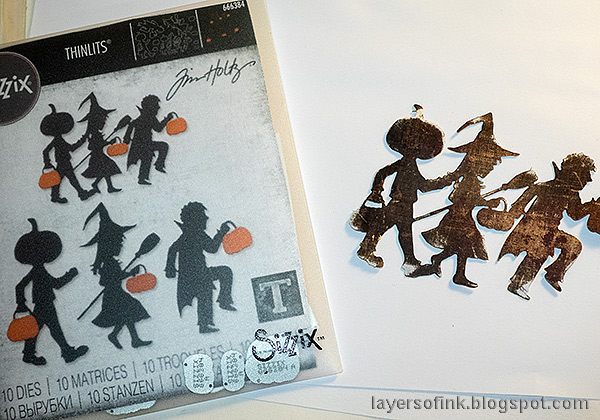
Die cut the smaller Halloween Night trick or treaters from Halloween Backdrops paper. Sand the edges of the paper.

Layers of ink - Boo Halloween Card Tutorial by Anna-Karin Evaldsson.

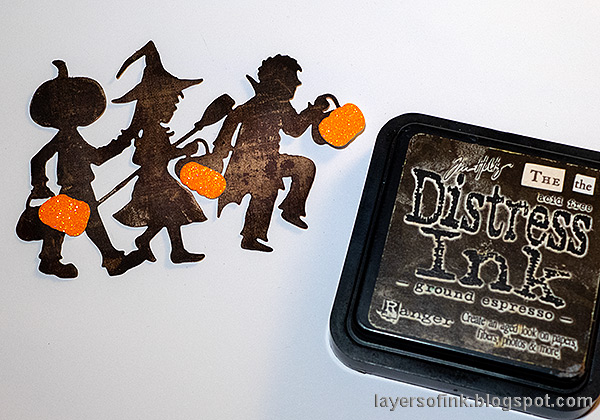
Ink the silhouettes with brown ink and die cut the pumpkin bags from Simon Says Stamp glitter paper.

Layers of ink - Boo Halloween Card Tutorial by Anna-Karin Evaldsson.

I also stamped the silhouettes with the alphabet stamp from Tim's School Desk set. Adhere with Simon Says Stamp Pawsitively Perfect Foam Tape. I used the larger version of the Halloween Night silhouettes in my Glow-in-the-dark Halloween project.

Layers of ink - Boo Halloween Card Tutorial by Anna-Karin Evaldsson. Mist with Mica Spray.

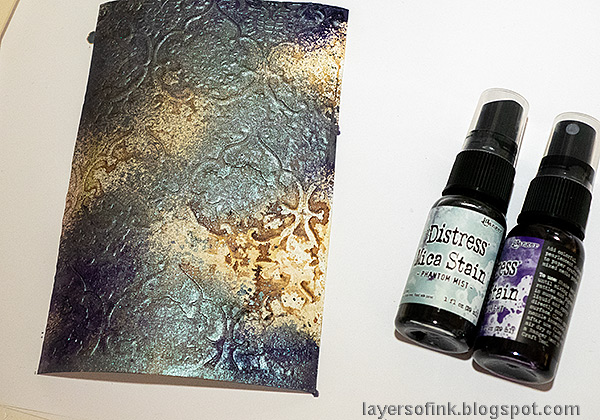
For the background I used a left-over dry embossed background from my Beware Pumpkin card from last week. I had been dry embossed in the Tapestry folder. Mist with Phantom Mist and Ominous Twilight Mica Stain.

Layers of ink - Boo Halloween Card Tutorial by Anna-Karin Evaldsson. Ink with black ink.

When dry, ink with Black Soot.

Layers of ink - Boo Halloween Card Tutorial by Anna-Karin Evaldsson. Add bats.

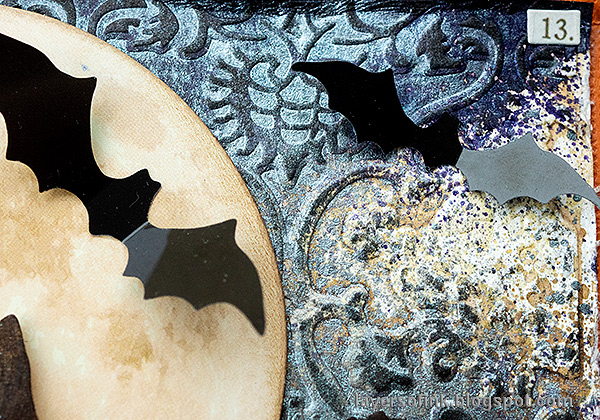
The moon comes from Tim's idea-ology Layers and Paper Dolls and the acetate bats come from Baseboards and Transparencies.

Layers of ink - Boo Halloween Card Tutorial by Anna-Karin Evaldsson.

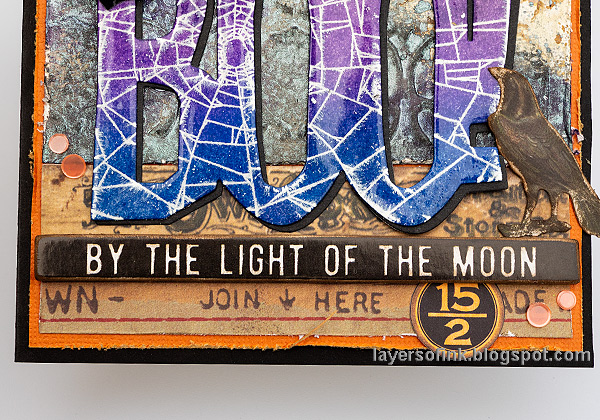
I die cut boo once more from black cardstock and offset slightly to create a shadow. The layers of embossing powder gives a nice glossy finish to the word. As you can see, the white embossed web started feathering slightly when the additional embossing was done, giving it a cool wispy look.

Layers of ink - Boo Halloween Card Tutorial by Anna-Karin Evaldsson. Add idea-ology sentiments.

I also added a sentiment from Baseboards and Transparencies as well as some bits and pieces from Halloween Ephemera

Layers of ink - Boo Halloween Card Tutorial by Anna-Karin Evaldsson.

The combination of dry embossing, ink in the background and the mica stain makes for an interesting looking background.


Thank you for visiting my blog! See you again tomorrow!

Happy crafting!

Anna-Karin

Supplies:

* Please note: the links are affiliate links, for which I receive a small percentage of sales generated by the link, at no extra cost to you.