Hello friends! Today I have a fun Halloween card tutorial to share, with techniques that can be used for any theme, not only for Halloween.
Please note: this post has affiliate links, for which I receive a small percentage of sales generated by the link, at no extra cost to you.
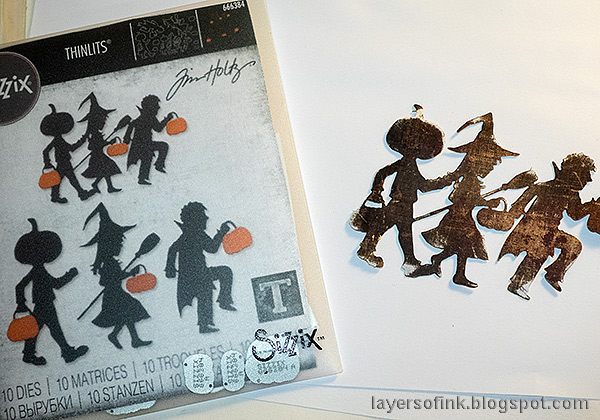
When looking at the Boo and the smaller of Tim Holtz
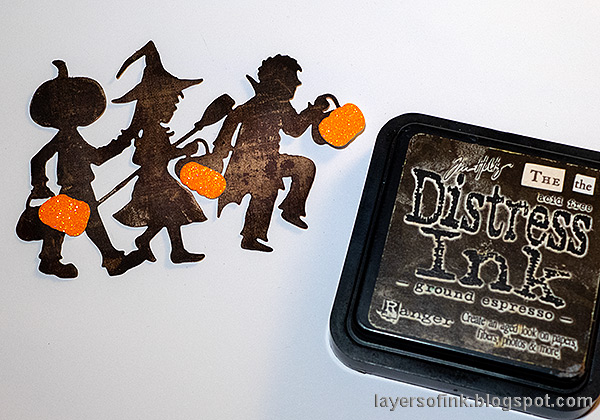
Halloween Night dies I realised that the word was just the right size for the trick or treaters to walk on, with one kid stepping on each letter. The card is pretty big, about 8x4.5 in size.
I started by die cuttin Boo from
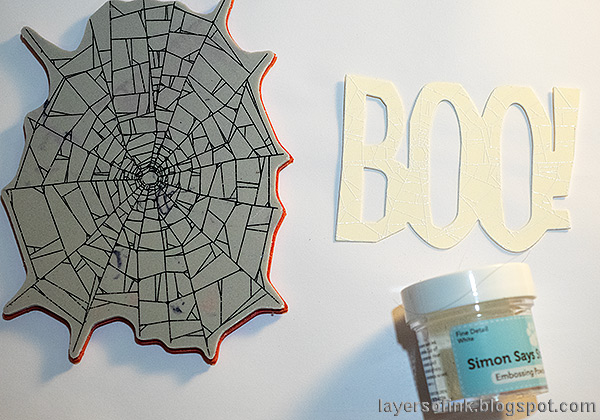
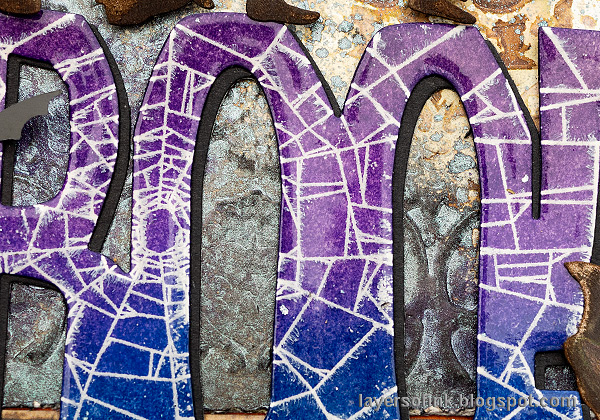
Big Frights from heavystock paper. A spider web was white emboss on the word. The web comes from
Tim's Webs & Damask.
Ink with Distress Ink and emboss with clear powder. Add two or more layers of embossing powder. Be very careful when using a heat tool and never touch the melted powder until it has cooled down completely.
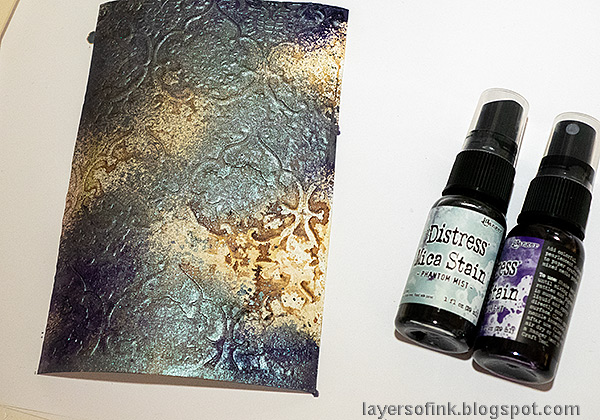
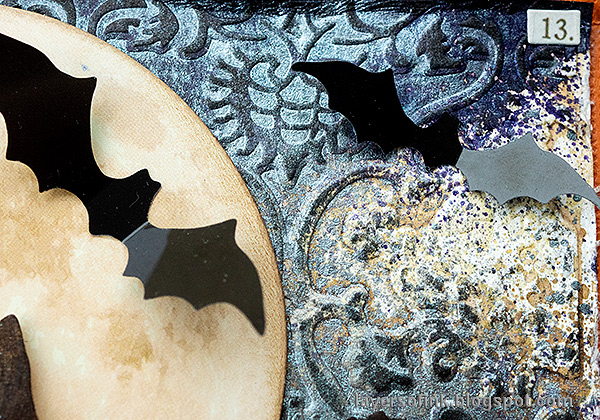
For the background I used a left-over dry embossed background from my Beware Pumpkin card from last week. I had been dry embossed in the Tapestry folder. Mist with Phantom Mist and Ominous Twilight Mica Stain.
When dry, ink with Black Soot.
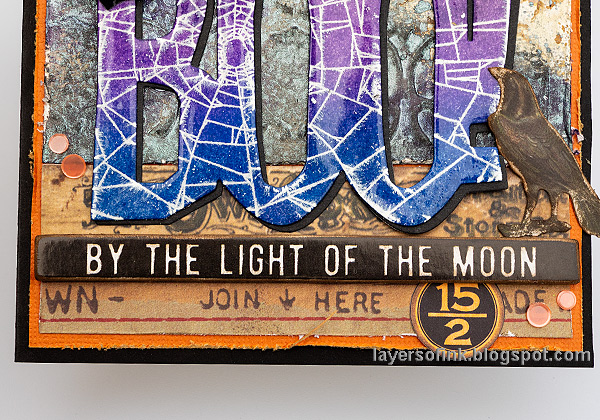
I die cut boo once more from black cardstock and offset slightly to create a shadow. The layers of embossing powder gives a nice glossy finish to the word. As you can see, the white embossed web started feathering slightly when the additional embossing was done, giving it a cool wispy look.
I also added a sentiment from Baseboards and Transparencies as well as some bits and pieces from
Halloween Ephemera.
The combination of dry embossing, ink in the background and the mica stain makes for an interesting looking background.
Thank you for visiting my blog! See you again tomorrow!
Happy crafting!
Anna-Karin
Supplies:
* Please note: the links are affiliate links, for which I receive a small percentage of sales generated by the link, at no extra cost to you.







Love seeing your creativity, especially in combining techniques.
ReplyDelete