
Hi crafters! Happy Halloween! Today I have one last Halloween project to share, in between kids knocking on the door.
Please note: this post has affiliate links, for which I receive a small percentage of sales generated by the link, at no extra cost to you.

I made a little graveyard scene as my last Halloween project of the year, with lots of little details. The base is made from a cardboard box and I used a bunch of different Tim Holtz idea-ology embellishments. There is an acetate piece at the back of the arch. The project is about 6x6 in.


Start with a cardboard box, cut into shape and glue a piece of Sizzix mat board at the bottom for stability. Later I also added side pieces.


Die cut the pieces for the two paper graves from heavystock cardstock using Tim Holtz Graveyard Colorize die set.

Ink the pieces with Simon Says Stamp Pawsitively Saturated inks. I used the Gray Skies ink blocks and ink brushes.

Stamp the texture from Simon Says Stamp All Seasons Tree and Crackle Background on the grave pieces.

Assemble with Simon Says Stamp Pawsitivily Perfect White Foam tape.

Apply a little Black Opaque Texture Paste to the gravestones and cover with Rock Candy Glitter.

The idea-ology arch was adhered with staples and the printed acetate was glued to the back. Fill the base with black texture paste.

Add texture paste around the edges too and sprinkle with Rock Candy Glitter. The fence was die cut from black kraft core paper and pressed into the paste.

Press everything into the paste, which will act as a glue. You might need to straighten items up as they dry, so don't leave it to dry all on its own.

I scratched RIP into the gravestone and rubbed black paint into the scratches.


I also sprinkled both some Mica Flakes and Rock Candy Glitter to the paste.

Another skull hiding in a corner.

I used brads to adhere the metallic word plaque.


I hope you enjoyed this tutorial and that it inspired you to build a little scene. If you don't have a good base, it is often easy to build one from cardboard.

Thank you for visiting my blog! See you again tomorrow!
Happy crafting!
Anna-Karin
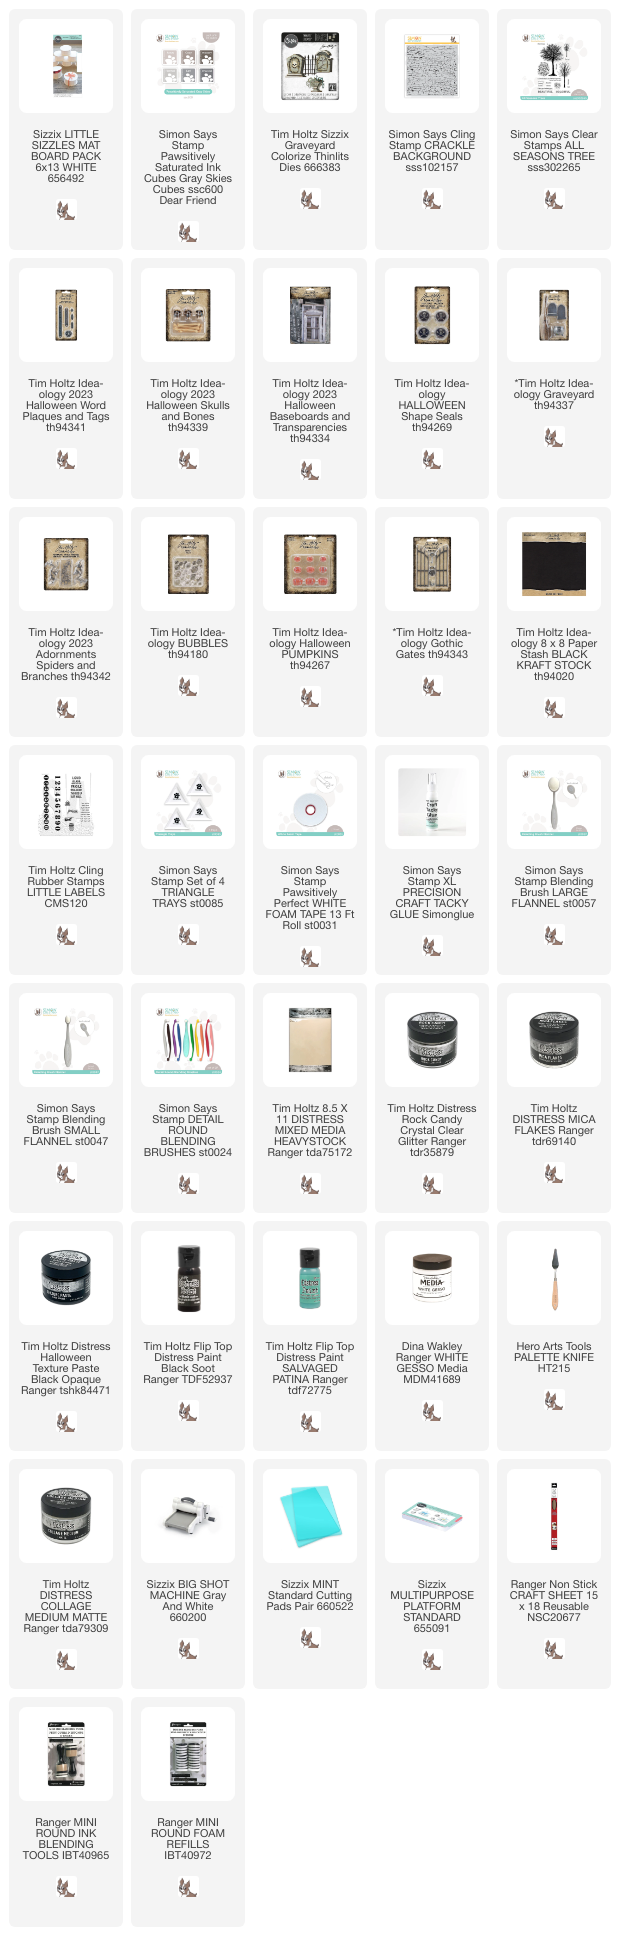
Supplies:
* Please note: the links are affiliate links, for which I receive a small percentage of sales generated by the link, at no extra cost to you.
* Please note: the links are affiliate links, for which I receive a small percentage of sales generated by the link, at no extra cost to you.
very cool!
ReplyDelete