Monday, October 16, 2023

Autumn Window Card Tutorial

Hi friends! I hope you are well and had a good weekend. We had crazy weather on Saturday and saw the rainbow at three different occasions during the day.

Please note: this post has affiliate links, for which I receive a small percentage of sales generated by the link, at no extra cost to you.


This week we have a Text It theme at the Simon Says Stamp Monday Challenge Blog. Adding text and script elements is a favorite of mine and I really like both letters, words and sentences. Don't miss our two guests this week: Teresa York and Gitta Roolf.


Layers of ink - Autumn Window Tutorial by Anna-Karin Evaldsson.

I made an autumn card using patterned paper with script, an alphabet stamp and a script stamp. It is so beautiful outside my window now and it will only last a little while longer. I used a Tim Holtz Halloween Baseboard for the window and his Shattered Windows. 

Layers of ink - Autumn Window Tutorial by Anna-Karin Evaldsson. Stamp with Simon Says Stamp All Seasons Tree.

I started by stamping Simon Says Stamp All Seasons Tree with brown ink on a Tim Holtz Halloween Layer.

Layers of ink - Autumn Window Tutorial by Anna-Karin Evaldsson. Paint leaves with paint pens.

I used paint markers to add leaves to the trees and the ground.

Layers of ink - Autumn Window Tutorial by Anna-Karin Evaldsson. Stamp with Simon Says Stamp Old Letter.

White emboss Simon Says Stamp Old Letter on glossy cardstock.

Layers of ink - Autumn Window Tutorial by Anna-Karin Evaldsson. Ink with Simon Says Stamp pawsitively saturated ink.

Ink with various shades of peach, orange and pink Pawsitively Saturated inks, using an ink-blending brush. The embossed text will resist the ink.

Layers of ink - Autumn Window Tutorial by Anna-Karin Evaldsson. Simon Says Stamp leaves.

Die cut Simon Says Stamp Tattered Leaves and Berry Stems from the cardstock. Later I also die cut more leaves from left-over watercolor paper and stamped with an alphabet stamp by Tim Holtz. 

Layers of ink - Autumn Window Tutorial by Anna-Karin Evaldsson. Ink with Distress Ink.

Ink a piece of heavystock paper with three shades of pink Distress Ink.

Layers of ink - Autumn Window Tutorial by Anna-Karin Evaldsson. Stamp with Tim Holtz School Desk.

Stamp with the alphabet stamp from Tim Holtz School Desk set.

Layers of ink - Autumn Window Tutorial by Anna-Karin Evaldsson. Emboss in woodgrain folder.

Emboss in the Woodgrain folder and ink the edges.

Layers of ink - Autumn Window Tutorial by Anna-Karin Evaldsson. Add Shattered Glass behind the window.

Sand the edges of the window and ink. Then glue a piece of Shattered Window at the back.

Layers of ink - Autumn Window Tutorial by Anna-Karin Evaldsson. Arrange the flowers.

Using both glossy and watercolor paper for the leaves adds interest and texture. Glue the leaves to the window.

Layers of ink - Autumn Window Tutorial by Anna-Karin Evaldsson.

Here you can see the effect of the shattered window.

Layers of ink - Autumn Window Tutorial by Anna-Karin Evaldsson.

The small tree was stamped twice. You can add more leaves to the trees if you want too.

Layers of ink - Autumn Window Tutorial by Anna-Karin Evaldsson.

The sentiment also comes from All Seasons Tree and was stamped on left-over ledger paper from one of Tim's Backdrops packs. I also added pearls to the leaves.

Layers of ink - Autumn Window Tutorial by Anna-Karin Evaldsson.

The embossed panel was adhered to Simon Says Stamp light grey cardstock and then a grey/green folded cardstock.

I hope you will join us this week in our Text It challenge. You have a chance to win a $25 gift voucher to do some fun shopping at Simon Says Stamp. You have until Monday 8am Ohio time. 1pm UK time, 2 pm CET to join in.


Do you use Instagram? If so please add #sssmchallenge so we can see your entries there too.


Thank you so much for stopping by here today! 

Happy crafting!

Anna-Karin

Supplies:

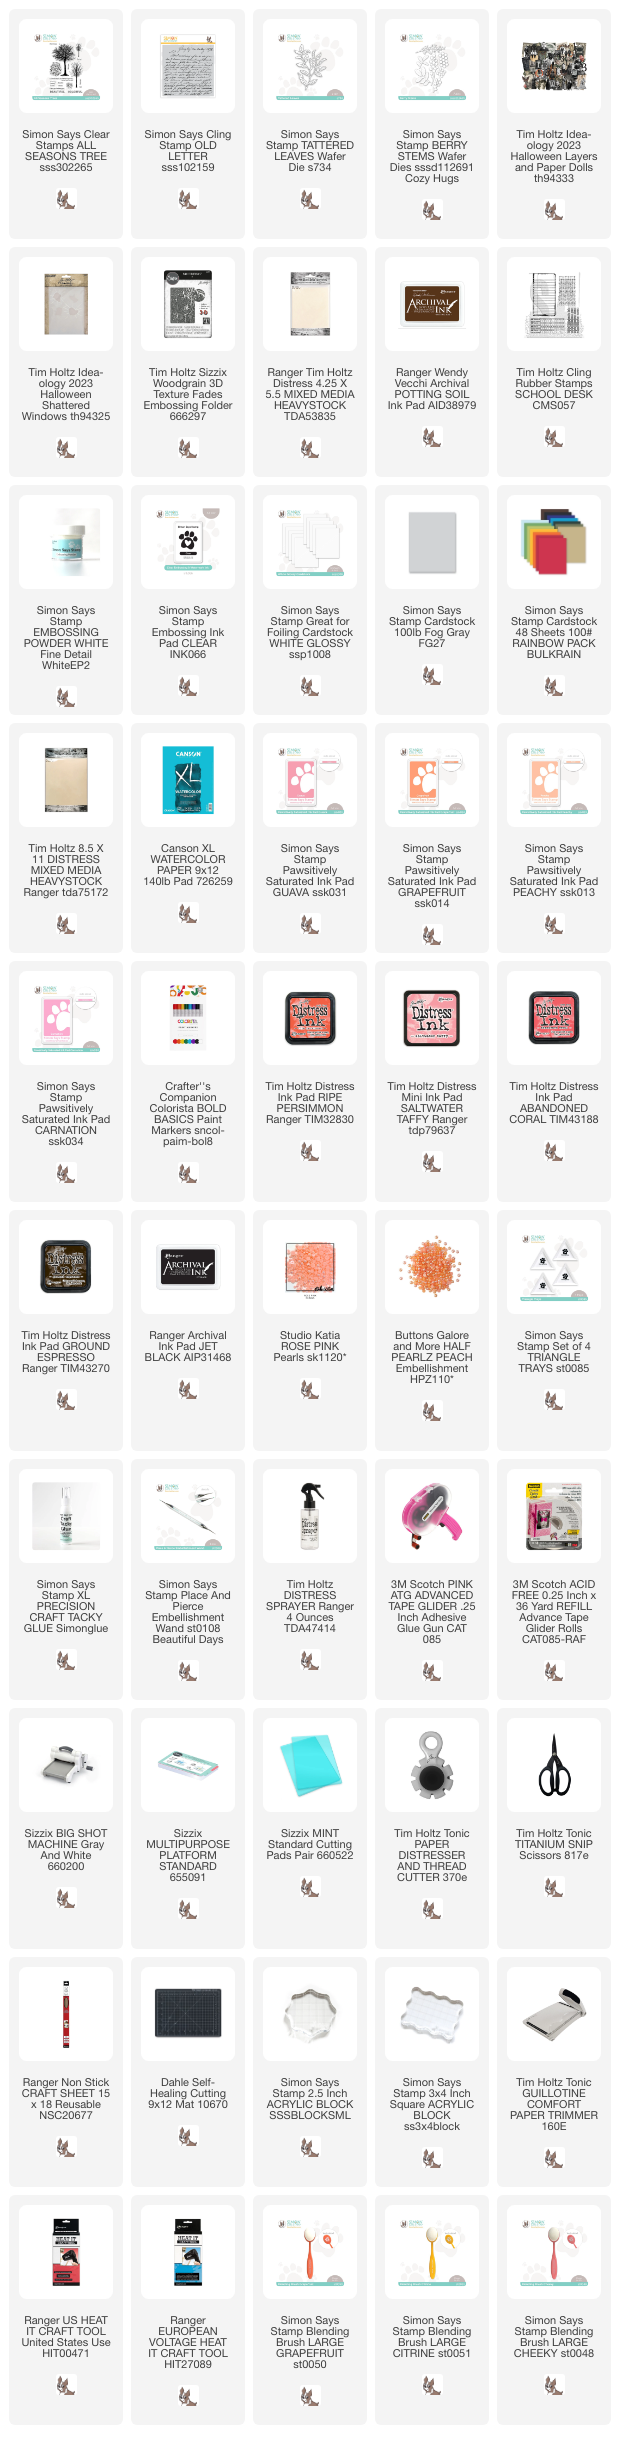
* Please note: the links are affiliate links, for which I receive a small percentage of sales generated by the link, at no extra cost to you.


No comments:

Post a Comment

Thank you so much for leaving a comment! Happy Crafting!