Hello friends! I hope you had a good weekend! It is Monday and the rain is pouring down here. I don't mind a bit of rain on my walks, but this is too much and even my raincoat couldn't quite handle it this morning.
Please note: this post has affiliate links, for which I receive a small percentage of sales generated by the link, at no extra cost to you.
This week at the Simon Says Stamp Monday Challenge Blog we have an Architecture/Buildings theme. I hope you will join us! Don't miss the last project by our July guest designer Natasha Vacca aka Natasha's Colorful Creations.
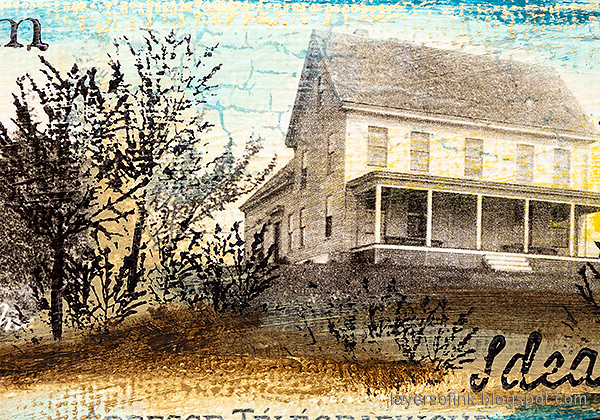
I made a mixed media canvas this week, with a lot of buildings and little scenes within the scene. It was inspired by
Tim Holtz Photographic Collage Paper, painted with Distress Paint and stamped with a bunch of image and sentiment stamps. My canvas board is 6x6 in.
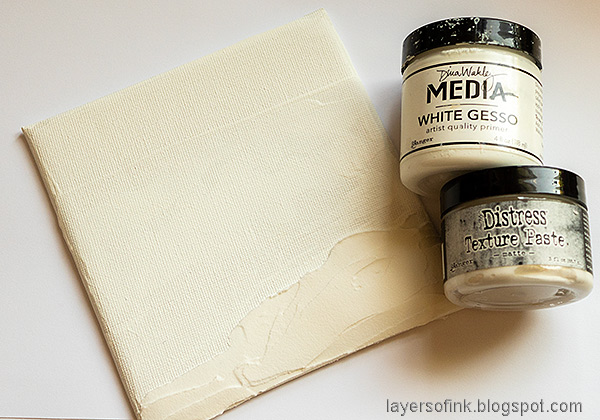
Start by coating the canvas board with gesso and let it dry. Paint with Antique Linen and then mist water droplets on the background. Dab with a paper towel to remove the water.
Pick the images from the
Photographic Collage Paper that you want to use and tear around them. A torn edge disappears better on the background. I painted around the images with water and then tore. Apply a layer of gloss multi-medium on the background and carefully place the images down. Work one at a time. Add another layer of gloss medium on top of the images.
Start painting the background with Distress Paint. I made most of the sky areas blue and the rest a mix of yellow and gbown.
The images still looked like they were floating on the background and they were not connected. To make the piece more unified I stamped the trees from
Simon Says Stamp All Seasons Tree on the background. The tree can also double up as a bush or general shrubs. The trees cover up joints and connect the images.
Next I stamped a compass and a bunch of sentiments. Most of the sentiments were stamped right on the background, except for one, which wouldn't have been visible enough if stamped on the background. That sentiment was stamped on a
Journal Card and cut into a strip. I used sentiments from Tim Holtz
Noble Gent,
Tiny Text and
Simple Sayings, and from Simon Says Stamp All Seasons Tree.
Next, to add more texture, I stamped the background here and there with
Simon Says Stamp Crackle Background and Cobalt Archival Ink. I have had that Cobalt ink for a very long time, but it works perfectly and I really like that shade of blue. I also added more paint, as shadows and around the edges.
I also added some
Sizzix Gold Luster Wax around the edges and here and there on the background, for a hint of shimmer. Most of the images seem to come from old post cards and I love that bit of handwritten text.
The theme of the canvas is all the ideas and possibilities around buildings and homes.
I liked how the two larger sentiments are curved, adding movement to the canvas.
A cosy little town street, two women and a bicycle.
The windmill made me think of South Africa, since they are common there.
I hope you will join us this week in our Architecture / Buildings challenge. You have a chance to win a $25 gift voucher to do some fun shopping at Simon Says Stamp. You have until Monday 8am Ohio time. 1pm UK time, 2 pm CET to join in.
Do you use Instagram? If so please add #sssmchallenge so we can see your entries there too.
Thank you so much for stopping by here today!
Happy crafting!
Anna-Karin
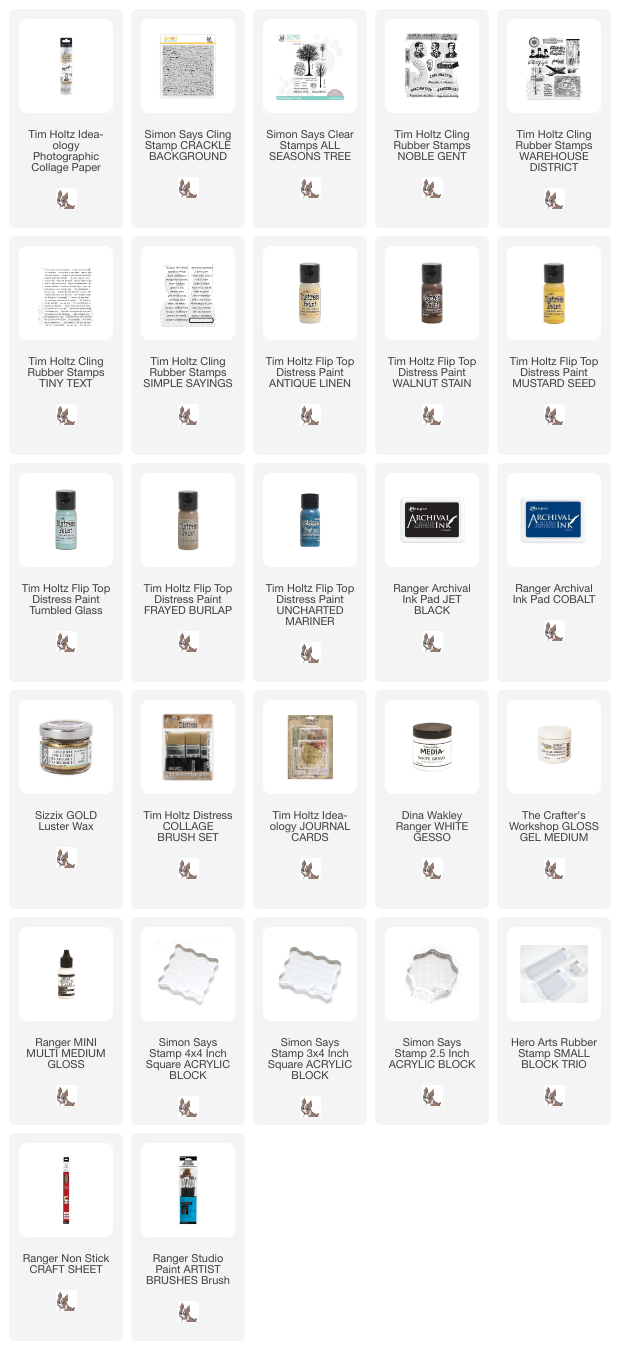
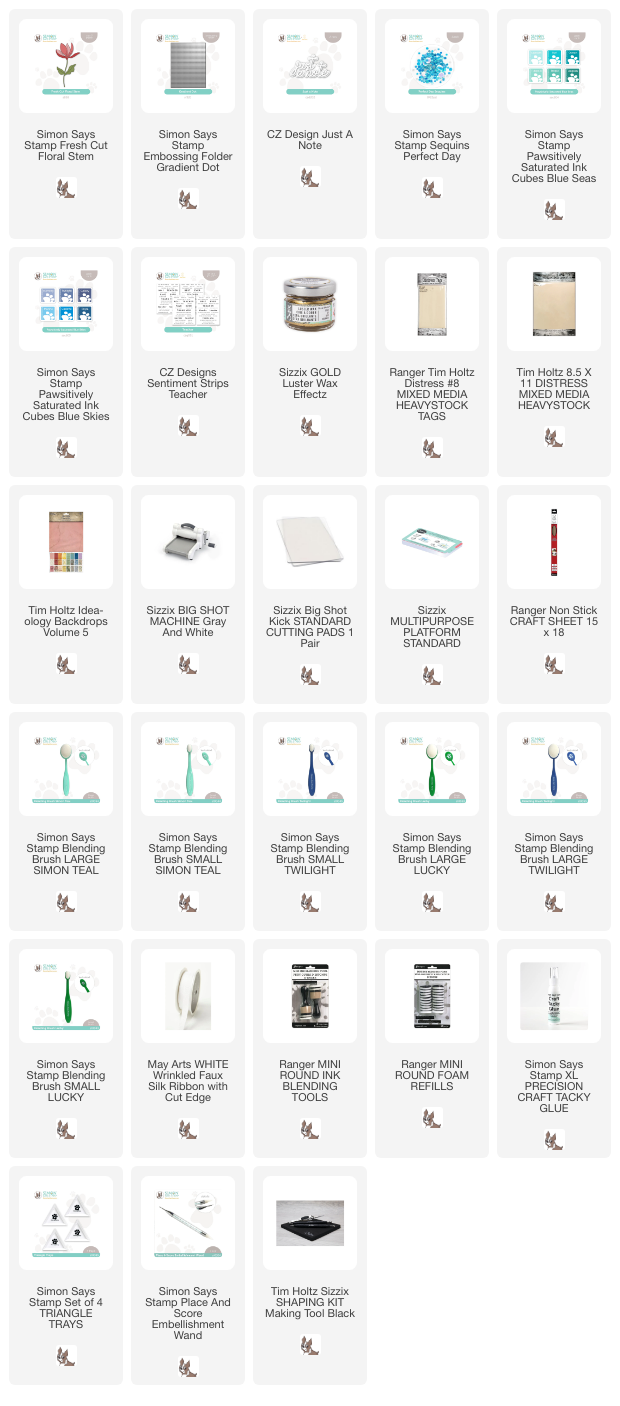
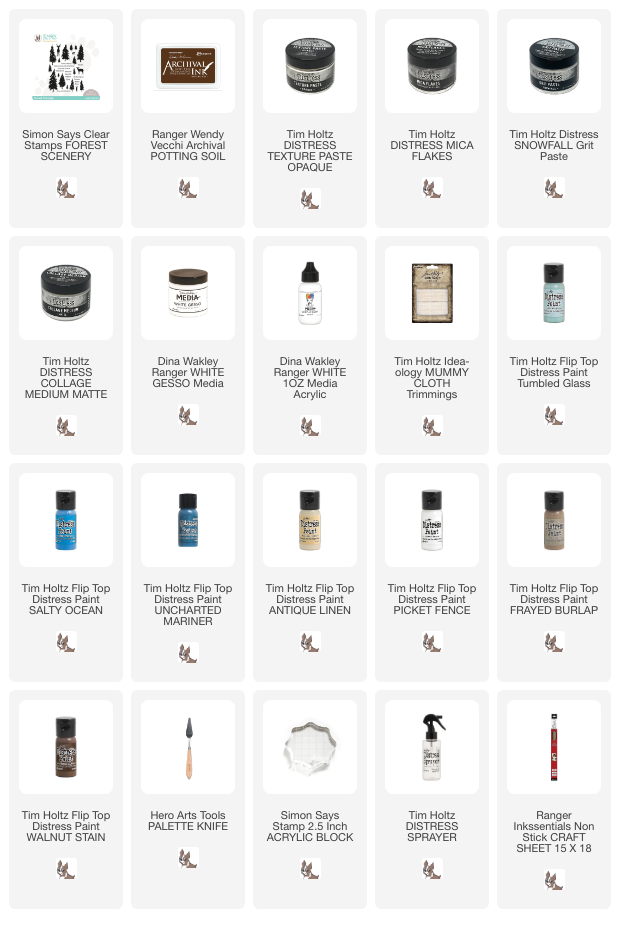
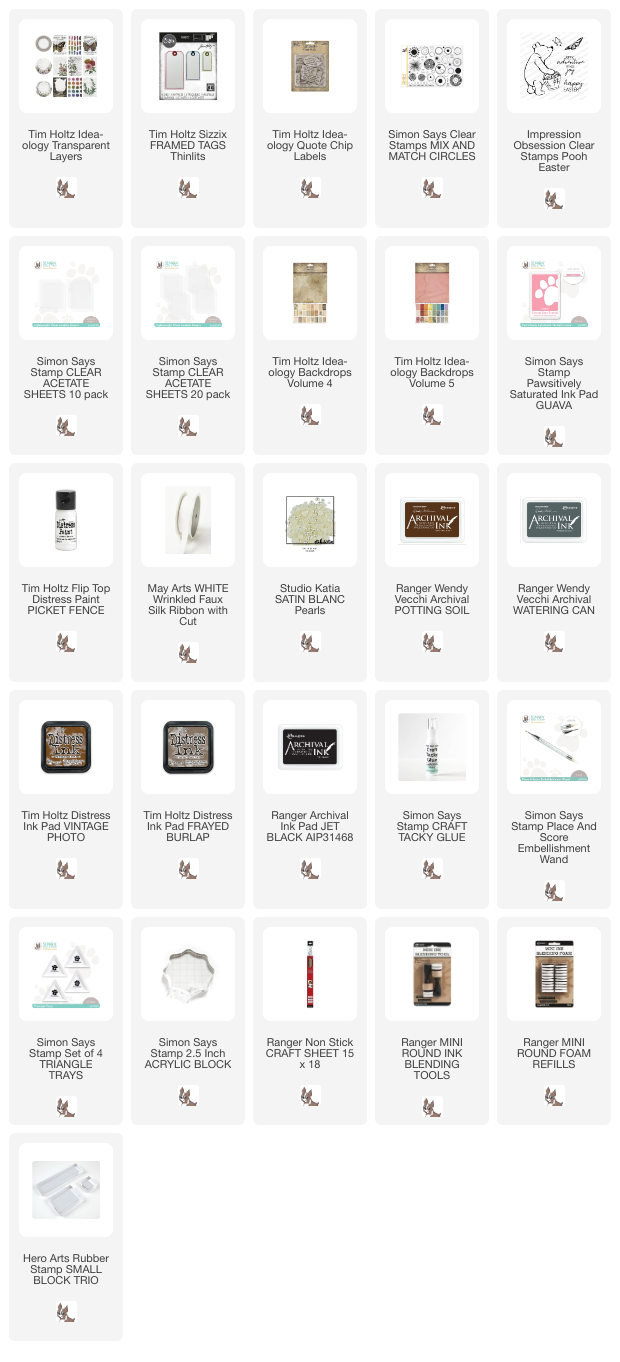
Supplies:
* Please note: the links are affiliate links, for which I receive a small percentage of sales generated by the link, at no extra cost to you.