
Hi friends! I hope your weekend was good! I can't believe that June is already over, it went by in a flash.
Please note: this post has affiliate links, for which I receive a small percentage of sales generated by the link, at no extra cost to you.

This week we have a Summer Mood Board challenge at the Simon Says Stamp Monday Challenge Blog. Here is the gorgeous mood board designed by Macarena.

Since it is the first Monday of a new month, the team is showcasing products from a specific designer. This week it is Brutus Monroe. You can see their wide range of products here. You don't have to use Brutus Monroe products to join in the challenge, but it is always fun if you do.
We also have a new guest designer, and this week we are welcoming back Natasha Vacca aka Natasha's Colorful Creations. I hope you will stop by her blog to see the wonderful project that she has created for you.


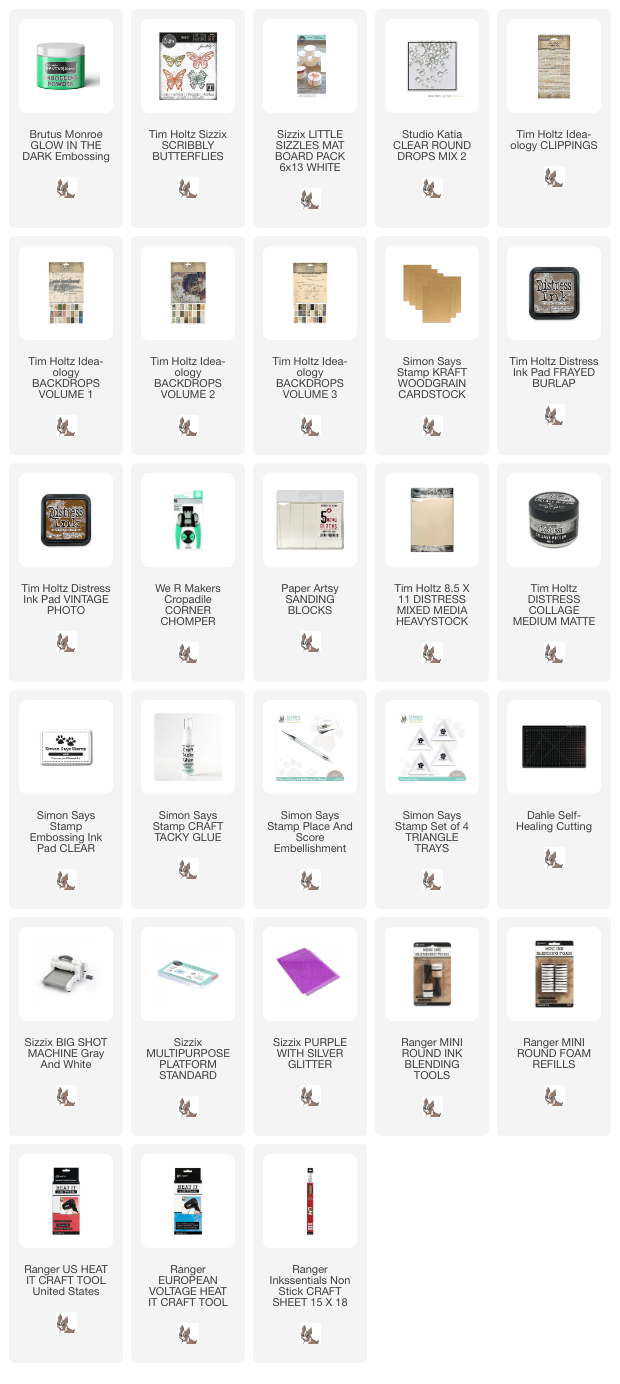
Emboss the butterflies with two or three layers of Brutus Monroe Glow In The Dark embossing powder. Be very careful when using a heat tool and don't touch the melted powder until it has cooled down completely.


Round the corners with a Corner Chomper and sand the edges.


I added a bit of cheese cloth in between the layers, but you can also skip that. The butterflies were die cut from kraft paper too, since they needed to stand out better from the background.

I added a Clipping Sticker to the butterflies.


The second wall-hanger is similar to the first one, but with a different butterfly and a different background paper.

You can of course use a different embossing powder too, but then the butterflies won't glow in the dark, which is pretty cool.


I added a little dimension to the wings.
I hope you will join us this week in our Summer Moodboard challenge. You have a chance to win a $25 gift voucher to do some fun shopping at Simon Says Stamp. You have until Monday 8am Ohio time. 1pm UK time, 2 pm CET to join in.


Thank you so much for stopping by here today!
* Please note: the links are affiliate links, for which I receive a small percentage of sales generated by the link, at no extra cost to you.
These are such beauties!! LOVE your spin on the theme!! The map and added layers are gorgeous!
ReplyDelete