Hello and welcome to my blog! I have been picking a lot of berries lately and also made some black currant jam. Today I have a tag to share using Simon Says Stamp new Just a Note release.
Please note: this post has affiliate links, for which I receive a small percentage of sales generated by the link, at no extra cost to you.
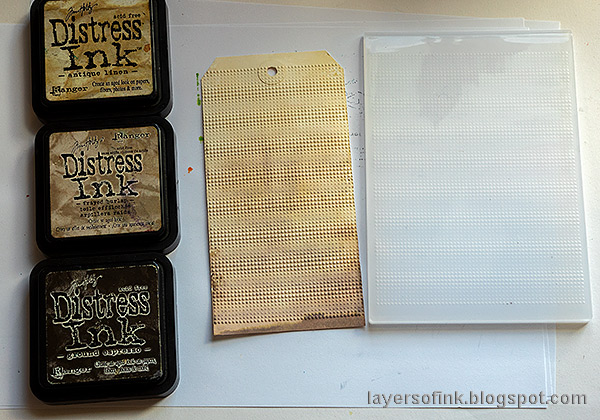
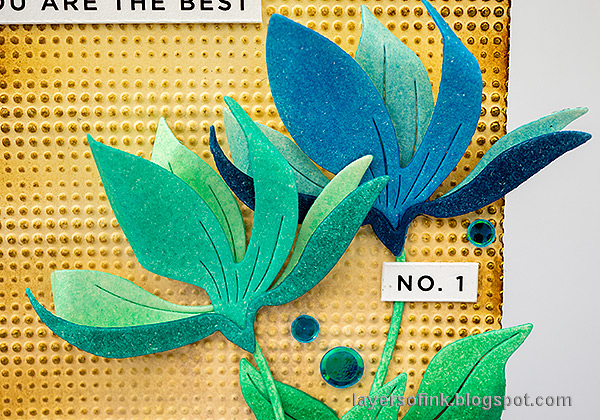
Embossing folders are great for adding either a lot or just a little texture to a background. Here I used the new Gradient Dot folder, which gives a really nice effect. I tend to like anything with circles or little dots. The flowers were made with the Simon Says Stamp Fresh Cut Floral Stem die and inked with the two sets of small cubes of Pawsitively Saturated Inks that are included in the Just a Note release.
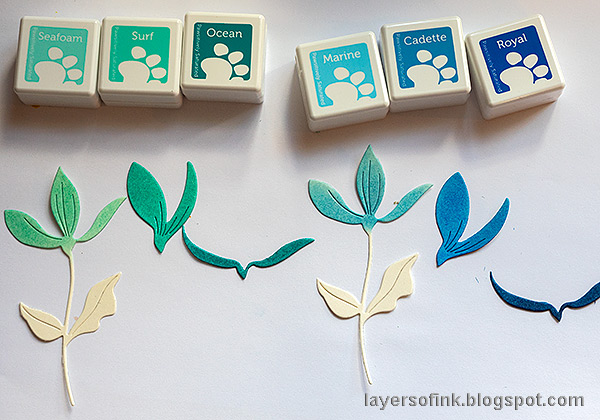
Die cut the
flower twice from heavystock paper.
The cube sets are great for these types of projects where you want shades of the same color. I used the
Blue Seas set for the flower to the left and the
Blue Skies set for the flower to the right.
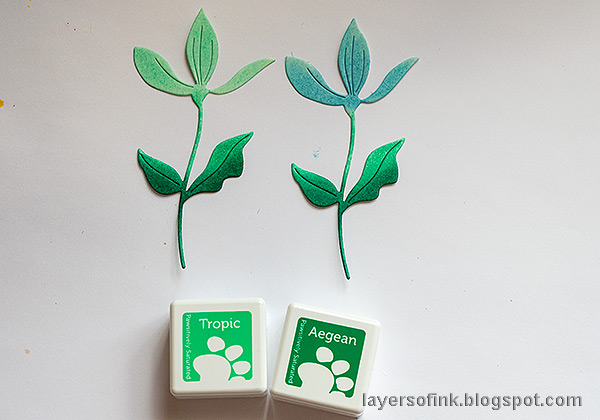
The stems and leaves were inked with Tropic and Aegean.
Shape the leaves and petals with Tim Holtz Shaping Kit and glue them together.
When the tag is dry, ink with brown shades of Distress Ink.
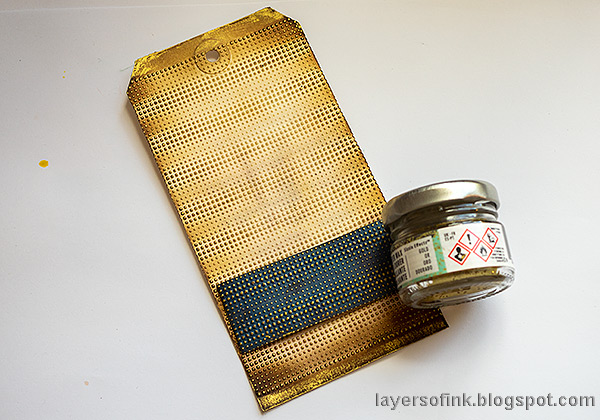
I also embossed a strip of Tim Holtz Backdrops Vol. 5 paper. Sizzix Gold Luster Wax was applied to both the tag and the blue paper. You only need a little.
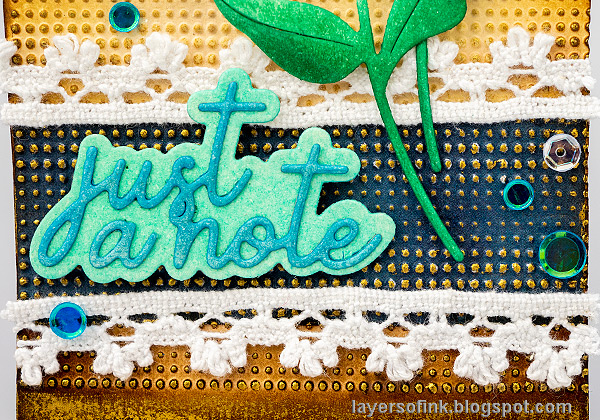
The Pawsitively Saturated Inks are great for dying ribbon and here I dyed three pieces of May Arts ribbon with three of the inks used on the flower. The dyed ribbon will coordinate with your project.
If you want to, you could have embossed the flowers with the folder too.
The Gold Luster Wax gives a great shine to the tag.
Just a Note was die cut from heavystock paper and inked with two of the colors used for the flower. I also added some lace trim.
The background gives a lot of texture, without overpowering the flowers.
Have fun crafting!
Thank you so much for stopping by here today!
Happy crafting!
Anna-Karin
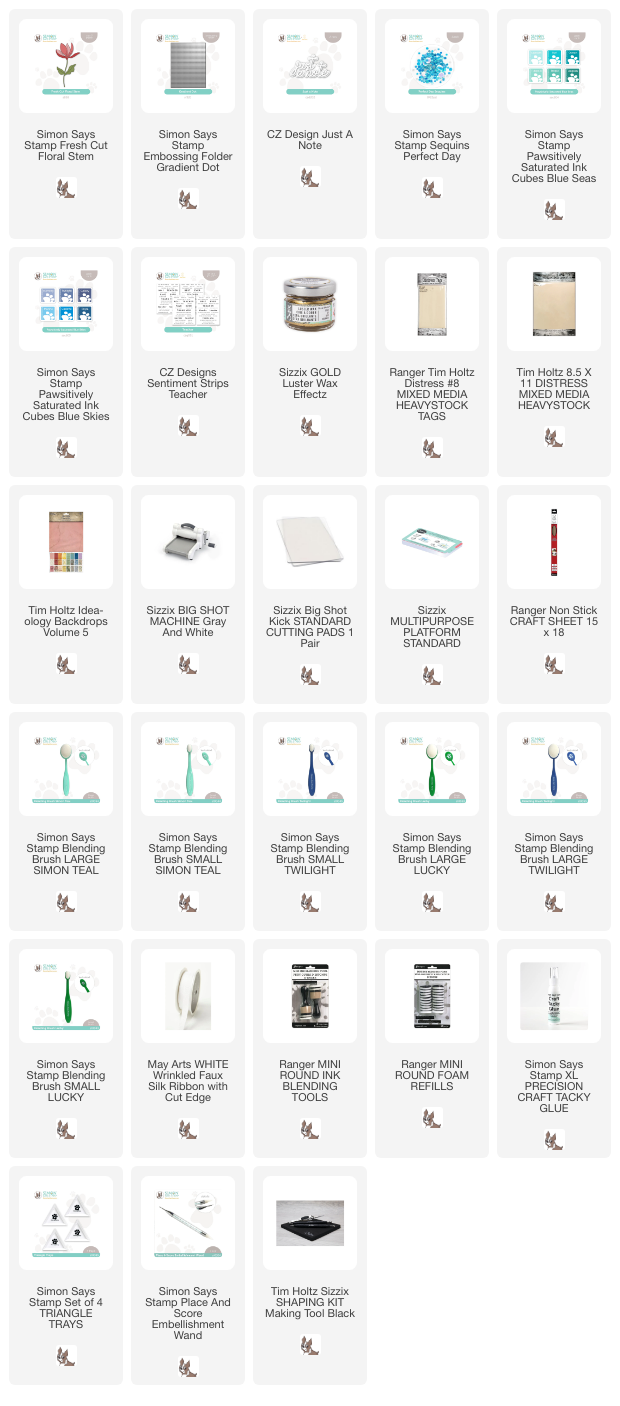
Supplies:
* Please note: the links are affiliate links, for which I receive a small percentage of sales generated by the link, at no extra cost to you.










No comments:
Post a Comment
Thank you so much for leaving a comment! Happy Crafting!