Monday, July 10, 2023

Circle Card Tutorial

Hi friends! It is a new beautiful Monday. Mondays happen to be one of my favorite days of the week, since I like the start of a week, but also since it is time for the Simon Says Stamp Monday Challenge.

Please note: this post has affiliate links, for which I receive a small percentage of sales generated by the link, at no extra cost to you.


This week our theme is We are going around in circles at the Simon Says Stamp Monday Challenge Blog. Circles have always been one of my favorite shapes. I hope you will join us in the challenge! Don't miss the gorgeous project by our July guest designer Natasha Vacca aka Natasha's Colorful Creations.

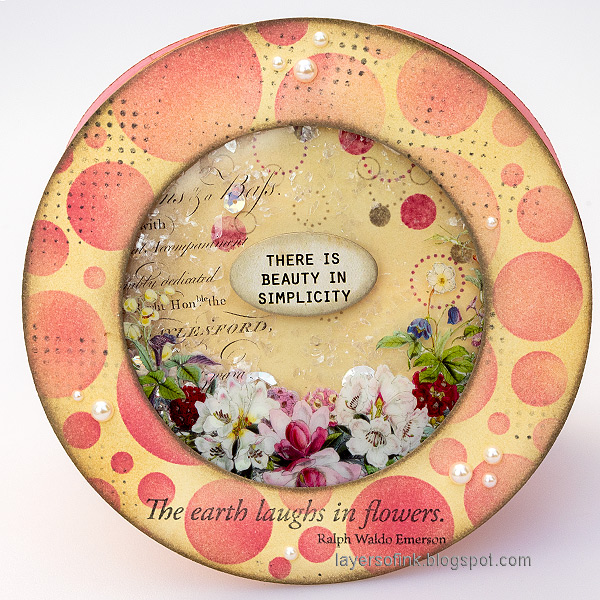
Layers of ink - Circle Shaker Card Tutorial by Anna-Karin Evaldsson.

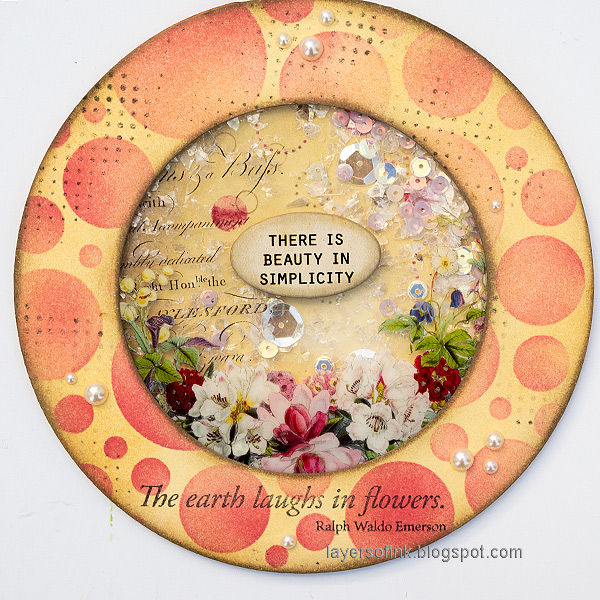
I haven't made a circle card in quite a while and thought it would be fun to make one with a shaker in the middle. The card was inspired by the beautiful printed circle from Tim Holtz Transparent Layers. I also used circle stamps and a circle stencil.

Layers of ink - Circle Shaker Card Tutorial by Anna-Karin Evaldsson.

I used Simon Says Stamp Nested Circles to die cut the card. I started with the largest circle, which was die cut from heavystock paper and then die cut the window in the center. Simon Says Stamp Very Very Low Tack Tape was used to hold the smaller die in place.

Layers of ink - Circle Shaker Card Tutorial by Anna-Karin Evaldsson.  Ink through Simon Says Stamp Mix and Match Circles Stencil.

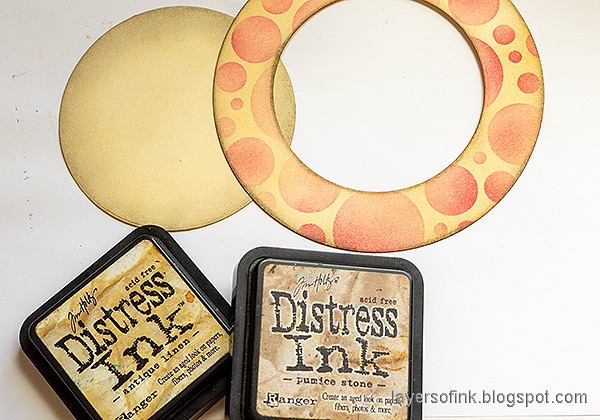
Ink the circle with Antique Linen. Then ink through the Simon Says Stamp Mix and Match Circles Stencil with Guava ink and an ink-blending brush.

Layers of ink - Circle Shaker Card Tutorial by Anna-Karin Evaldsson.

I die cut another circle from heavystock paper to place behind the shaker window. Ink with Antique Linen and Pumice Stone. Ink the edges of the larger circle with Pumice Stone too.

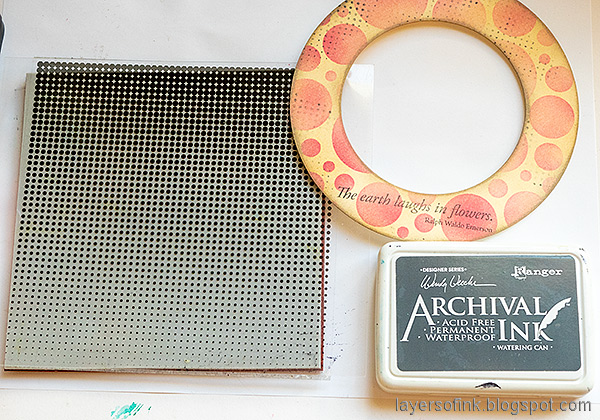
Layers of ink - Circle Shaker Card Tutorial by Anna-Karin Evaldsson. Stamp with Simon Says Stamp Halftone Background.

Stamp a sentiment from Simon Says Stamp Laugh In Flowers with Watering Can ink. Stamp dots with Simon Says Stamp Halftone Background using the same ink.

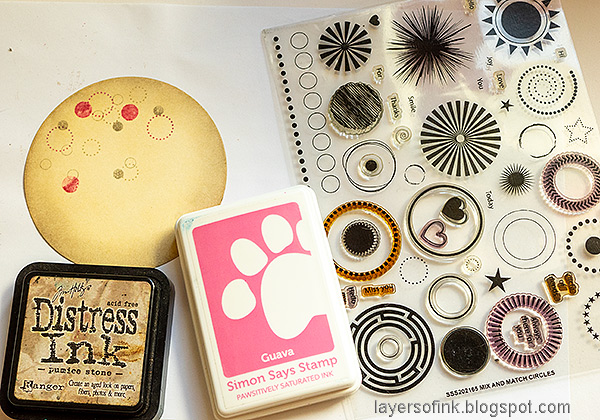
Layers of ink - Circle Shaker Card Tutorial by Anna-Karin Evaldsson. Stamp with Simon Says Stamp Mix and Match Circles stamp set.

Stamp circles and dots from Simon Says Stamp Mix and Match Circles stamp set, with Pumice Stone and Simon Says Stamp Pawsitively Saturated Guava ink.

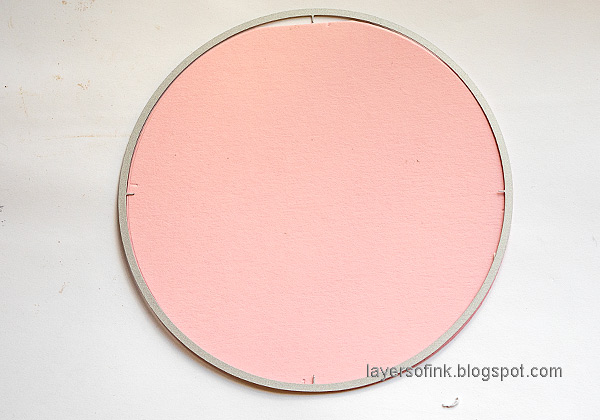
Layers of ink - Circle Shaker Card Tutorial by Anna-Karin Evaldsson.

The cardbase is Simon Says Stamp Cotton Candy cardstock, which was folded and die cut with the largest circle. Place the folded edge slightly inside the die as seen here.

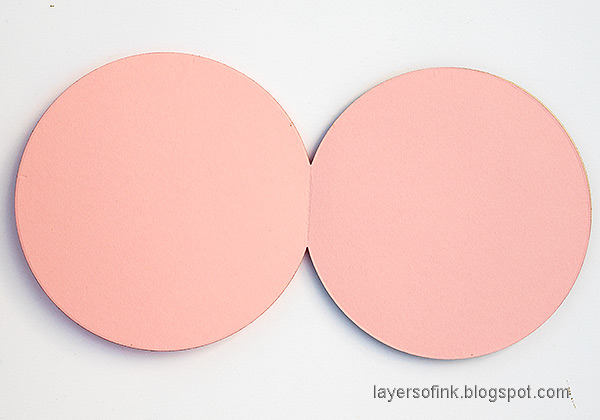
Layers of ink - Circle Shaker Card Tutorial by Anna-Karin Evaldsson.

Folded up, the cardbase looks like this.

Layers of ink - Circle Shaker Card Tutorial by Anna-Karin Evaldsson. Fill the shaker card with mica flakes and sequins.

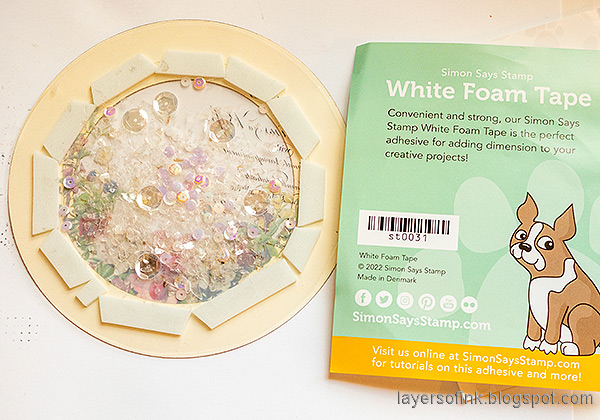
Glue the printed acetate in place and die cut another acetate circle for the sandwich. Add Simon Says Stamp Pawsitively Perfect Foam Tape around the edges and fill with mica flakes and sequins. Place the second acetate circle on top to close the sandwich.

Layers of ink - Circle Shaker Card Tutorial by Anna-Karin Evaldsson. Add a sentiment with Tim Holtz Quote Chip Labels.

I also used a Tim Holtz Quote Chip Label. The background circle was placed so that one of the stamped dotted circles, frames the little white flower.

Layers of ink - Circle Shaker Card Tutorial by Anna-Karin Evaldsson.

The Transparent Layers are so pretty and I like the bright colors. 

Layers of ink - Circle Shaker Card Tutorial by Anna-Karin Evaldsson.

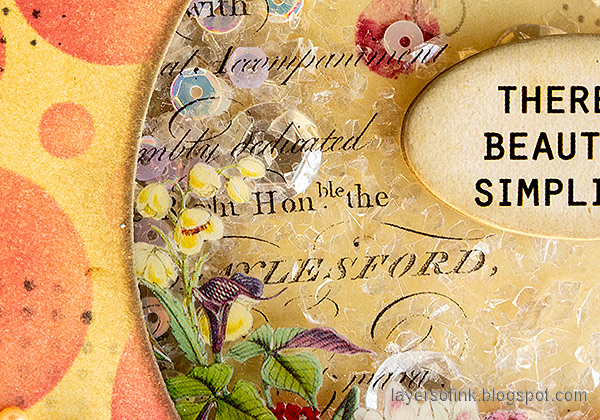
I like a mix of mica flakes and sequins in a shaker.

Layers of ink - Circle Shaker Card Tutorial by Anna-Karin Evaldsson.


I hope you will join us this week in our We are going around in circles challenge. You have a chance to win a $25 gift voucher to do some fun shopping at Simon Says Stamp. You have until Monday 8am Ohio time. 1pm UK time, 2 pm CET to join in.




Do you use Instagram? If so please add #sssmchallenge so we can see your entries there too.


Thank you so much for stopping by here today! 

Happy crafting!

Anna-Karin

Supplies:

* Please note: the links are affiliate links, for which I receive a small percentage of sales generated by the link, at no extra cost to you.


1 comment:

Thank you so much for leaving a comment! Happy Crafting!