
Hi friends! There are some ladybugs in the garden and they inspired me to do a tag.
Please note: this post has affiliate links, for which I receive a small percentage of sales generated by the link, at no extra cost to you.

There are ladybugs in various colors on this tag out and about in the beautiful summer weather. The background is done with a resist technique and the bugs have some shape and dimension. Seeing ladybugs always makes me happy.

I started out by clear embossing one of Tim Holtz Tiny Print stamps on a tag. You can use white embossing powder instead, I just happened to grab the clear one.

Ink the tag with Distress Ink in pink, orange and red shades. The embossing will resist the ink. Wipe left-over ink off with a cloth.

Die cut five ladybugs with Tim Holtz Funky Insects.

All the ladybugs were inked with Distress Ink, using different shades of ink for variety.

To give the ladybugs dimension, I used Tim Holtz Shaping Kit.

Glue them together, but don't glue the wings down completely.

The ribbon was dyed with three shades of Distress Ink so that it would coordinate with the tag.

The ladybugs were adhered to the tag with two layers of foam tape.

I used a Quote Chip Label as the main sentiment. The edges were inked with brown ink.

Clear Drops were used as trails behind the ladybugs. Summer comes from Simon Says Stamp Forest Scenery and was stamped on a Tim Holtz Journal Card.

You could also make all the ladybugs the same color, or use just one on a project.

Foam tape is great for when it comes to adding dimension, and even more so when the ladybugs themselves are already shaped.

The tag could also be done with little flowers instead of ladybugs, or how about butterflies?

Thank you for visiting my blog!
Happy crafting!
Anna-Karin
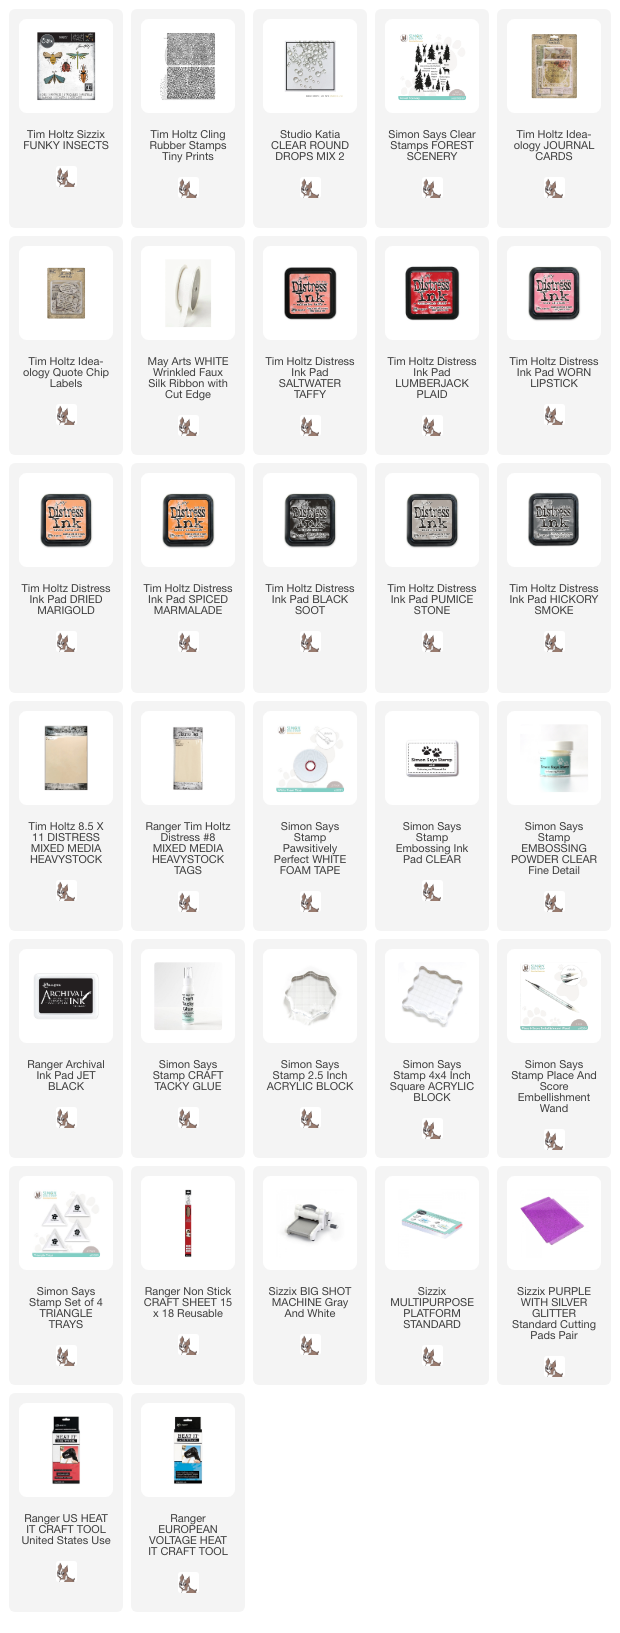
Supplies:
* Please note: the links are affiliate links, for which I receive a small percentage of sales generated by the link, at no extra cost to you.
* Please note: the links are affiliate links, for which I receive a small percentage of sales generated by the link, at no extra cost to you.
No comments:
Post a Comment
Thank you so much for leaving a comment! Happy Crafting!