Wednesday, March 27, 2024

Stitched Notebook

Hello friends! Today I have a notebook/journal tutorial to share, for a notebook with a stitched binding. If you don't want to make a notebook, the cover can easily be turned into a card instead.

Please note: this post has affiliate links, for which I receive a small percentage of sales generated by the link, at no extra cost to you.

Layers of ink - Stitched Dragonfly Notebook Tutorial by Anna-Karin Evaldsson.

I love to make my own notebooks and sketchbooks. They are also great gifts. This notebook is 5x6 in, a folded Tim Holtz Backdrops paper. The Backdrops papers are so gorgeous and make for great notebook or journal covers. I stamped a dragonfly image on the cover and colored it with pencils. The dragonfly was also stamped on Clearly For Art Modeling Film. Later, I might have removed the modeling film dragon fly, but only because it was a little too dimensional for my liking. 

Layers of ink - Stitched Dragonfly Notebook Tutorial by Anna-Karin Evaldsson. Stamp dragonfly on the notebook cover.

Fold a piece of Backdrops Vol 4 paper in half and stamp the dragonfly image from Stamper's Anonymous Classics #1 on the cover.

Layers of ink - Stitched Dragonfly Notebook Tutorial by Anna-Karin Evaldsson. Color with colored pencils.

Color the dragonfly with colored pencils. I used Prismacolors. Use a white pencil to blend the colors.

Layers of ink - Stitched Dragonfly Notebook Tutorial by Anna-Karin Evaldsson.

Add details to the dragonfly with a black pen and a white gel pen. Don't worry about getting it perfect, since that is not the point.

Layers of ink - Stitched Dragonfly Notebook Tutorial by Anna-Karin Evaldsson. Stamp sentiments and circles.

Stamp circles from Simon Says Stamp Mix and Match Circles and various sentiments on the background.

Layers of ink - Stitched Dragonfly Notebook Tutorial by Anna-Karin Evaldsson. Color patterned paper with pencils.

I wanted the title to have the exact same colors as the dragonfly and used the pencils to color another piece of Backdrops paper. I created an ombre effect.

Layers of ink - Stitched Dragonfly Notebook Tutorial by Anna-Karin Evaldsson. Die cut the title with Tim Holtz Alphanumeric Emporium dies.

Use Tim Holtz Alphanumeric Emporium dies to die cut the letter.

Layers of ink - Stitched Dragonfly Notebook Tutorial by Anna-Karin Evaldsson.

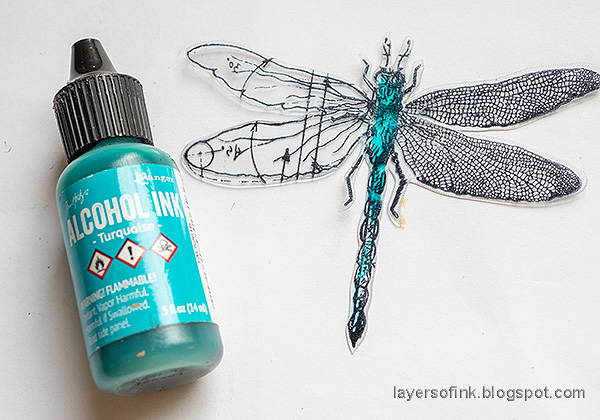
Stamp the dragonfly with Stazon Jet Black on Wendy Vecchi Clearly For Art Modeling Film

Layers of ink - Stitched Dragonfly Notebook Tutorial by Anna-Karin Evaldsson. Color with alcohol ink.

Cut the dragonfly out and color the body with alcohol ink.

Layers of ink - Stitched Dragonfly Notebook Tutorial by Anna-Karin Evaldsson. Shape the modeling film.

Gently heat with a heat tool and shape the wings. Be careful not to burn yourself. The film keeps its shape perfectly.

Layers of ink - Stitched Dragonfly Notebook Tutorial by Anna-Karin Evaldsson. Add Ranger Stickles.

Add Distress Stickles Moon Dust to the back of the wings and let dry.

Layers of ink - Stitched Dragonfly Notebook Tutorial by Anna-Karin Evaldsson.

Cut inserts from your paper of choice. In this case, I used fairly light-weight notebook paper, which can take fountain pens without problems. Make a template first by piercing holes through a folded piece of paper. As you can see the inserts are larger than the cover.

Layers of ink - Stitched Dragonfly Notebook Tutorial by Anna-Karin Evaldsson. Pierce holes along the spine.

After you pierced through all the layers, it looks like this.

Layers of ink - Stitched Dragonfly Notebook Tutorial by Anna-Karin Evaldsson. Stitch the notebook along the spine.

I stitched the book using three strands of DMC embroidery thread using a saddle stitch. Tie it on the inside.

Layers of ink - Stitched Dragonfly Notebook Tutorial by Anna-Karin Evaldsson.

I trimmed the inserts and a tiny bit of the covers to get a notebook where the pages went right up to the edges of the cover. Normally, I make the pages slightly smaller than the cover, but since I used thinner paper than what I usually use, it was possible to trim through them all at once. 

Layers of ink - Stitched Dragonfly Notebook Tutorial by Anna-Karin Evaldsson.

Using colored pencils to color the paper before die cutting creates a nice effect and the paper is satin smooth.

Layers of ink - Stitched Dragonfly Notebook Tutorial by Anna-Karin Evaldsson.

Stamp some of the circles off the edge for a finished look.

Layers of ink - Stitched Dragonfly Notebook Tutorial by Anna-Karin Evaldsson. Dimensional dragonfly.

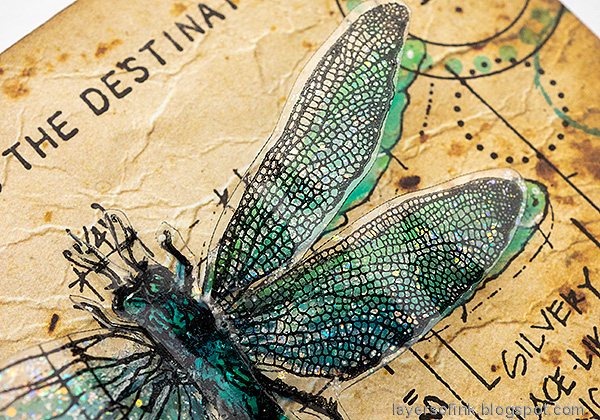
The Moon Dust Stickles gives a great shimmer to the wings of the dragonfly. 

Layers of ink - Stitched Dragonfly Notebook Tutorial by Anna-Karin Evaldsson.

The Clearly For Art Modeling Film is one of my favorite surfaces and you dan do many techniques with it. 

Layers of ink - Stitched Dragonfly Notebook Tutorial by Anna-Karin Evaldsson.

Even though I loved the dimensional dragonfly, I decided to remove it. Since the cover and the inside pages are pretty thin, it bothered me when I was writing in the book. I might put it back again, or I will use it on another project instead.

Layers of ink - Stitched Dragonfly Notebook Tutorial by Anna-Karin Evaldsson.

The white and black pen details add movement and life to the wings.

Layers of ink - Stitched Dragonfly Notebook Tutorial by Anna-Karin Evaldsson.

Here's another look at the stitch. If you want to, use a contrasting or bright colored thread instead.

Layers of ink - Stitched Dragonfly Notebook Tutorial by Anna-Karin Evaldsson.

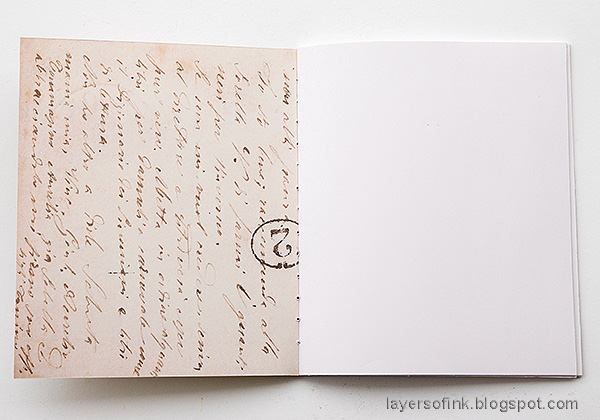
Since the Backdrops papers are double-sided, the inside covers are patterned too.
Layers of ink - Stitched Dragonfly Notebook Tutorial by Anna-Karin Evaldsson.

Here's another look at the notebook without the Modeling Film dragonfly.


Thank you so much for stopping by here today! 


Anna-Karin

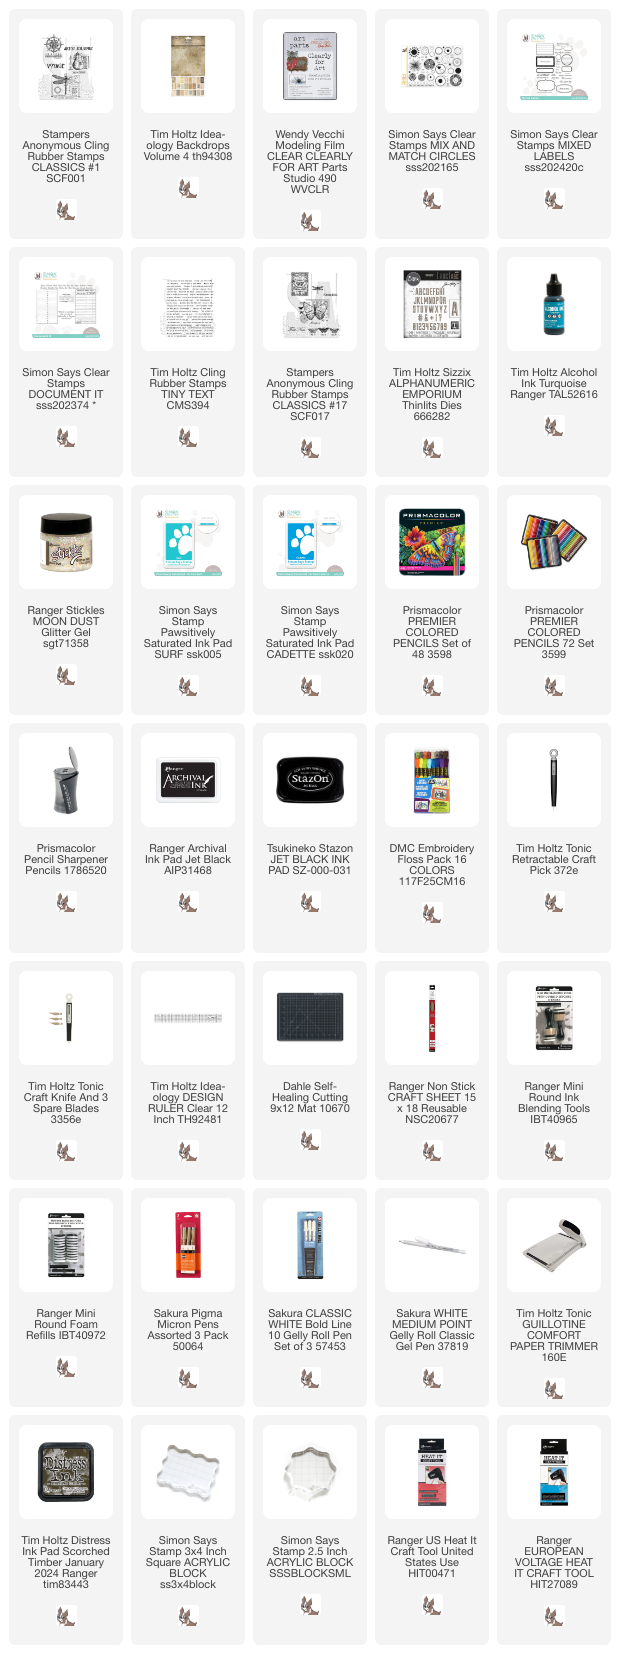
Supplies:

* Please note: the links are affiliate links, for which I receive a small percentage of sales generated by the link, at no extra cost to you.


No comments:

Post a Comment

Thank you so much for leaving a comment! Happy Crafting!