Hi friends! I hope you are well and enjoying autumn, or spring if you are in the southern hemisphere. I have a sweet Halloween magnet and box to share today.
Please note: this post has affiliate links, for which I receive a small percentage of sales generated by the link, at no extra cost to you.
Start by coating a box with gesso. My box is about 3.2 x 3.2 in.
Place one of Tim Holtz Moon Masks on the background and paint with Distress Paint. I used a mini-round ink blending foam for the painting.
Add just a hint of light grey to the moon, mixed with Hickory Smoke and Picket Fence.
Mix a darker shade of grey and use the coordinating moon stencil.
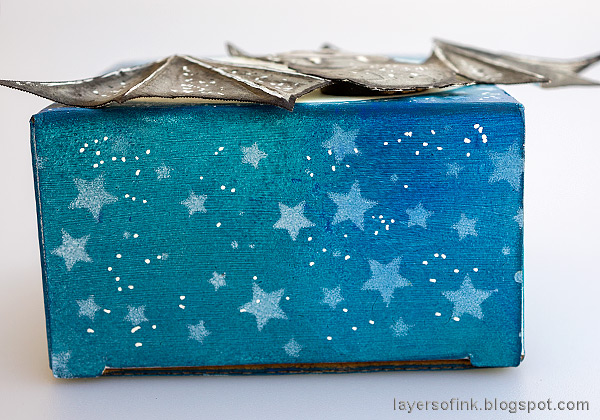
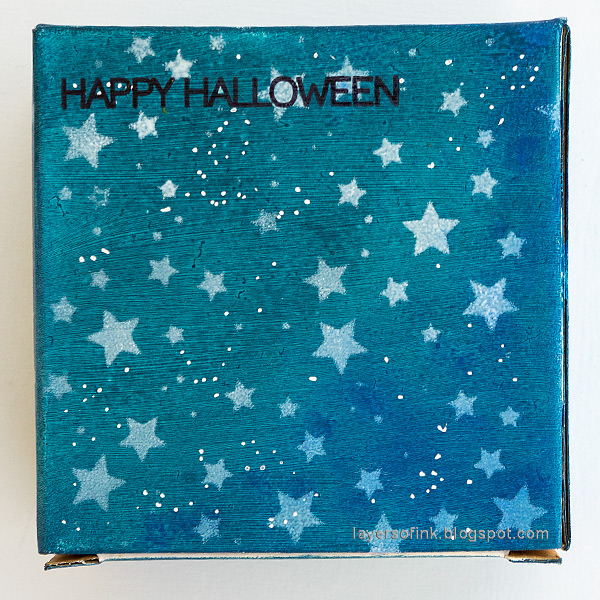
Place the mask back and sponge white paint through Simon Says Stamp Scattered Stars, on all the sides of the box.
Add smaller stars with a white gel pen.
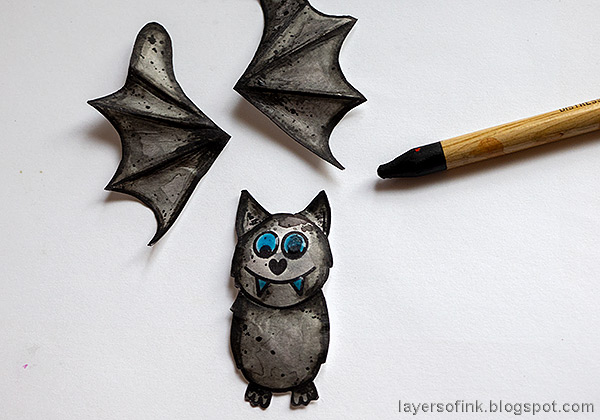
Stamp the bat and wings from Simon Says Stamp Batty For You on watercolor paper. This is such a fun stamp set and there are coordinating dies too, with which you can make an interactive bat.
Apply masking fluid to the eyes and teeth. This is much easier than trying to paint around the eyes and teeth.
Smear Black Soot Distress Ink on a non-stick craft sheet, mist with water and press the paper into the ink.
When dry, add shading with a black Distress Watercolor Pencil.
Cut out and shape with Tim Holtz Shaping Kit.
Splatter with the black pencil. Dip it in water and flick a paint brush against it.
When completely dry, rubb off the masking fluid and apply white lines and highlights with a gel pen.
Glue a magnet to the back of the bat. Stamp a sentiment and add a strip of Design Tape Trims.
Glue another magnet to the inside of the box.
The magnet attaches to the box, but is also easy to remove and use on its own.
My youngest loves the moon and I knew that he would have disliked that the bat covered so much of the moon design. That's why I got the idea of turning the bat into a magnet instead.
You can make the bat in several different ways, by using different eyes and facial expressions. The wings can also be angled in various ways.
The white lines and dots add life to the design.
I added Glossy Accents to the eyes and teeth.
Tim's Moon Mask and Stencil are such fun and there are three sizes of the moon on the set. For another project with the Moon Mask, see my Harvest Moon Canvas.
We had a cleaning day in the neighbourhood yesterday, but luckily no one had swept away my favorite pile of leaves.
Thank you so much for stopping by here today!
Happy stamping!
Anna-Karin
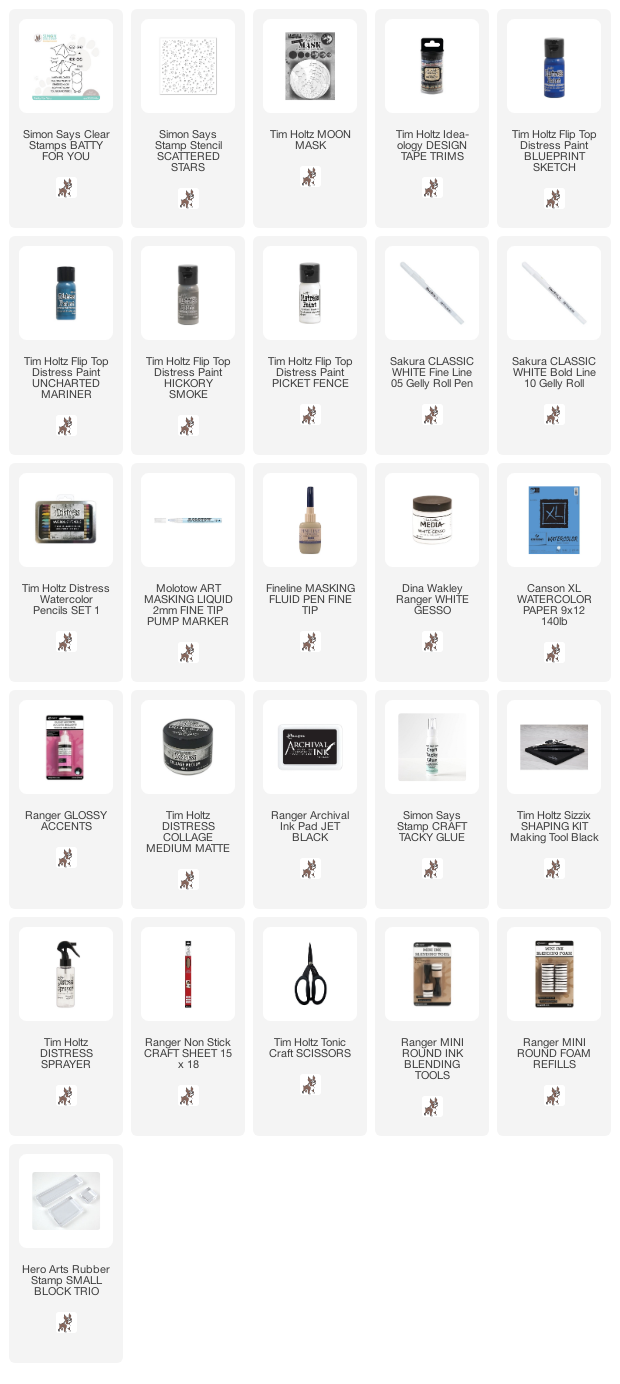
Supplies:
* Please note: the links are affiliate links, for which I receive a small percentage of sales generated by the link, at no extra cost to you.


No comments:
Post a Comment
Thank you so much for leaving a comment! Happy Crafting!