
I am happy to be a part of the huge blog party to celebrate the start of STAMPtember®!
Please note: this post has affiliate links, for which I receive a small percentage of sales generated by the link, at no extra cost to you.

STAMPtember® is a month-long celebration of stamping at Simon Says Stamp, with inspiration, new products and surprises. You can find the beginning of the blog party on the Simon Says Stamp Store Blog. It is a big party, with 109 stops from all over the world!
There is of course also a big new exclusive STAMPtember® release. The STAMPtember® release is full of fantastic new stamps of course, but also dies, stencils, inks and paper products. So much! You can find it all here.

I also have a free gift for you. You will get the exclusive Celebration Balloons Embossing Folder and Dies with a qualifying purchase, if you use the code CBEFD. It is valid while supplies last.
I made a tag, but you can easily turn it into a card instead.

I made an pumpkin tag with lots of texture. I really like the shape of the new Simon Says Stamp A7 Notched Rectangles and thought they could be turned into a tag. Since the die set includes 13 dies, you can easily create a layered effect. I also used the Harvest Heirloom die set, the To Friendship stamp set and the Pumpkin Wreath embossing folder, all from the STAMPtember® release.

Start by die cutting a A7 Notched Rectangle from watercolor paper.

Ink the Simon Says Stamp Pumpkin Wreath folder with Antique Linen and Frayed Burlap. Mist the paper with water and emboss.


Ink the edges.

Splatter with three shades of Distress Watercolor Pencils. Dip in water and flick a paint brush against the pencil.

Die cut two more Simon Says Stamp A7 Notched Rectangles. One from inky green paper and one from kraft cardstock. Stitch around the focal panel with a sewing machine. Punch a hole and add a reinforcer. If you don't want to use the big pumpkin, you can stop here and stamp a sentiment in the wreath.

Die cut the pumpkin from Simon Says Stamp Harvest Heirloom, from watercolor paper.

White emboss one of the sentiments from Simon Says Stamp To Friendship. Lots of great sentiments on this set!

Smear Distress Ink on a non-stick craft sheet, mist with water and press the pumpkin into the ink. Let dry.

Repeat, until you are happy with the look.

I also added a little brown Distress Ink and some Distress Oxide ink in the same way.

Finally, I splattered some watercolor pencils on the pumpkin too.

The Harvest Heirloom set also contains a whole bunch of very versatile leaves and foliage. Die cut from inky green papers.

Shape to give them life.

I tied the tag with Wrinkled Faux Silk Ribbon dyed with Distress Ink and two additional ribbons.

To Friendship also comes from Simon Says Stamp To Friendship and was stamped on inky orange paper. Such a great little sentiment stamp! Distress the edges of the tag layers.

Glue leaves and a stem to the pumpkin. I adhered the pumpkin to the background with Simon Says Stamp Pawsitively Perfect Foam Tape.

Splattering with Distress Watercolor Pencils adds a nice texture.

Shape the pumpkin before adhere it to the tag, to add dimension.

This is such a lovely sentiment.

Much of the background is covered by the pumpkin, but you can still spot some of the dry embossed design.

Tuck the foliage in here and there and add Simon Says Stamp Pawsitively Dazzling Sunbeam Gems.

There is also a s special STAMPtember® Gallery where you can find inspiration and add your own projects.
These are all the stops in the party:
- Adriana Arminio
- Alberto Gava
- Amanda Wilcox
- Amy Rysavy
- Amy Tsuruta
- Anaelly Lopez
- Anna-Karin Evaldsson
- Anne Fiene
- Barb Engler
- Barbara Tarayao
- Beth Opel
- Betsy Green
- Bibi Cameron
- Bobbi Lemanski
- Bonnie Crane
- Brenda Noelke
- Candice Crawford
- Carly Tee Minner
- Carol Hintermeier
- Cathie Cowles
- Cathy Zielske
- Celes Gonzalo
- Cez Tolentino
- Charlene Madrid
- Cheiron Brandon
- Christine Giancaspro
- Christine Heye
- Christine Okken
- Debbie Frank
- Deniz Do
- Emily Midgett
- Emma Williams
- Enza Gudor
- Hanh Nguyen
- Heather Hoffman
- Heather Ruwe
- Heejung Hunsberger
- Hollie Worvill
- Jane Tyrrell
- Janet Katz
- Jean Doeringsfeld
- Jenn Shurkus
- Jennifer McGuire
- Jessica Vasher
- Joe Sysavath
- Judy Tuck
- Kailash Naidoo
- Karen Boyce
- Karen Downs
- Karen Maldonado
- Karin Åkesdotter
- Karin S
- Kath Stewart
- Keisha Charles
- Kim Hamilton
- Kim Taylor
- Kirstynn Snelson
- Kristin Sluhan
- Kulbir Kirkland
- Laura Bassen
- Laura Williams
- Lea Lawson
- Lisa Addesa
- Lorena Wakefield
- Lorraine Aquilina
- Maggie Haas
- Marieke Slaats
- Martin Stone
- Mary Reiner
- Maura Hibbitts
- Megin Brooks
- Melanie Barrett
- Michelle Peckham
- Mindy Eggen
- Miriam Prantner
- Natalia Alton
- Natasha Polite
- Natasha Vacca
- Nichol Spohr
- Nicki Baxley
- Nicky Meek
- Nicole Brown
- Nina-Marie Trapani
- Nora Noll
- Pam Torkelson
- Rachel Alvarado
- Rachel Finn
- Rachel Kleinman
- Renée Bergeron
- Revati Panickar
- Rosemary Dennis
- Sandi MacIver
- Savannah O’Gwynn
- Shari Carroll
- Simeen Batra
- Steff Munnings
- Susan R. Opel
- Susan Valle
- Suzy Plantamura
- Tana Conley
- Thaís Carvalho
- Tina Smith
- Tracy Ware
- Trina Pham
- Verena Shapiro
- Wendy Horsley
- Jennifer Kotas
- Kelly Santi
- Melissa Phillips

Thank you for visiting! See you soon again!
Happy crafting!
Anna-Karin
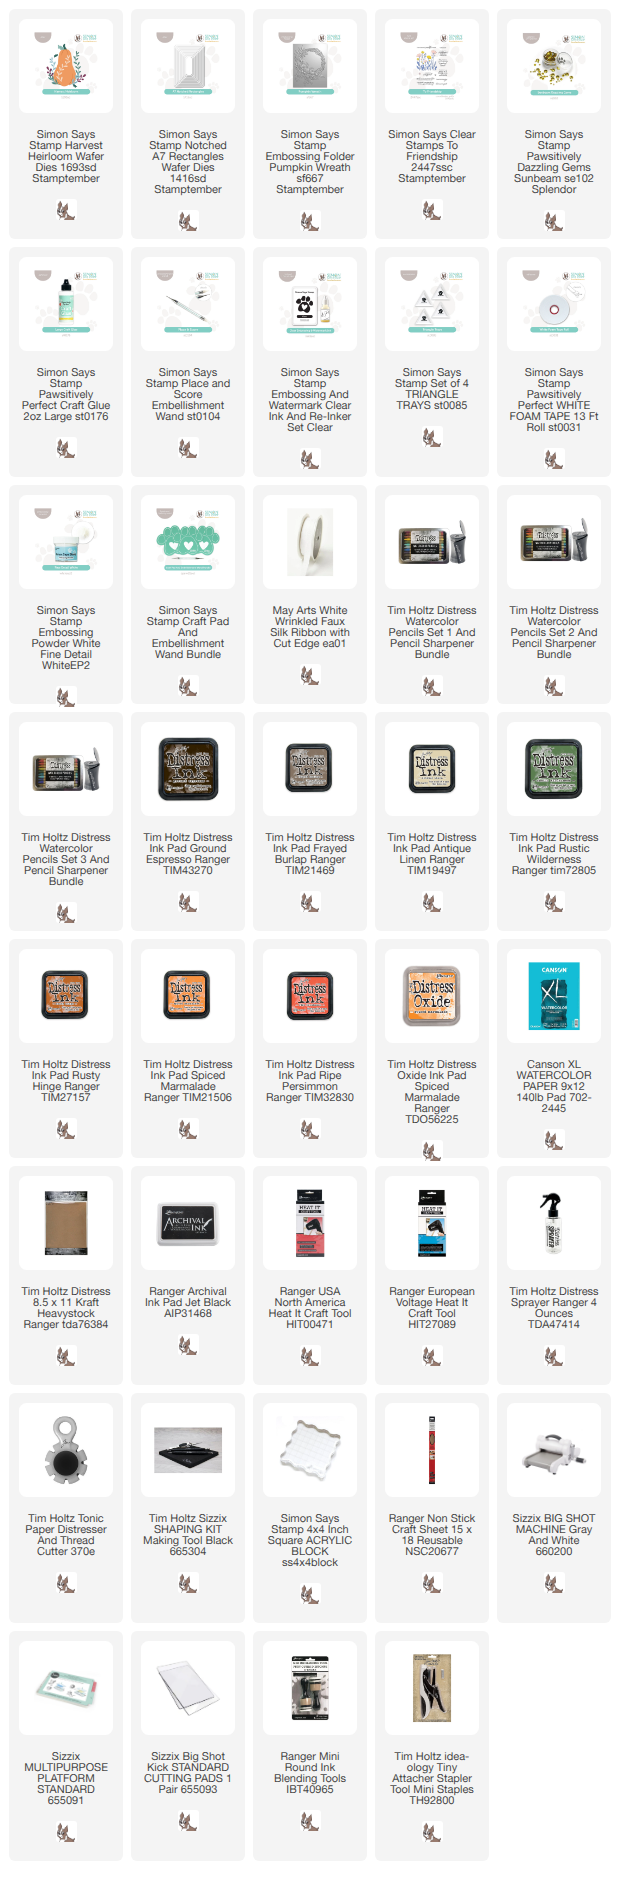
Supplies:
* Please note: the links are affiliate links, for which I receive a small percentage of sales generated by the link, at no extra cost to you.
* Please note: the links are affiliate links, for which I receive a small percentage of sales generated by the link, at no extra cost to you.

WOW! I love all of the layers! I love your step-by-step instructions! I really want to try this. I have not tried a lot of mixed media. This will help me so much! Beautiful card!
ReplyDeleteSuch a gorgeous tag! I always love all your details.
ReplyDeleteThank you for the instructions and this beautiful tag. Tag has such interest and character.
ReplyDeleteI bought this die yesterday and can't wait to get it to try this way to paint it!
ReplyDeleteWhat a stunning design. LOVE that sentiment! Beautiful creation xoxo
ReplyDeleteLove everything about this!! Thank you for the tutorial!
ReplyDeleteSuch a richly colored card reminds me of Fall. BBeautiful design.
ReplyDeleteso beautiful
ReplyDeleteFabulous design TFS! Happy Stamptember!
ReplyDeleteBeautiful, I would have trouble covering up the wreath.
ReplyDeleteBeautiful card. So full of texture and dimension. Thanks for sharing.
ReplyDeleteI love all the details in your work.
ReplyDeleteThis is STUNNING! Thank you so much for sharing your coloring process!
ReplyDeleteWhat a beautiful tag. Your watercolor is very inspiring.
ReplyDeleteSo beautiful! I love how you combined so many different products.
ReplyDeleteBeautiful! Your colors are gorgeous!
ReplyDeleteLove what you did with the embossing folder!
ReplyDeleteI adore all of the texture and detail you've added with every layer!
ReplyDeleteWow! Such depth on this tag. It is absolutely beautiful.
ReplyDeleteWow! This is just beautiful!! Love that you show you process, too.
ReplyDeleteMultiple new products + multiple layers = one FABULOUS Tag project. I love how you used the embossing folder behind the pumpkin, it made the pumpkin really stand out and your coloring sealed the deal. FAB TAG !!!
ReplyDeleteLovely! But mostly, thank you so much for sharing the process with us! That is so helpful for most of us that our self taught and have to just try things on our own. I can’t wait to try to take some of what I’ve learned here and make it work on one of my next projects!
ReplyDeleteThe pencil coloring was inspiring! LOVED this card. Thank you!
ReplyDeleteWow!!! This is Gorgeous!!!!
ReplyDeleteThis is a stunning card! Love the colors, and the textural layers. Thanks for sharing your process!
ReplyDeleteWOW! Deep dive into autumn! I love it! I cannot wait to get this set so I can try what you have done. I love that you gave us such details to create this card! Thank you! Thank you for sharing.
ReplyDeleteBeaultiful card, and thank you so much for all of the in-process photos!! Great distress pencil work!
ReplyDeleteWowsers!!! This is so gorgeous!! LOVE your design and perfect shading and blending! The ties even brought in the colors too!! Exquisitely autumn!!
ReplyDeleteExcuse me while I pick up my jaw from the floor. THIS IS SO STUNNINGLY BEAUTIFUL!!! Great job!
ReplyDeleteThat is some impressive mixed media.
ReplyDelete