
Hi crafters! Today I have a fun project to share, filled with colorful paper mushrooms. I made a small wall hanger, but you can also make a card or a tag.
Please note: this post has affiliate links, for which I receive a small percentage of sales generated by the link, at no extra cost to you.

I had this idea of wanting to fill something with colorful mushrooms in different sizes, using mainly, but not only, autumn colors. The base is a wood panel in size 2.7x7.1 in. You can also use cardstock, mat board or a tag. The mushrooms were die cut from very inky and textured papers and I also stamped even more texture on some of them. The inky papers are useful for many types of projects.

Start with a layer of gesso and make marks with a palette knife. Let dry.

Apply texture paste through Simon Says Stamp Bubbles stencil.

When dry, paint with watered-down Distress Paint.

Stamp with Tim Holtz School Desk, alphabet stamp.

Mist the background with Peacock Feathers and Tumbled Glass Distress Spritz.

Next, the inky papers, which require a bit of patience. Smear Distress Ink on a non-stick craft sheet, mist with water and press Ranger Heavystock cardstock into the ink. Let dry.

Repeat with orange and purple shades.

When the paper is dry, repeat the process and let dry again.

Repeat the inking steps again until you are happy with the look. For the last layers, I used mainly darker inks and only lightly patted the paper into the ink. The final layer is Distress Oxide Ink, which you only want to get here and there. Don't press the paper into the ink, only lightly touch the ink, to get more texture.

Die cut Simon Says Stamp Mushroom Stems from the inky papers. I also added a few similar papers from my scrap pile.

Do the same with Simon Says Stamp Tall Mushrooms.

White emboss the dot pattern from Tim Holtz Grunged on most of the mushrooms. Stamp some of them with Simon Says Stamp Crackle Background, using a darker shade of ink.

Die cut a whole lot of mushrooms using Simon Says Stamp Pocket Full of Mushrooms.

Shape them with Tim Holtz Shaping Tool kit and add Simon Says Stamp Pawsitively Perfect Foam Tape under the cap of the larger mushrooms. I used some of these on yesterday's Sunflower Garden project.

Shape the larger mushrooms too and add foam tape under all the caps.

I added Tim Holtz Small Talk stickers as sentiments.

The background has lots of texture and shimmer. You can see how the Distress Spritz have formed halos around the texture paste dots.

There is Distress Spritz on some of the inky papers too. I used up left over spritz which had ended up on the stencils during yesterday's Sunflower Garden project.

The color and texture of the mushrooms looks great all together.

The white embossing adds a lot of texture and also makes the mushrooms look a little poisonous. These mushrooms should not be eaten.

I tucked in Simon Says Stamp Pawsitively Dazzling Opal Gems here and there.

I tied organza and twine under the mushrooms. There is also cheese cloth behind them, dyed with the same colors Distress Ink as used on the background.

I adhered some of the mushrooms with foam tape and glued the rest. The project is quite dimensional.

Thank you for visiting my blog today!

Happy crafting!
Anna-Karin
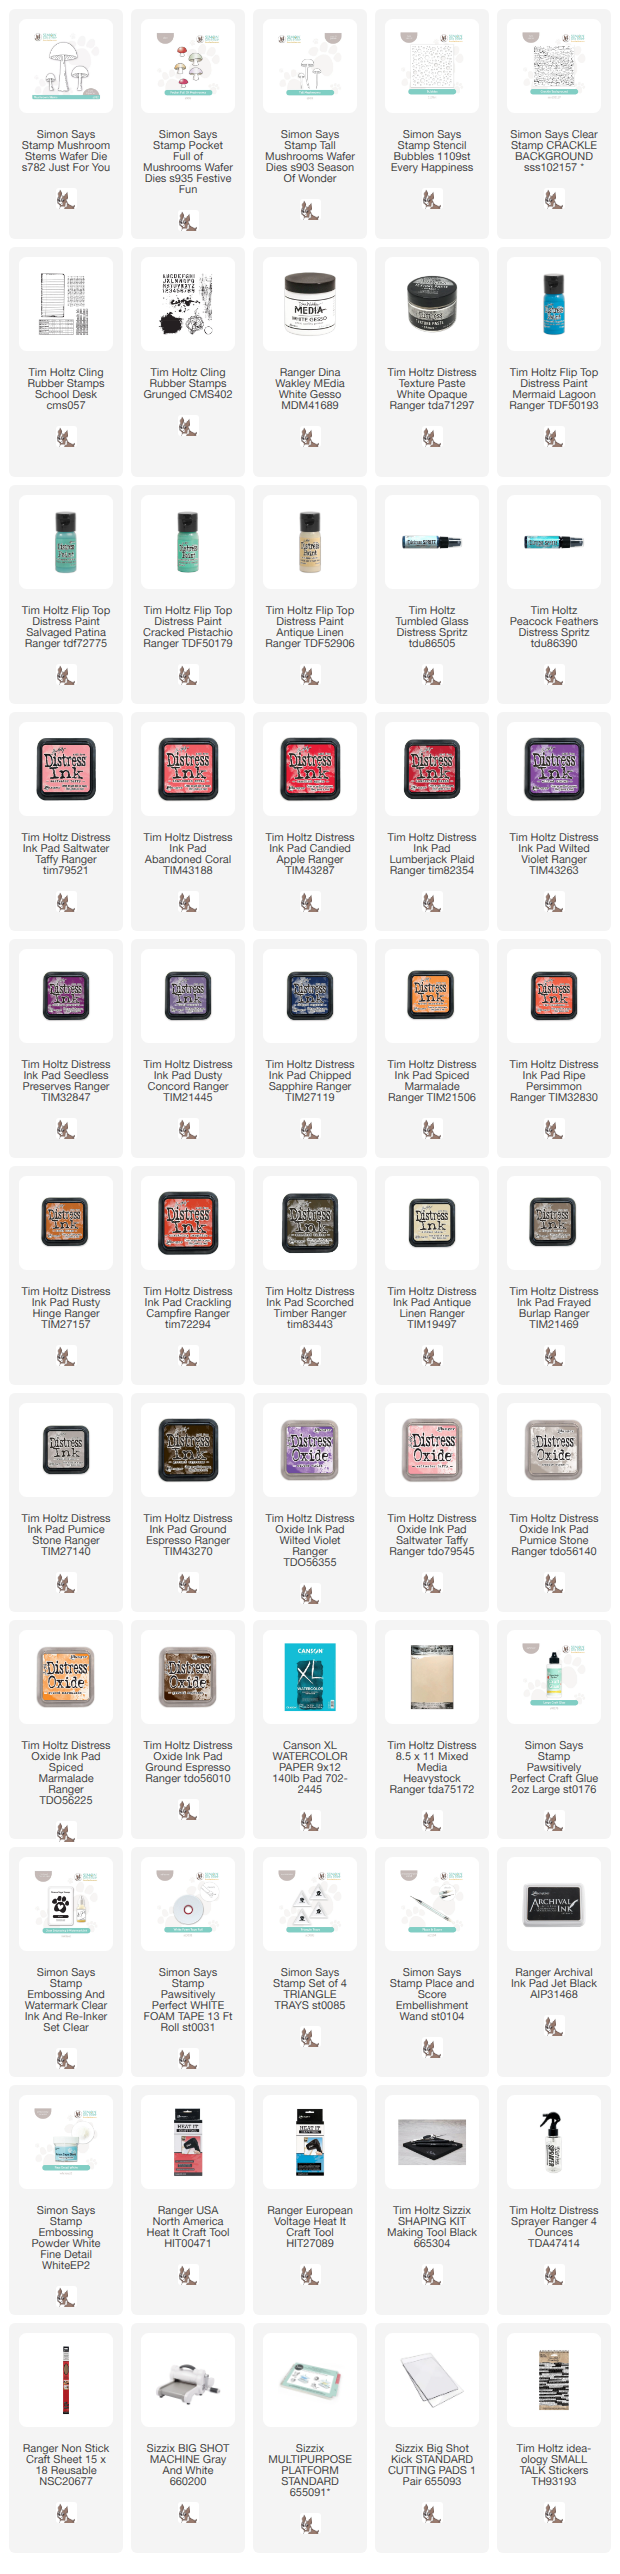
Supplies:
* Please note: the links are affiliate links, for which I receive a small percentage of sales generated by the link, at no extra cost to you.
* Please note: the links are affiliate links, for which I receive a small percentage of sales generated by the link, at no extra cost to you.

No comments:
Post a Comment
Thank you so much for leaving a comment! Happy Crafting!