Monday, December 4, 2023

Snowmen Meeting Tag Tutorial

Hello friends! It is Monday and I hope you had a good weekend! We went to the movies and I spent Sunday at a Christmas market. We have gotten even more snow. 

Please note: this post has affiliate links, for which I receive a small percentage of sales generated by the link, at no extra cost to you.


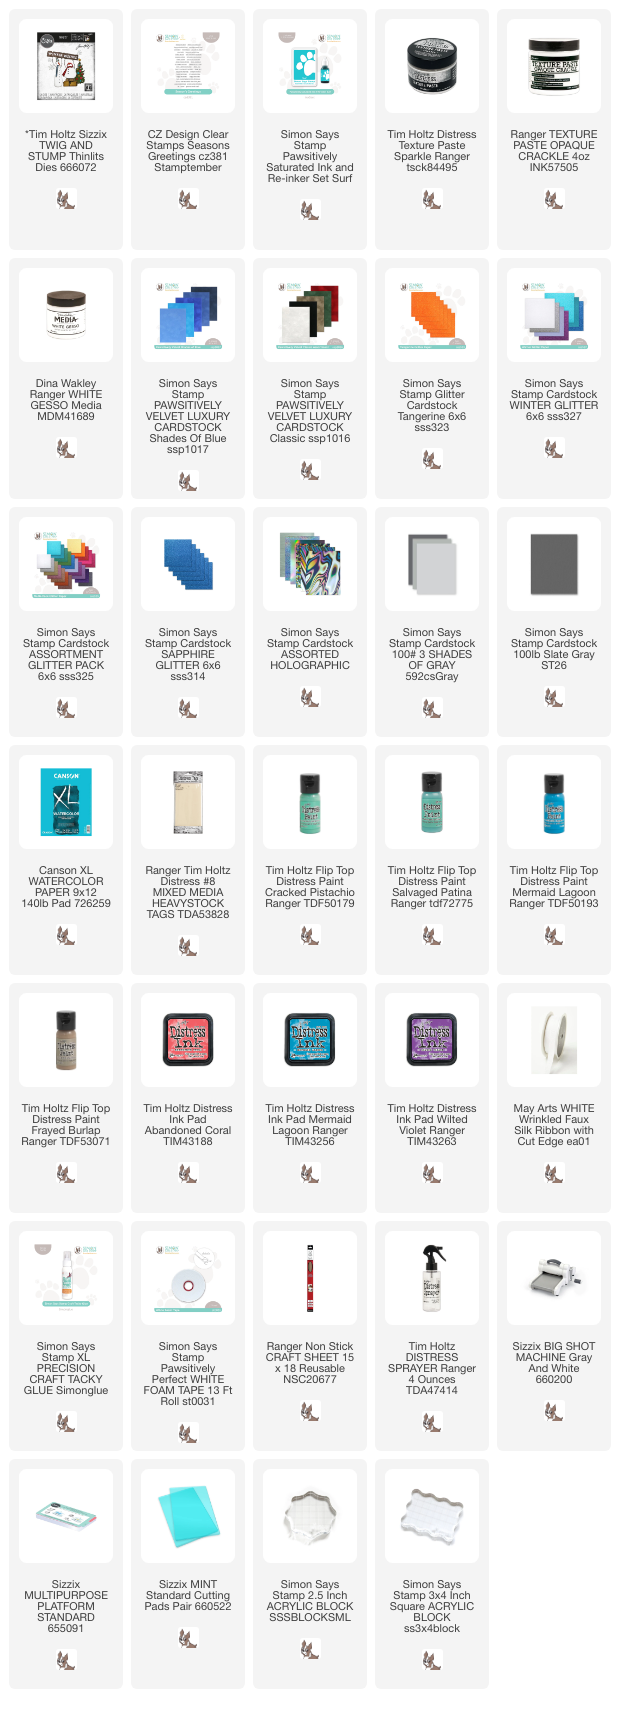
This week we have a Winter Blues theme at the Simon Says Stamp Monday Challenge Blog. Since it is the first Monday of a new month, the team is showcasing a specific designer/company. This week it is Tim Holtz. You can find Tim's fantastic range of products here. You don't have to use his products to join in the challenge, but it is always fun if you do. 

We also have a new guest designer and during December Rox aka Red Dirt Crafter will be joining us again. Don't miss looking at her wonderful project.

Layers of ink - Snowmen Meeting Tag Tutorial by Anna-Karin Evaldsson.

I had this idea of a whole crowd of snow people and decided to fill a tag with snowmen. This tag was fun to do! They are all wearing scarfs and hats and the bodies are made from homemade glitter paper. The snowmen were die cut with Tim's Twig & Stump set.

Layers of ink - Snowmen Meeting Tag Tutorial by Anna-Karin Evaldsson. Apply Ranger Glitter paste.

Start by coating watercolor paper with Sparkle Texture Paste. Let dry.

Layers of ink - Snowmen Meeting Tag Tutorial by Anna-Karin Evaldsson. Die cut Tim Holtz Twig and stump.

Die cut the snowmen from the sparkly paper and also from Slate Gray Simon Says Stamp cardstock.

Layers of ink - Snowmen Meeting Tag Tutorial by Anna-Karin Evaldsson. Assemble the snow people.

Die cut scarfs, hats and carrots from scrap pieces of watercolored or inked papers, as well as from Simon Says Stamp glitter, velvet and Holographic paper.

Layers of ink - Snowmen Meeting Tag Tutorial by Anna-Karin Evaldsson. Apply crackle paste.

Coat a tag with gesso and when dry, add Ranger Crackle Paste to the sky. The cracks appear as the paste dries.

Layers of ink - Snowmen Meeting Tag Tutorial by Anna-Karin Evaldsson. Paint with distress paint.

Paint with watered-down Distress Paint.

Layers of ink - Snowmen Meeting Tag Tutorial by Anna-Karin Evaldsson.

The bottom layer of snowmen were glued to the tag.

Layers of ink - Snowmen Meeting Tag Tutorial by Anna-Karin Evaldsson.

Move them around first until you are happy with the placement. 

Layers of ink - Snowmen Meeting Tag Tutorial by Anna-Karin Evaldsson. Close ups

I also die cut some snowflakes from Simon Says Stamp Holographic cardstock.

Layers of ink - Snowmen Meeting Tag Tutorial by Anna-Karin Evaldsson. Paper hat.

The mix of sparkly, velvet, glitter and inky papers give interest to the snowmen.

Layers of ink - Snowmen Meeting Tag Tutorial by Anna-Karin Evaldsson. Snowflakes

This little snowman is looking up at the others.

Layers of ink - Snowmen Meeting Tag Tutorial by Anna-Karin Evaldsson. Stamp a sentiment.

The sentiments were stamped with Simon Says Stamp Pawsitively Saturated Surf ink using the Simon Says Stamp Holiday Greeting's set.

Layers of ink - Snowmen Meeting Tag Tutorial by Anna-Karin Evaldsson.

The ribbons were dyed with Distress Ink to coordinate with the tag.

Layers of ink - Snowmen Meeting Tag Tutorial by Anna-Karin Evaldsson.


Layers of ink - Snowmen Meeting Tag Tutorial by Anna-Karin Evaldsson.

Aren't they a happy bunch of snow people? 

I hope you will join us this week in our Winter Blues. You have a chance to win a $25 gift voucher to do some fun shopping at Simon Says Stamp. You have until Monday 8am Ohio time. 1pm UK time, 2 pm CET to join in.


Do you use Instagram? If so please add #sssmchallenge so we can see your entries there too.


Thank you so much for stopping by here today! 

Happy crafting!

Anna-Karin

Supplies:

* Please note: the links are affiliate links, for which I receive a small percentage of sales generated by the link, at no extra cost to you.


No comments:

Post a Comment

Thank you so much for leaving a comment! Happy Crafting!