
Hello friends! Today I have a tutorial for you with a wax paper resist technique as well as some other fun details.

I was in the mood for a warm yellow-brown project, but you can of course do the techniques with any color. I used the Simon Says Stamp Boho Circle die together with wax paper to get the resist effect in the background. It is pretty subtle and if you want more contrast, work on a lighter background instead. I also used gold foil and Modeling Film on the tag.

Ink a tag with Distress Ink.

Die cut the Boho Circle. This is an intricate die and it is easier to die cut if you place a piece of wax paper in between the die and the paper. I actually started out planning to use the heavystock die cut to the right, but then decided to use the wax paper instead.

Move the wax paper around on the tag until you are happy with the look. Place baking paper above and underneath the tag and then iron on top, without steam. The wax will melt on the paper - but you don't really see it until the next step.

Ink the tag with darker shades of Distress Ink. As you can see, the ink is darker on the areas where there were no wax paper, giving you a reversed image of the Boho Circle.

I added texture by dropping a few drops of water on the tag.

Stamp here and there with the Simon Says Stamp Crackle Background stamp and Vintage Photo ink.

Apply glue around the edges and wait a short while, so that it starts to dry, but is still tacky. Rub gold foil over the glue, with the shiny side up.

Stamp butterflies from Simon Says Stamp Beautiful Butterflies on Wendy Vecchi Clearly For Art Modeling Film.

Cut them out and turn them around. Apply Valencia and Gold Mixative alcohol ink to the back.

Use a heat tool and carefully heat the butterfly, one side at a time. Shape the wings. You can reheat if you are not happy with the look. Modeling Film will hold its shape perfectly when cool. Staple to the background.

I stamped words from Simon Says Stamp Forest Scenery and All Seasons Tree on the background with Dark Chocolate ink.

Here you can see the resist effect better. I also stitched a little on the background.

The Detailed Leaf Cluster was die cut from Memory Box Frosted Glitter paper and I also added some copper sequins.

The main sentiment comes from Forest Scenery and was stamped with Dark Chocolate ink.

The combination of the very shiny gold foil, glitter paper, metallic alcohol ink under the butterfly and the warm shades makes for an interesting looking tag.

Thank you so much for taking the time to stop by here today!
Happy crafting!
Anna-Karin
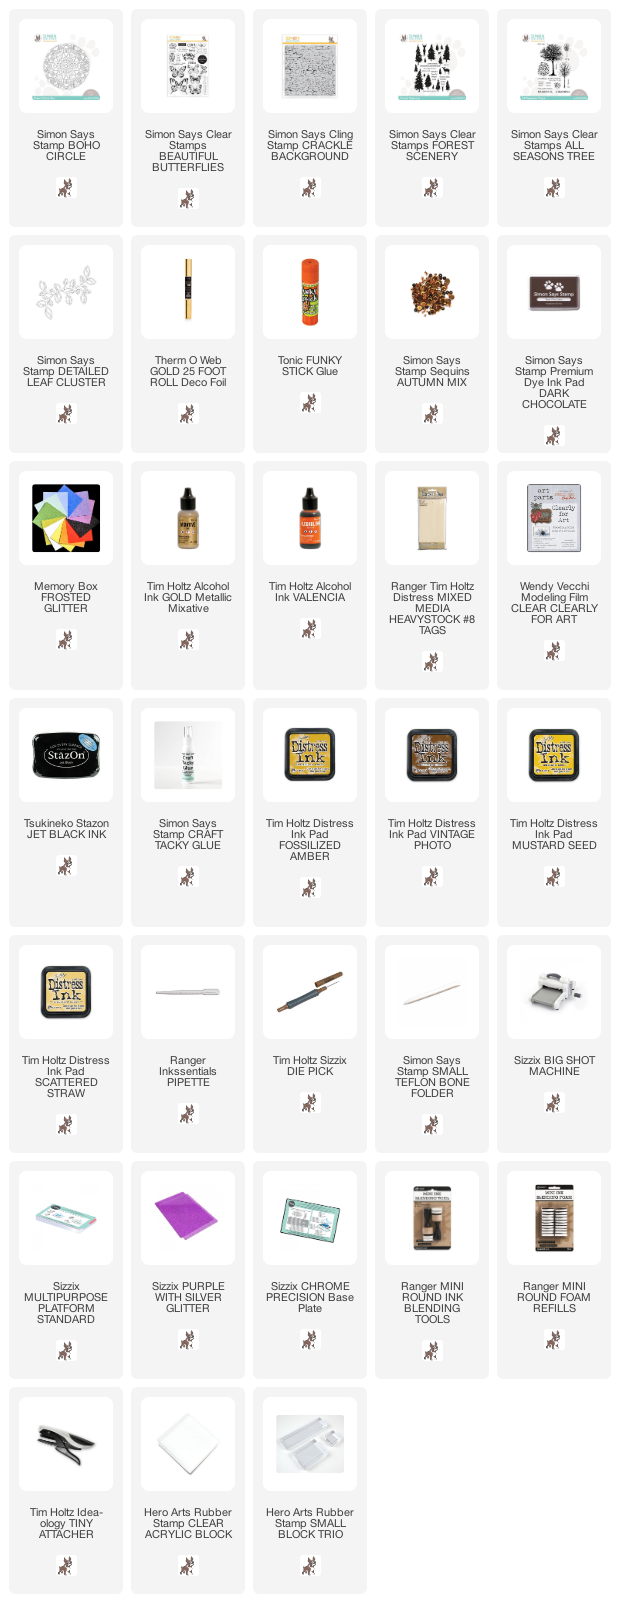
Supplies:
* Please note: the links are affiliate links, for which I receive a small percentage of sales generated by the link, at no extra cost to you.
* Please note: the links are affiliate links, for which I receive a small percentage of sales generated by the link, at no extra cost to you.
Absolutely beautiful tag.x
ReplyDeleteThis is a "Show Stopper". Beautiful! Thank you for all the "how-to" bits of your post.
ReplyDeleteLove it, love it, love it!!! Thank you for sharing all of the steps.
ReplyDelete