This week at the Simon Says Stamp Monday Challenge Blog we have a Warm Winter Wishes theme. Don't miss the project by our wonderful December guest designer Ann Barnes, with her blog Aksbarchitect Creates.

Warm winter wishes, made me think of gold, so I decided to make a vintage Christmas altered tin, using lots of gold and some pretty ephemera papers. A friend of mine in the US sends me Altoids, and or course I save the tins since they are such fun to alter. For another altered Christmas tin, check out my Winter Altered Tin tutorial. Normally, I make sure that you can close the tin, but I really wanted to use Tim Holtz's Salvaged Santa, and he was a little too wide, and since the tin would in any case not close, I added even more dimension.

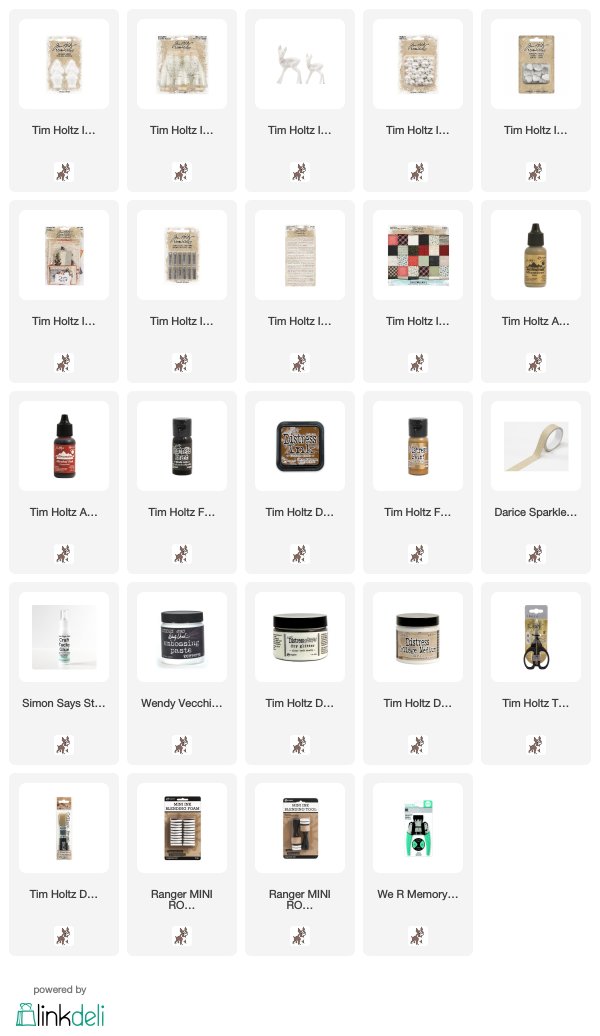
Start by dropping some Alcohol Ink Gold Mixative in a plastic bag. Place the Santa in the bag and move him around until he is turned into gold. Repeat with the deer and baubles.

The Small Woodland Tree was made golden by using Tarnished Brass Distress Paint.

I had the ephemera piece with the birds on my desk for a while now, since I really wanted to use it. This was the perfect time. The ledger paper pieces were cut from patterned paper, while the rest come from Tim's Christmas Ephemera. Round the corners and ink the edges.

Glue to the tin with matte medium, and also add sparkle tape around the inside edge.

Dry brush a little black paint on the Santa and deer to distress them. Smear some white texture paste on the tree and Santa and then add quite a bit of it to the base of the tin. Press the tree and the Santa into the paste, which will function as a glue. Add some baubles and then cover everything with Rock Candy Glitter.

I also glued a tree ephemera piece to the back - before adding the snow elements.

Drop alcohol ink on a Gumdrop Heart to make it red. You could also make it brown or gold.

I liked the look of the vintage gold Santa, with the little bits of frost. You can also paint the Santa in different colors. For a similar example, check out my Winter Wonderland Shadow Box.

The sparkle is a little hard to capture, but this method of creating snow is very effective, and one of my favorite methods.

The bird turns the leaf in the calendar to reveal the 25th of December, but since Santa always comes on the 24th here, I covered the date up with a small piece of ledger paper and added a Clippings sticker to change it. The Christmas Story Stick was distressed with black paint.

There was just enough space on the edge of the lid, for the snow and deer to fit.

I glued the icicle paper strip along the outer edge of the tin.

The front and back of the tin is covered with papers and another sentiment.

Here you can see the dimension a little better. Altered tins are such fun to do.
I hope you will join us this week in our Warm Winter Wishes challenge. As always, you have a chance to win a $50 gift voucher to do some fun shopping at Simon Says Stamp. You have until next Monday 8am Ohio time. 1pm UK time, 2 pm CET to join in.


So nostalgic and sweet!
ReplyDeleteOh my goodness, how gorgeous is this!! the golden Santa and all of the elements are fantastic! I love the snowy details too, so beautiful! LOVE it :-)
ReplyDeletehope you have a great week!
Luv
Lols x x x
This is such a beautiful tin, I love scene you created!
ReplyDeleteAbsolutely delightful - the snowy trees, the gilded baubles and wonderful golden Father Christmas - this is enchanting.
ReplyDeleteAlison x
Wow!! Such amazing gift to make for someone!!! Love, love, love it! Brilliant!
ReplyDeleteWow, what a stunning make! I love how you transformed the tin into a pretty winter wonderland - amazing 😁. Wishing you a wonderful week! J 😊 x
ReplyDeleteWow this is soooo beautiful, love it!
ReplyDeleteGorgeous! Thank you for sharing how you created this delightful piece which will become a family heirloom.
ReplyDeleteSounds like a great cookie baking day, a good way to stay warm! I love your tiny vintage scene, Anna-Karin, and the gold is beautiful! The layers of snow look so beautiful on everything, what a delight! Maura xxx
ReplyDelete